In this tutorial, we’ll walk through in just a few steps how one can setup an L2TP VPN service connection on any Windows 8 enabled computer. Remember, TorGuards 24/7 support team is standing by to assist with any questions you may have during setup.
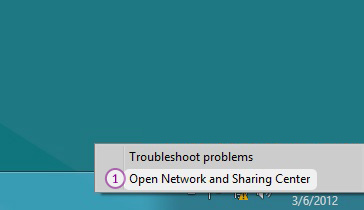
- To start, Click on “Open Network and Sharing Center” from the network icon from the taskbar (1) or click on “Network and Sharing center” from Control Panel.
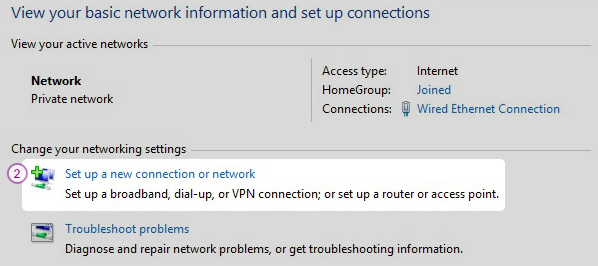
- Next we will Click on “Set up a new connection or network” (2).
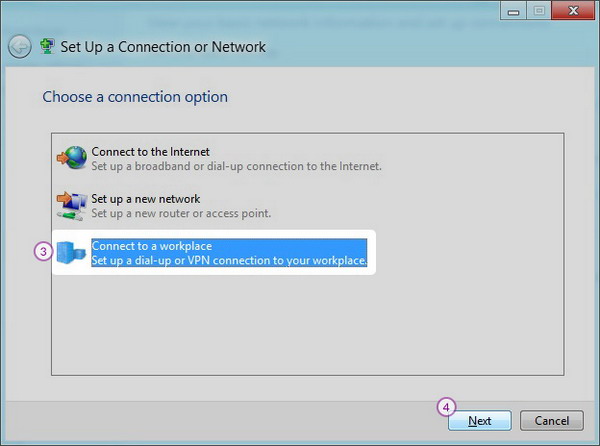
- Select “Connect to a workplace” (3) and click “Next” (4).
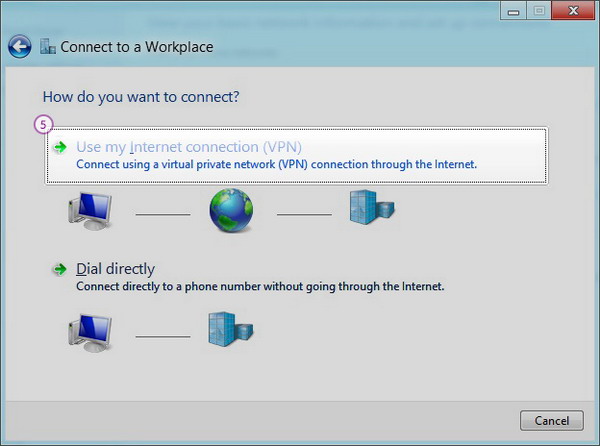
- Choose “Use my Internet Connection (VPN)” (5).
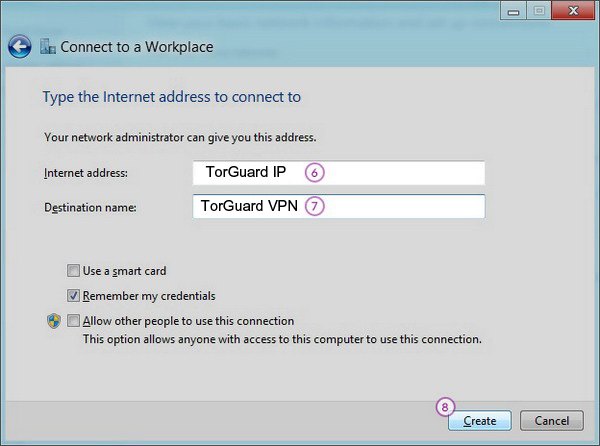
- In the “Internet Address” (6) field type IP address of the TorGuard VPN server you want to connect to. You have to check the email you have received when you have paid for the TorGuard VPN account. You will find there the available servers. In the “Destination name” field (7) type “TorGuard VPN (L2TP)”.
Click “Create” (8).
- Click on the monitor icon (9) on the bottom right-hand corner.

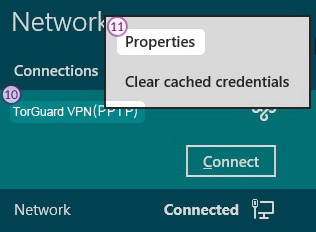
- Right–click on the “TorGuard VPN (L2TP)” connection (10), and choose “Properties” (11) from the menu.
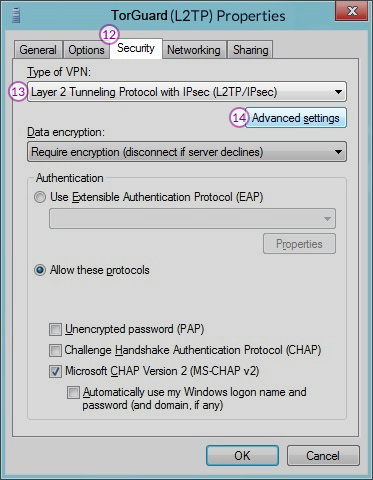
- Select “Security” tab (12) and for “Type of VPN” select “Layer 2 Tunneling Protocol with IPsec (L2TP/IPsec)” (13).
Click on “Advanced Settings” (14).
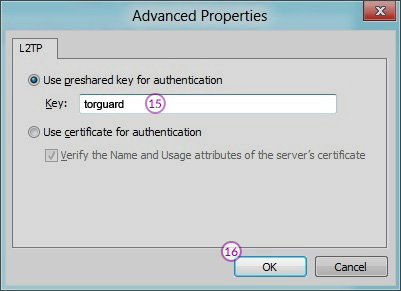
- Enter preshared key: “TorGuard vpn” (15) and click “OK” (16) for both windows.
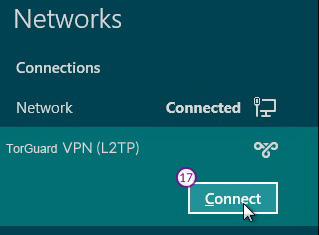
- Click again on the monitor icon on the bottom right-hand corner, and click “Connect” (17) to “TorGuard VPN (L2TP)”.
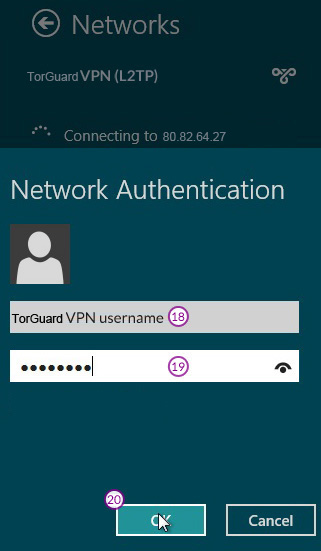
- In the next fields type your VPN username (18) and password (19) and click “OK” (20).
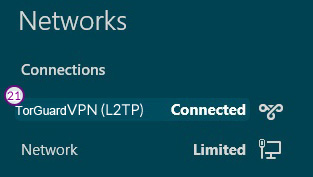
- When next to “TorGuard VPN (L2TP)” is written “Connected” (21) your connection has been created.
|