


It's no secret that we're big fans of the Raspberry Pi 4. While there are faster x86 options available, the Raspberry Pi excels when dedicated to a single task. In fact, that’s where the Pi shines: performing one task reliably and efficiently. It's a robust platform that automatically powers on after a power failure, offers excellent driver support, and thanks to its widespread acceptance, can run almost any software application on ARM architecture.
That's why, for secure remote VPN access to any LAN, the Raspberry Pi 4 is your go-to device. Today, we’re going to show you how straightforward it is to set up a remote VPN gateway on any LAN using just a Raspberry Pi 4 and TorGuard's dedicated WireGuard service. Here’s what you’ll need:
- A TorGuard Private VPN Cloud account
- One Raspberry Pi 4 Model B
- A Raspberry Pi 4 power cable
- A LAN cable
Naturally, running your entire network through a remote VPN gateway is ideal, but there are situations where you might simply need quick access to your entire local network—as if you were sitting right at your desk. In these cases, the Raspberry Pi excels. This setup can be incredibly beneficial for accessing remote desktops, security cameras, Home Assistant, IoT devices, or media servers. The Raspberry Pi provides a cost-effective, energy-efficient, and highly capable solution for such needs, making it an excellent choice for anyone looking to extend their network access securely and efficiently. Let’s dive in:
Burn the MicroSD Card
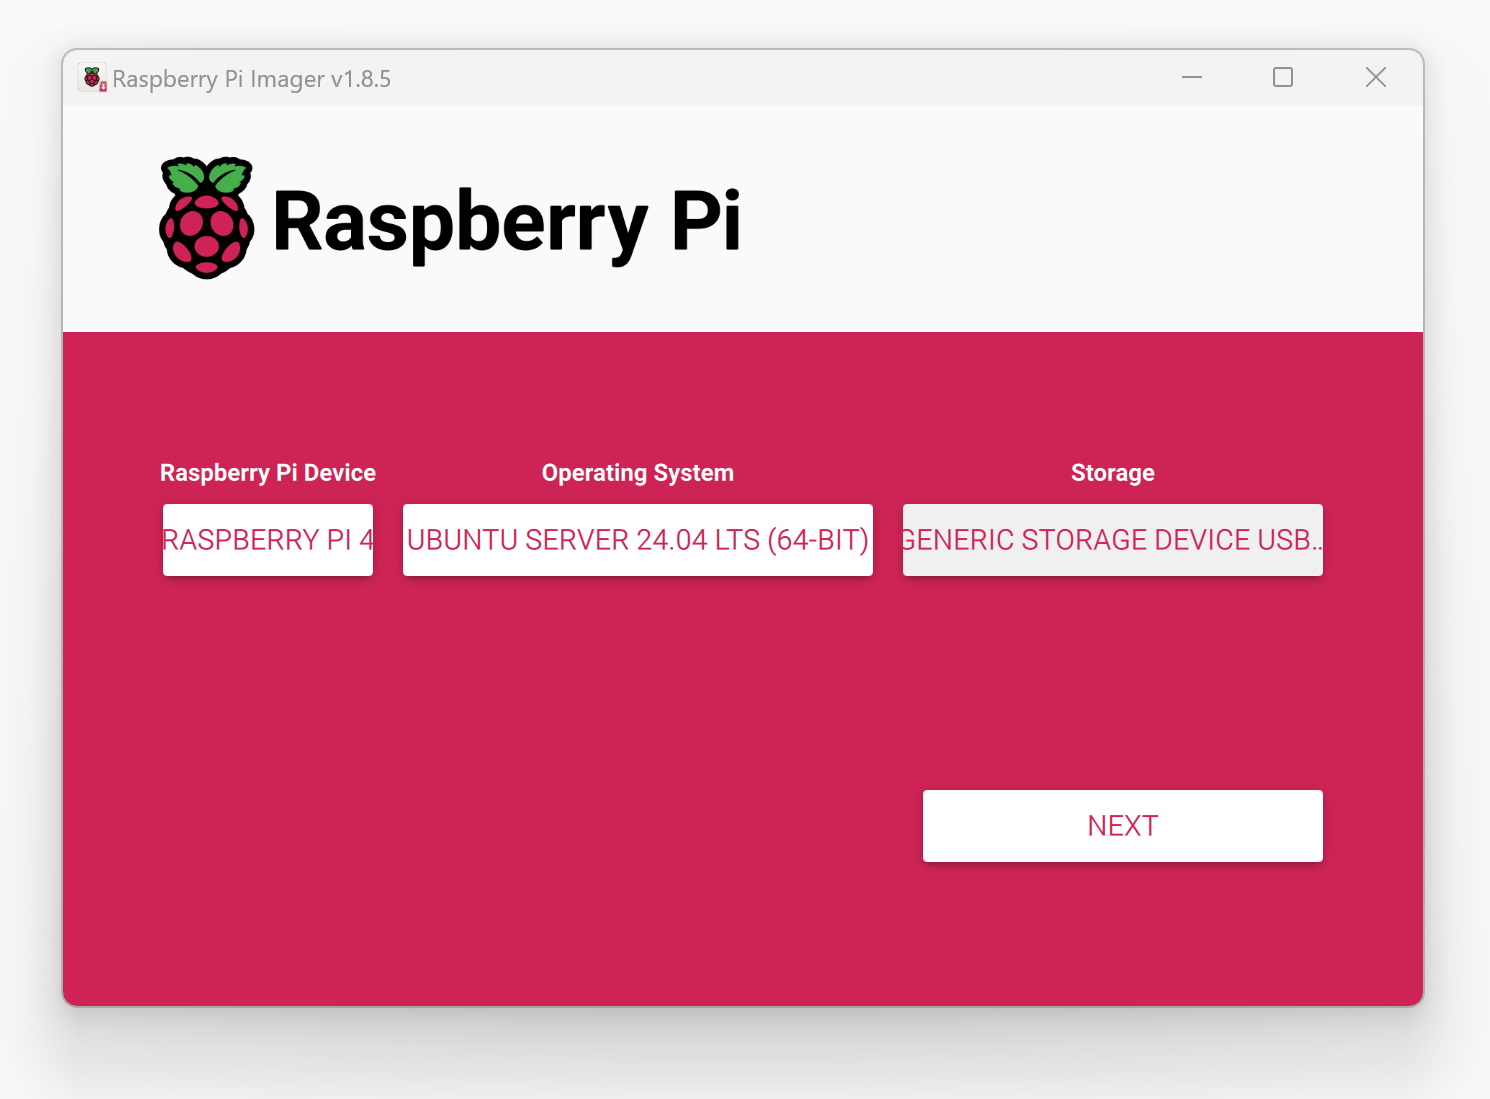
First, download the Raspberry Pi Imager application. Select the Raspberry Pi 4 as your device and choose Ubuntu Server 24 from the "other operating systems" section.
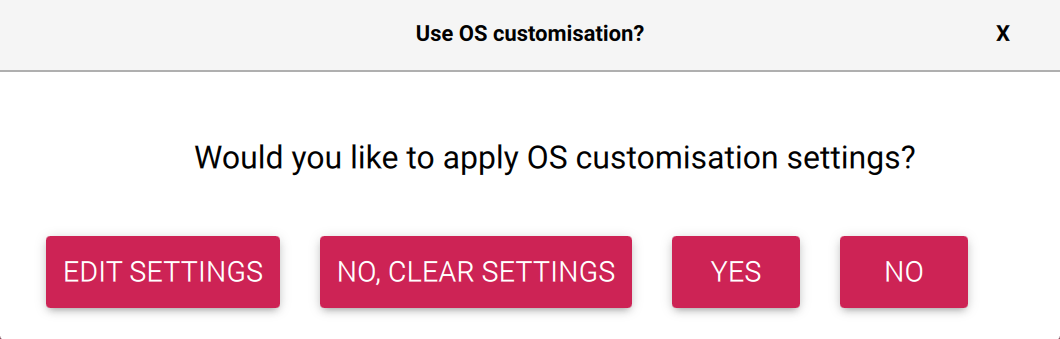
Once you've selected your MicroSD card as the storage device, you will be prompted to apply custom OS settings. Here, ensure that you enable SSH or add your SSH key, and assign a hostname to your Raspberry Pi that you will easily recognize. This step is crucial for remote management and securing your device, enabling you to access the Raspberry Pi seamlessly over your network once it's connected.
Generate a WireGuard Gateway Config
In this step, we will generate a WireGuard gateway configuration that the Raspberry Pi will utilize, allowing any additional WireGuard peer connections you add for other devices to have their traffic tunneled through the Pi. The Raspberry Pi 4 acts as the gateway to your local network through the VPN tunnel.

Navigate to the TorGuard members area and access your Private VPN Cloud service, then click the "Add device" button. Name the device "Rpi4". For the local subnet, enter the IP subnet of the router to which you will be connecting. For example, if your router's IP address is 192.168.4.1, you should enter 192.168.4.0/24. If there are other IP subnets that you wish to access from the device, you can enter them separated by commas. Under the gateway setting, select "Internal Communications only." This configuration ensures that the VPN server uses your local IP address while also granting access to any LAN resources. Finally, click the "add" button to complete the setup.
Set Up WireGuard on the Pi
Insert the freshly burned MicroSD card into your Raspberry Pi, and connect the Pi’s LAN cable directly to your router before powering it on. (You can find your Raspberry Pi's IP address by accessing your router's admin area.)

SSH into your Pi using Putty or any other SSH client, and then enter the following commands to install WireGuard:
sudo apt update
sudo apt upgrade
sudo apt install wireguard

With WireGuard installed, it’s time to add the WireGuard configuration we generated in Step 2. Use the following command to open the nano editor, then copy and paste your WireGuard configuration:
sudo nano /etc/wireguard/wg0.conf
After pasting, save the file by pressing CTRL + O and then CTRL + X to exit nano.
Next, enter the following commands to start WireGuard and ensure it automatically starts at boot:
sudo systemctl enable [email protected]
sudo systemctl daemon-reload
sudo systemctl start wg-quick@wg0
sudo systemctl status wg-quick@wg0
WireGuard should now be running, and you should see a status indicating it's connected. Press CTRL + C to return to the prompt and execute the commands below. These will enable IP forwarding, apply NAT rules, update your Pi's nameserver, and save the new iptables rules.
Enable IP forwarding:
sudo sed -i 's/#net.ipv4.ip_forward=1/net.ipv4.ip_forward=1/' /etc/sysctl.conf
sudo sysctl -p
Apply NAT rules:
sudo iptables -t nat -A POSTROUTING -o eth0 -j MASQUERADE
sudo iptables -A FORWARD -i wg0 -j ACCEPT
sudo iptables -A FORWARD -o wg0 -j ACCEPT
Update nameserver:
sudo sed -i 's/nameserver .*/nameserver 1.1.1.1/' /etc/resolv.conf
Make these rules persistent:
sudo apt install iptables-persistent
sudo iptables-save | sudo tee /etc/iptables/rules.v4
Your Raspberry Pi is now connected to the WireGuard server and configured to serve as a secure gateway that routes VPN traffic to and from your local network.
Add Some WireGuard Peers
Now that your Raspberry Pi is operational as the VPN gateway, you can configure VPN peers for the devices you wish to connect through the remote VPN.
Return to the TorGuard member's area and under the Default gateway, select the dropdown and choose the IP address we created in step two. This step ensures that your local IP address is used as the public IP through the VPN tunnel.
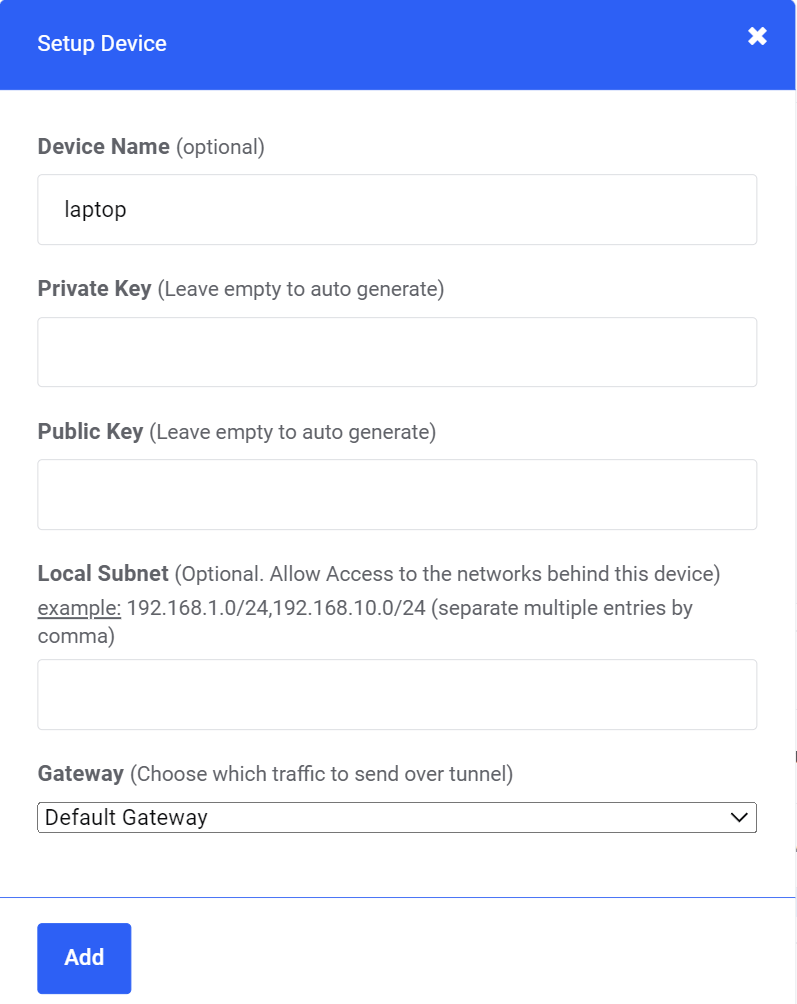
Next, click "Add Device" to configure your first device as a WireGuard peer. Enter a descriptive name for the device, such as 'Laptop' or 'Mobile'. Under "Gateway," choose "Default Gateway" to ensure that the device connects through the Rpi4.
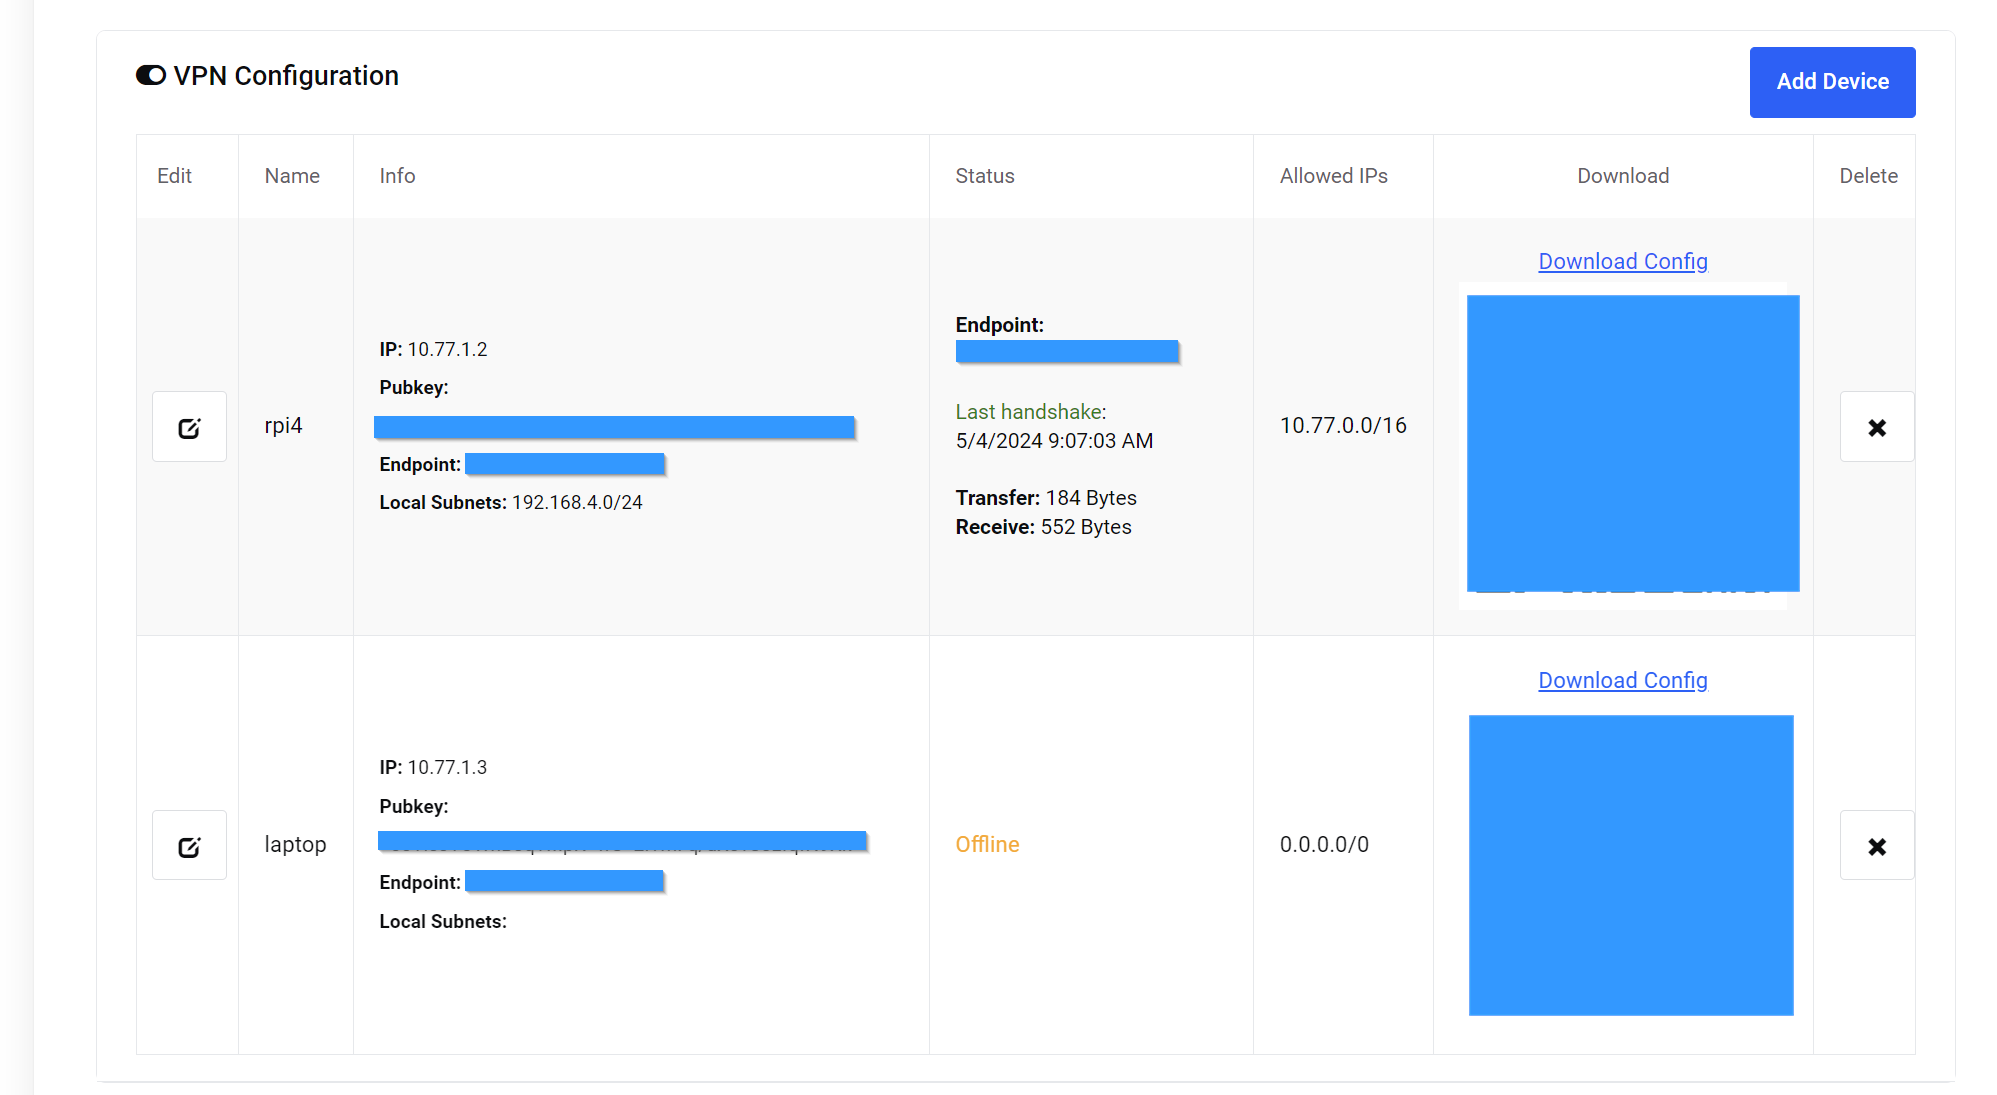
At this point, you should see two WireGuard configurations listed: the first for your Rpi4 gateway, and the second for your newly added WireGuard peer. You can continue to add third and fourth WireGuard peers for additional devices that will utilize your Rpi4 for remote VPN tunneling. This setup allows each device direct, secured access to your network as if they were physically connected to your local network.
Connect Your Devices to WireGuard
Finally, download the WireGuard client on your computer or mobile device. Then, load the WireGuard config file for the respective device and click "connect." If you are using WireGuard on Android or iOS, you can simply scan the QR code to import the WireGuard config.
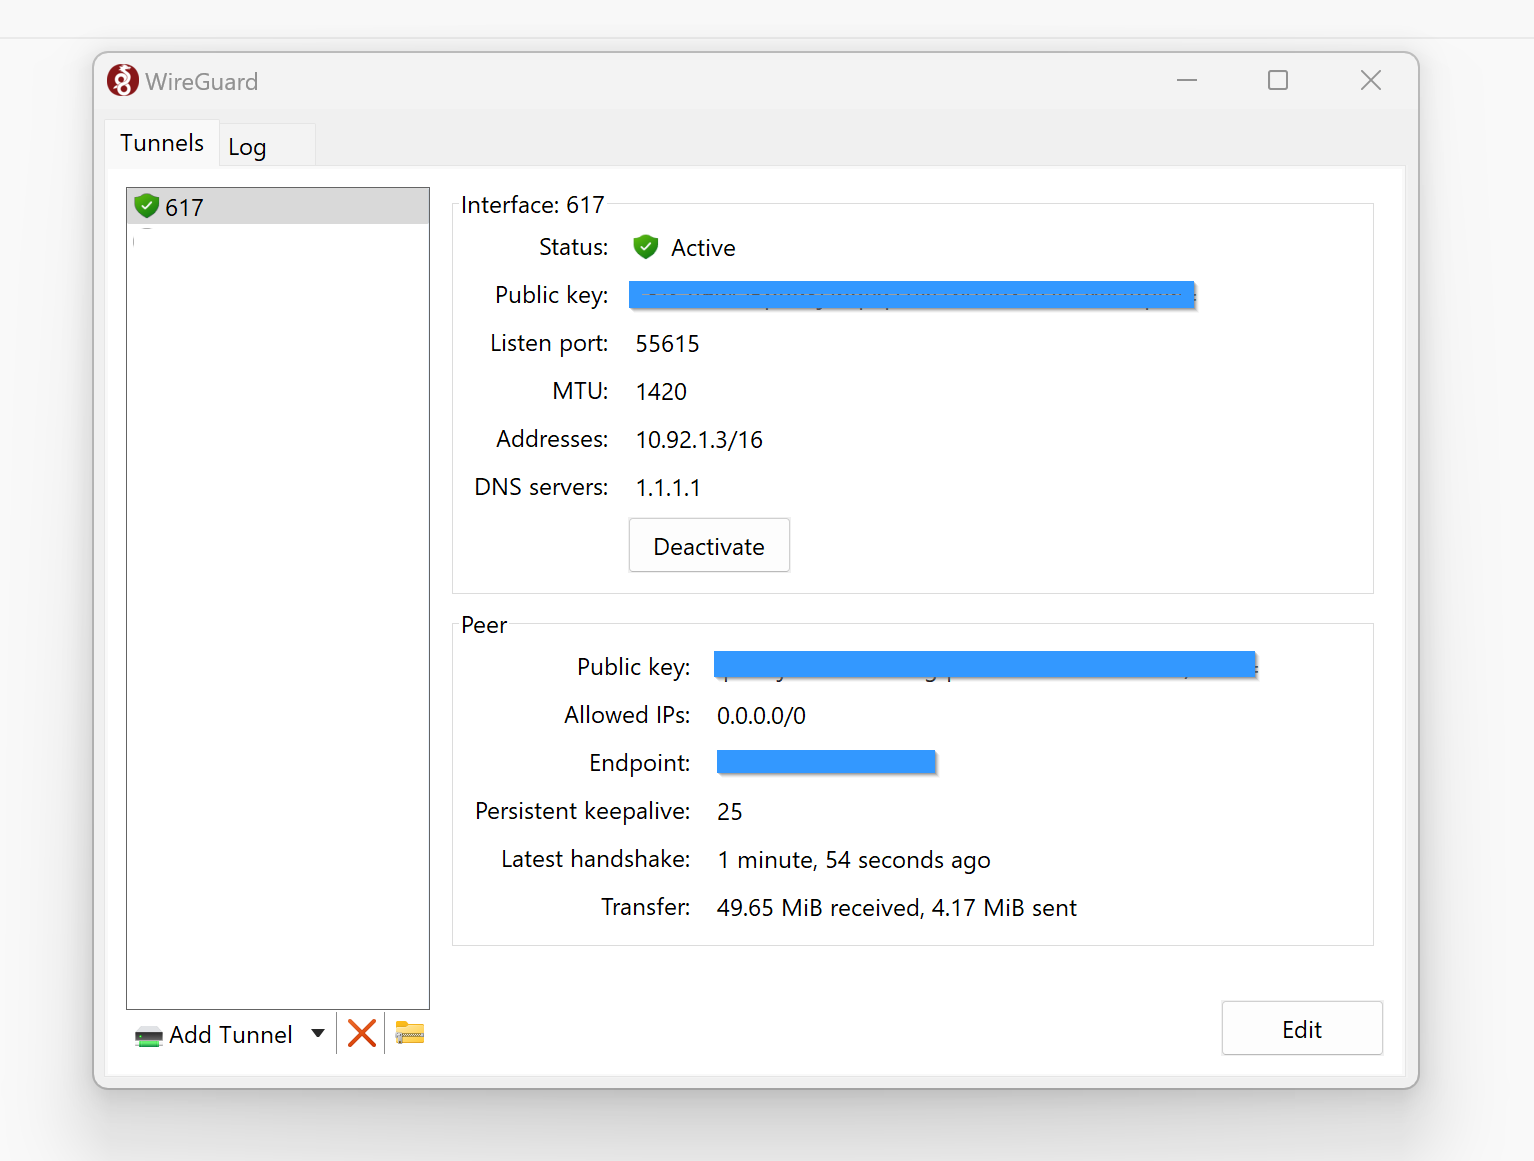
You're all set! Now, when you connect through any of your peer devices from any network, you will benefit from the security and encryption of WireGuard, while still retaining the capability of using your LAN's public IP address. Additionally, any devices, servers, routers, or local IP resources will be accessible only while connected through the VPN. This setup ensures that you maintain both security and functionality, allowing seamless access to your network resources from anywhere securely.
WireGuard simplifies the process of securely accessing your network from anywhere in the world without exposing your network to external threats or relying on passwords, which can be easily brute-forced or compromised. Consider moving away from public cloud solutions or desktop access via TeamViewer and embrace a more secure approach to remote VPN access with nothing more than a Raspberry Pi and WireGuard. This setup not only improves your security but also keeps your remote access neat and manageable, providing peace of mind no matter where you are.