

Ubuntu’s network manager has a built in OpenVPN interface for VPN users, however it’s a bit cumbersome at times and can take a few minutes to setup. This tutorial will walk you through setting up VPN service with TorGuard using their light weight OpenVPN client for linux. Let’s get started:
Step 1.) First, from Ubuntu Software Center, Install “OpenJDK Java 7 Runtime”
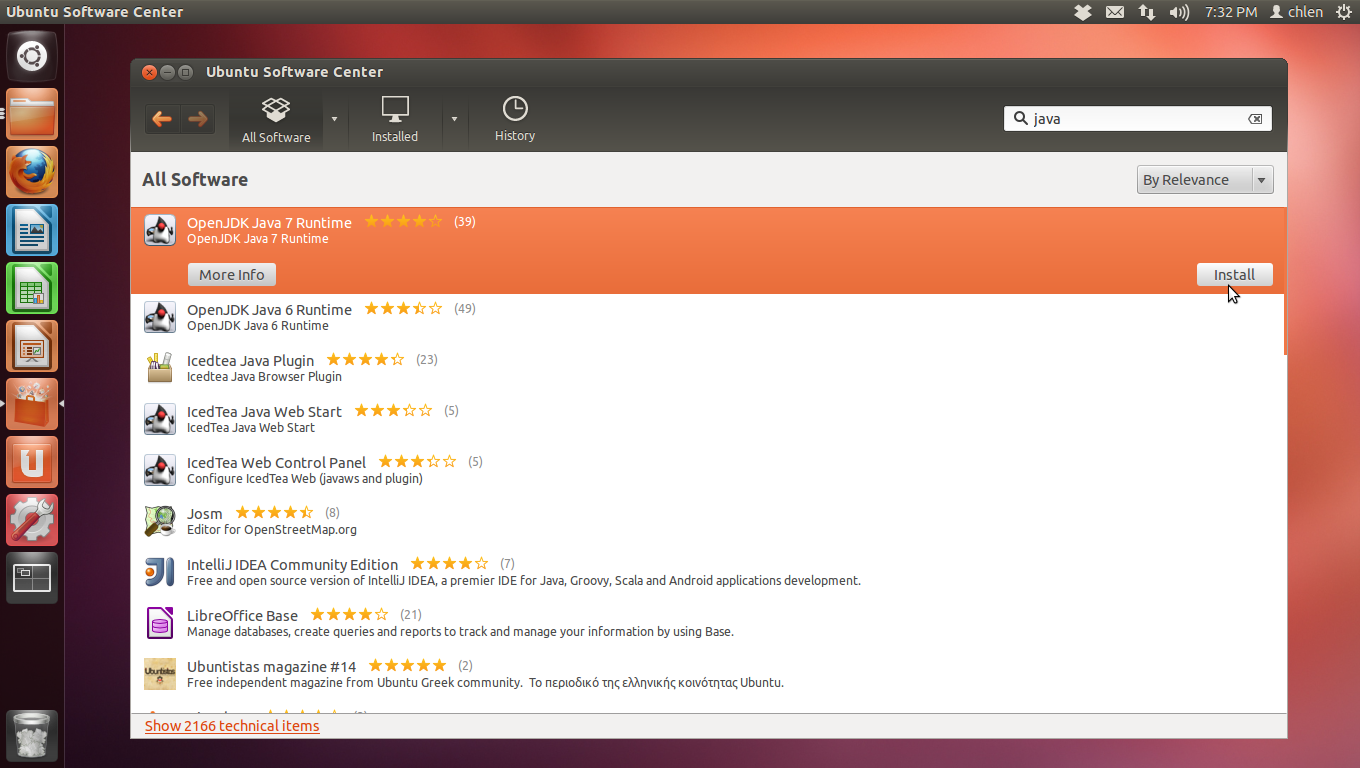
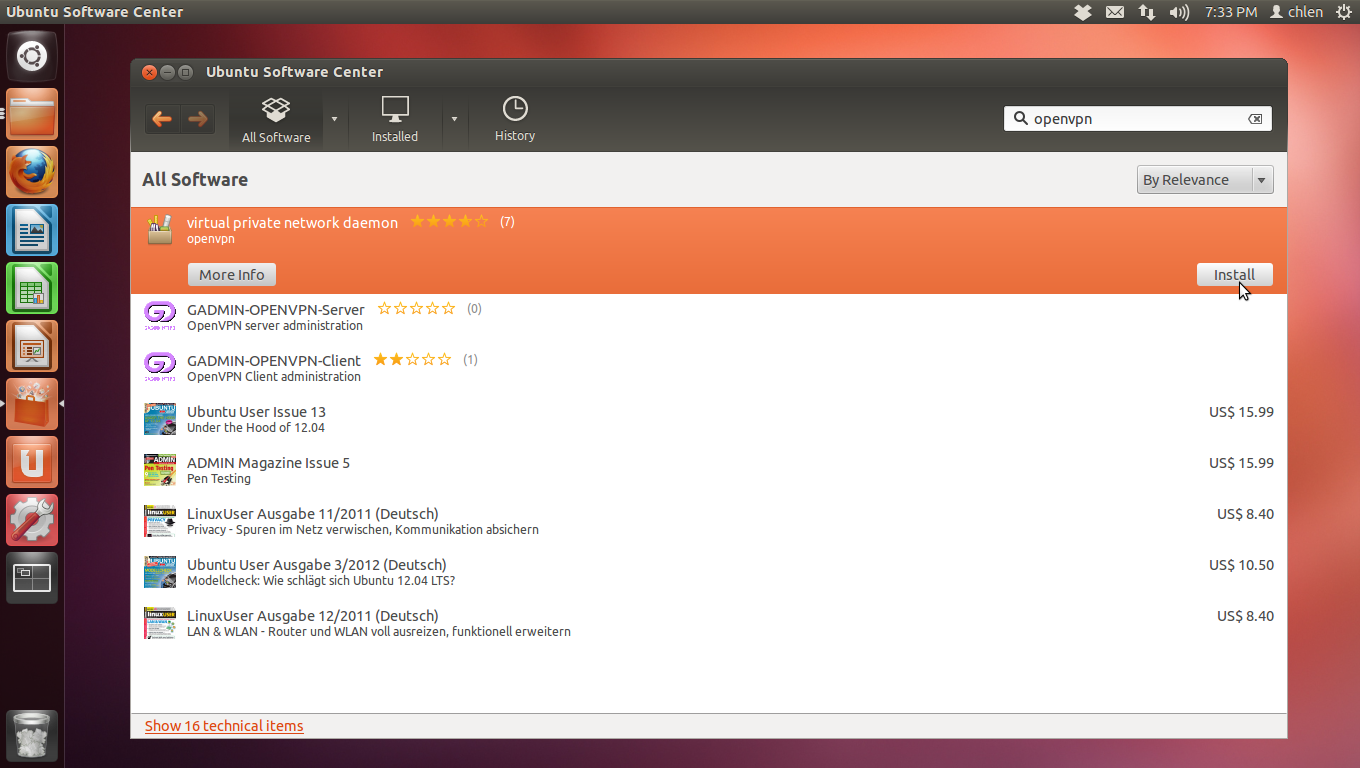
Step 2.) From Ubuntu Software Center, Install “Virtual Private Network Daemon”. This will download the OpenVPN drivers and install them on your system
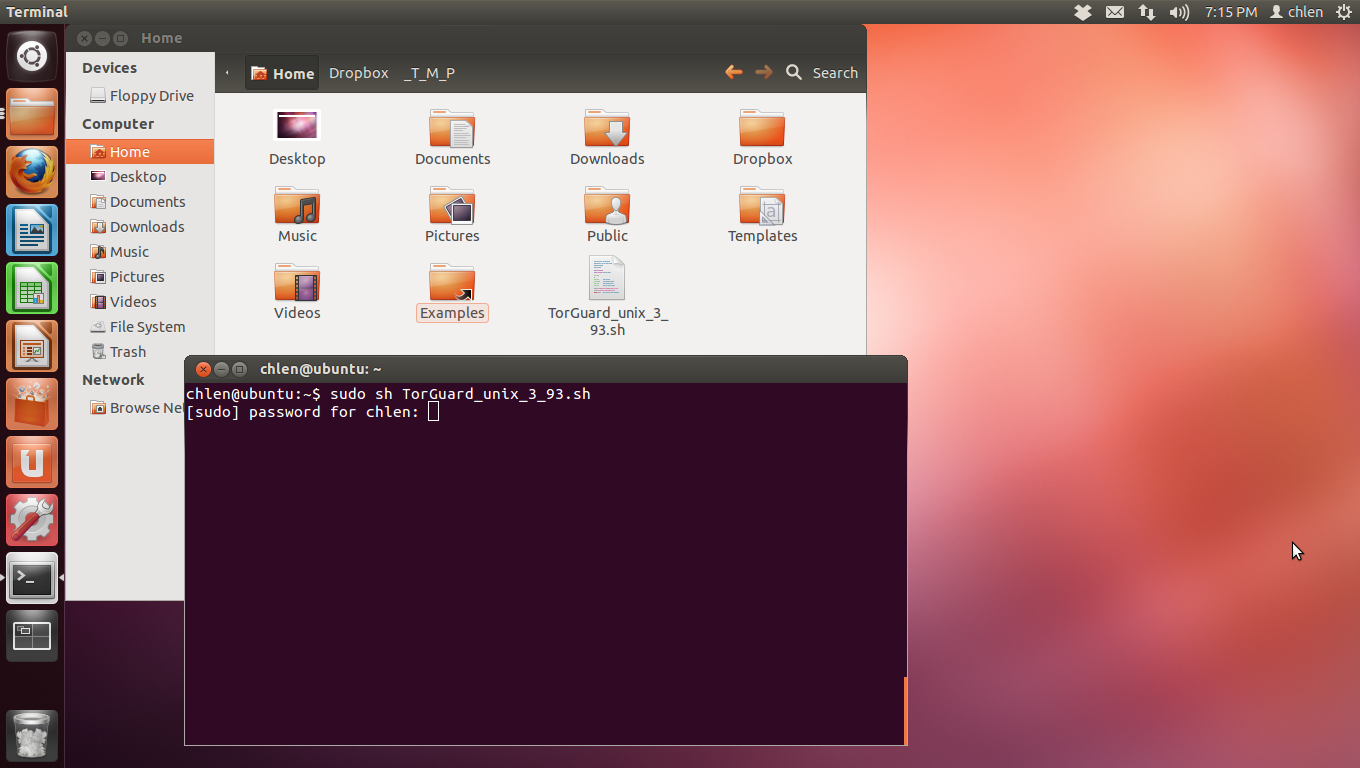
Step 3.) Next, download TorGuard’s VPN client from their download page. Open up terminal and cd to the directory you downloaded TorGuard installer.
Unzip TorGuard’s installer, then run in the terminal:
Enter: sudo sh TorGuard_unix_3_99FF.sh
[enter]
Then input your user password
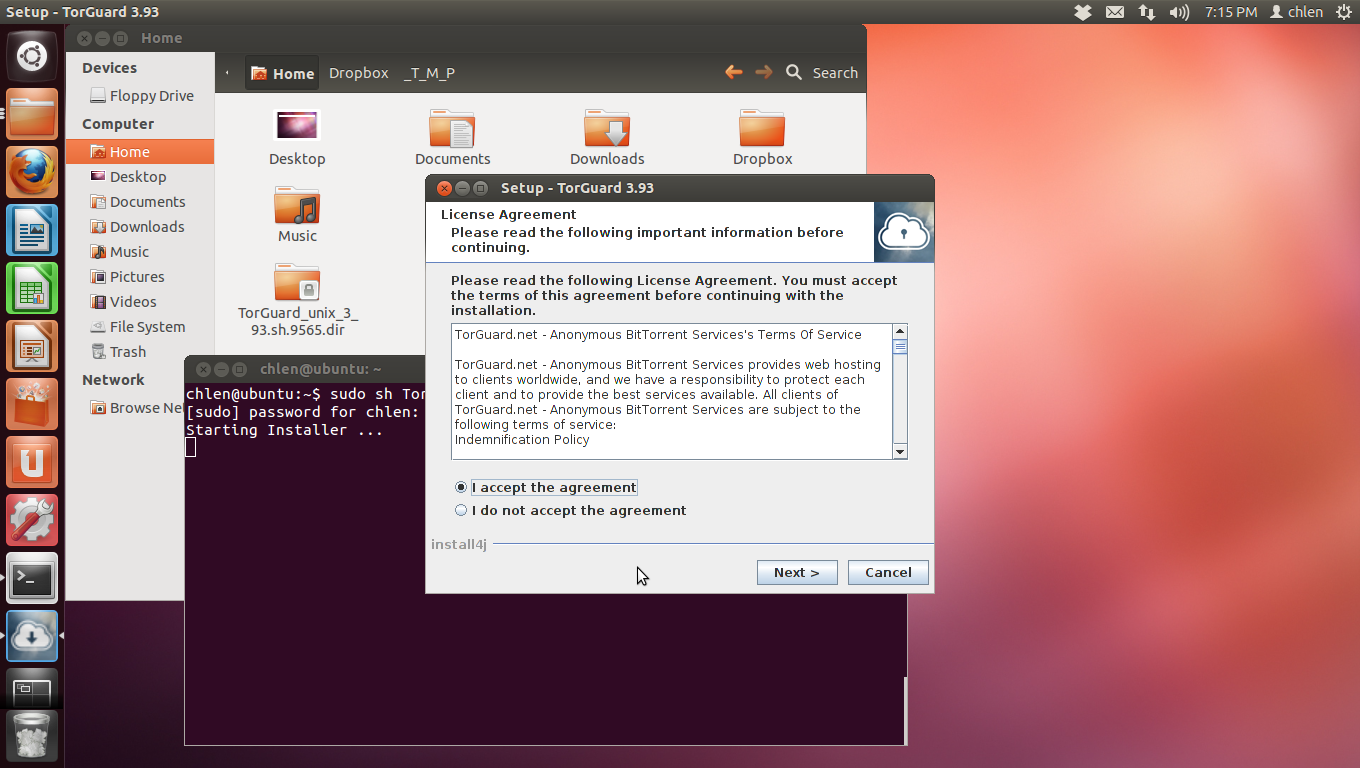
Step 4.) Click “I accept the agreement” then click Next…
Step 5.) Confirm the install directory then click Next…
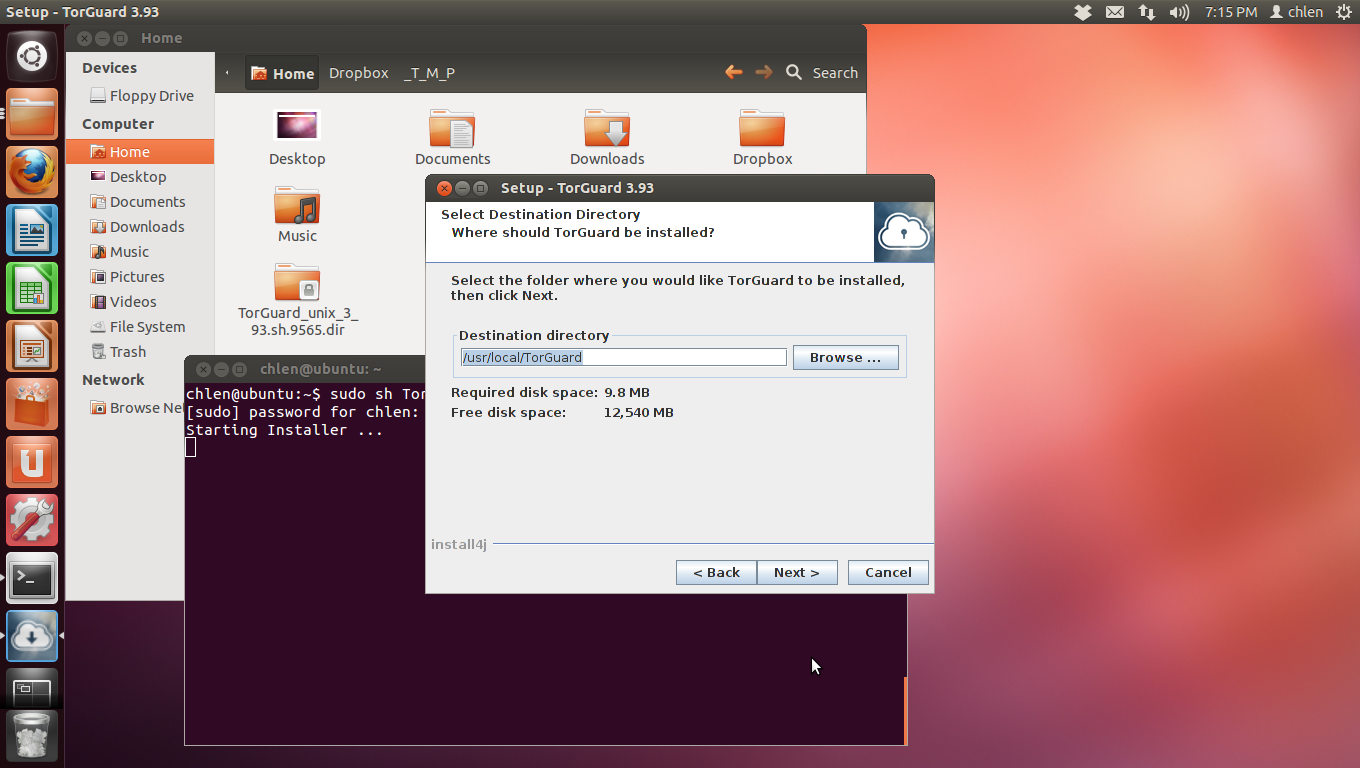
Step 6.) Confirm system dir then click next…
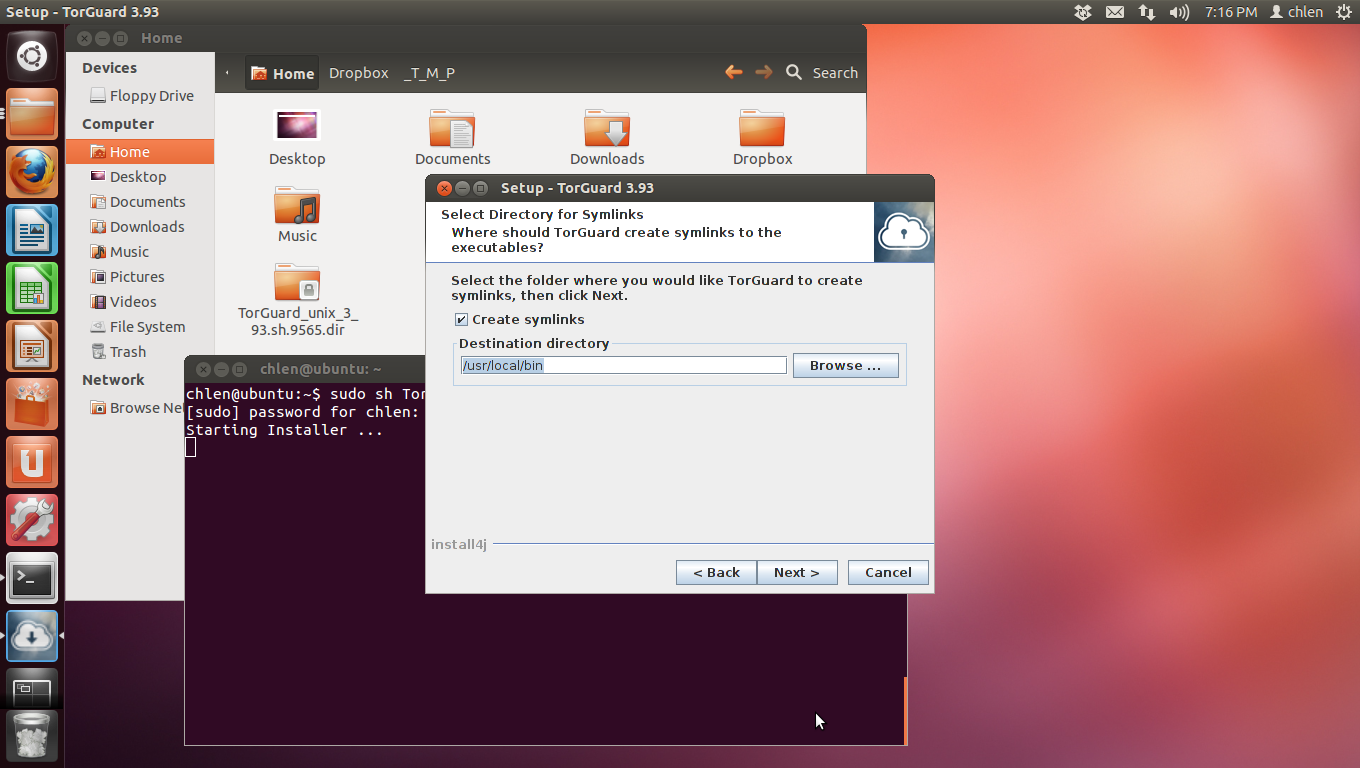
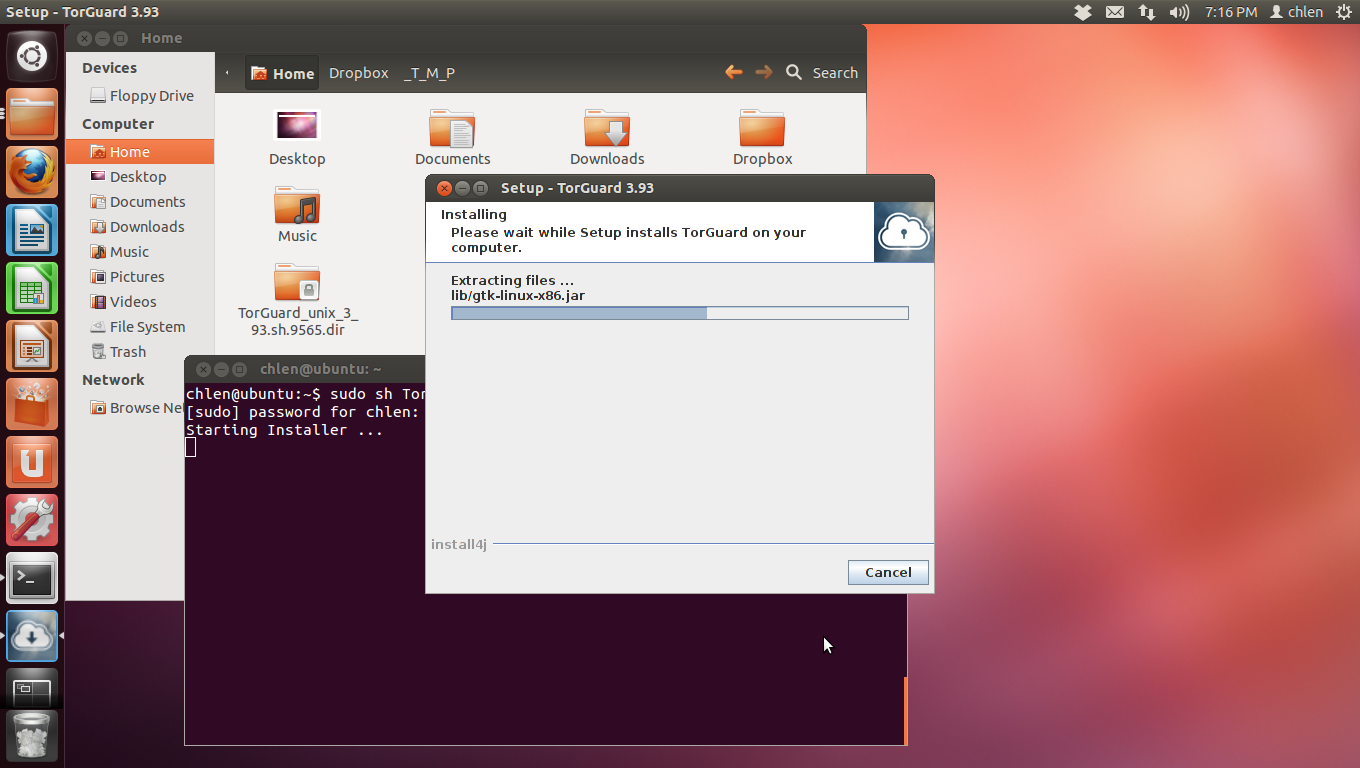
Step 7.) Installing TorGuard VPN client files…
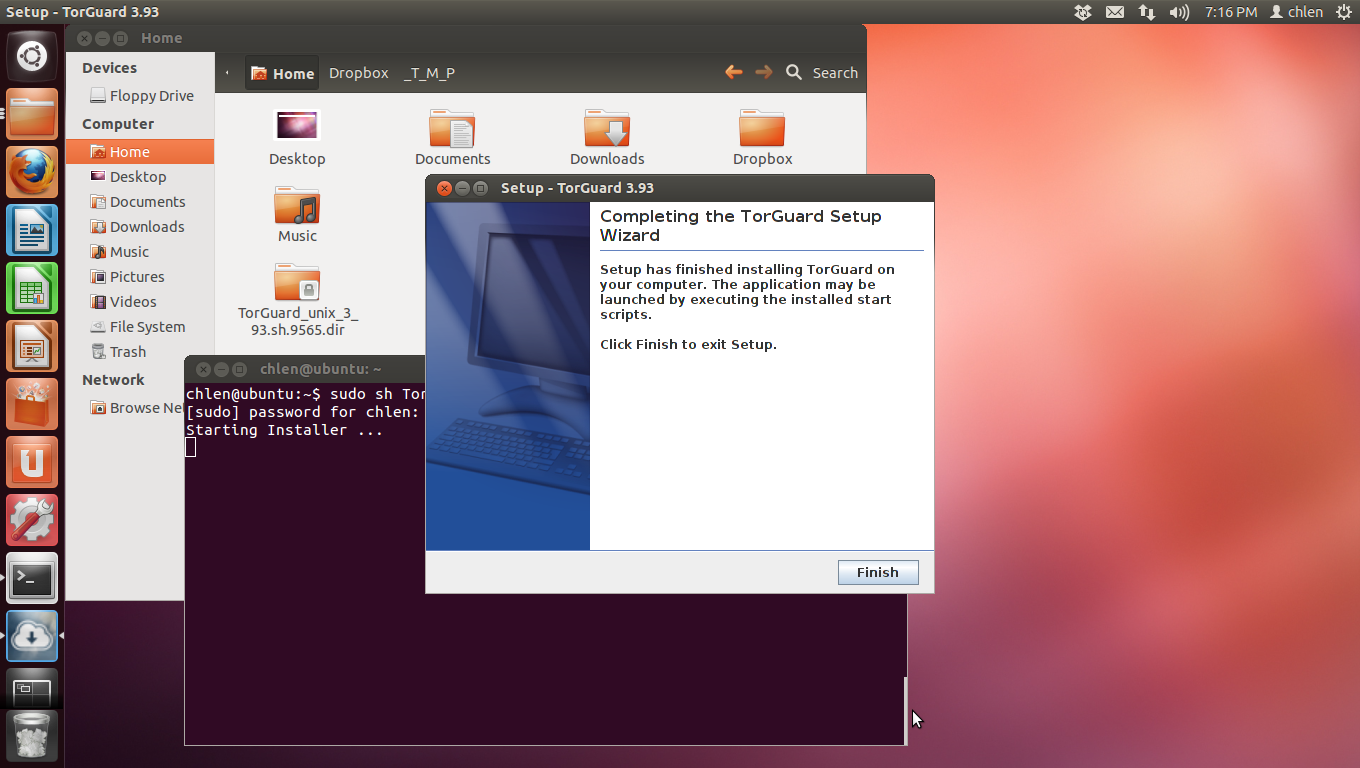
Step 8.) Click finish to complete the TorGuard OpenVPN setup wizard
Step 9.) Launch TorGuard app, input your username and password exactly as it shows in your VPN Service activation email.

Step 10.) Click connect!
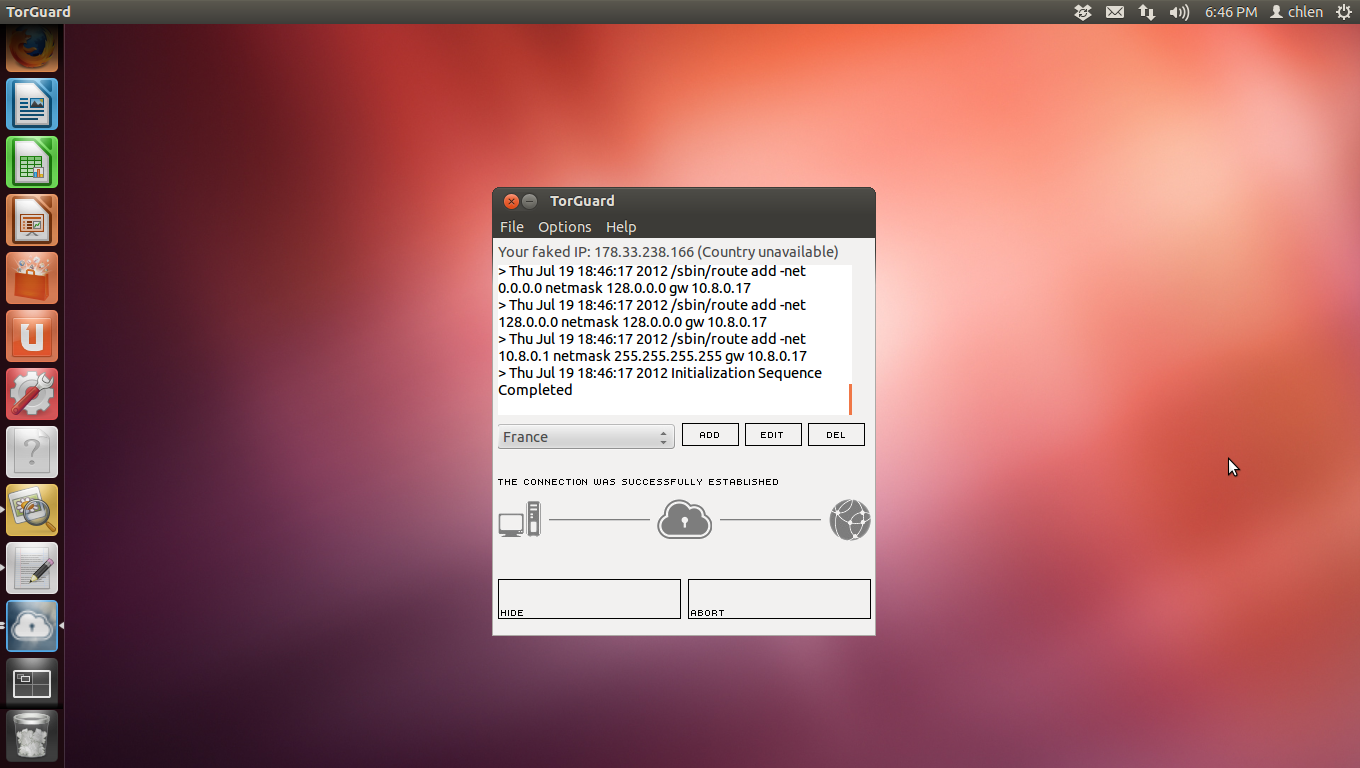
Your now protected on any linux system using OpenVPN encryption methods!