

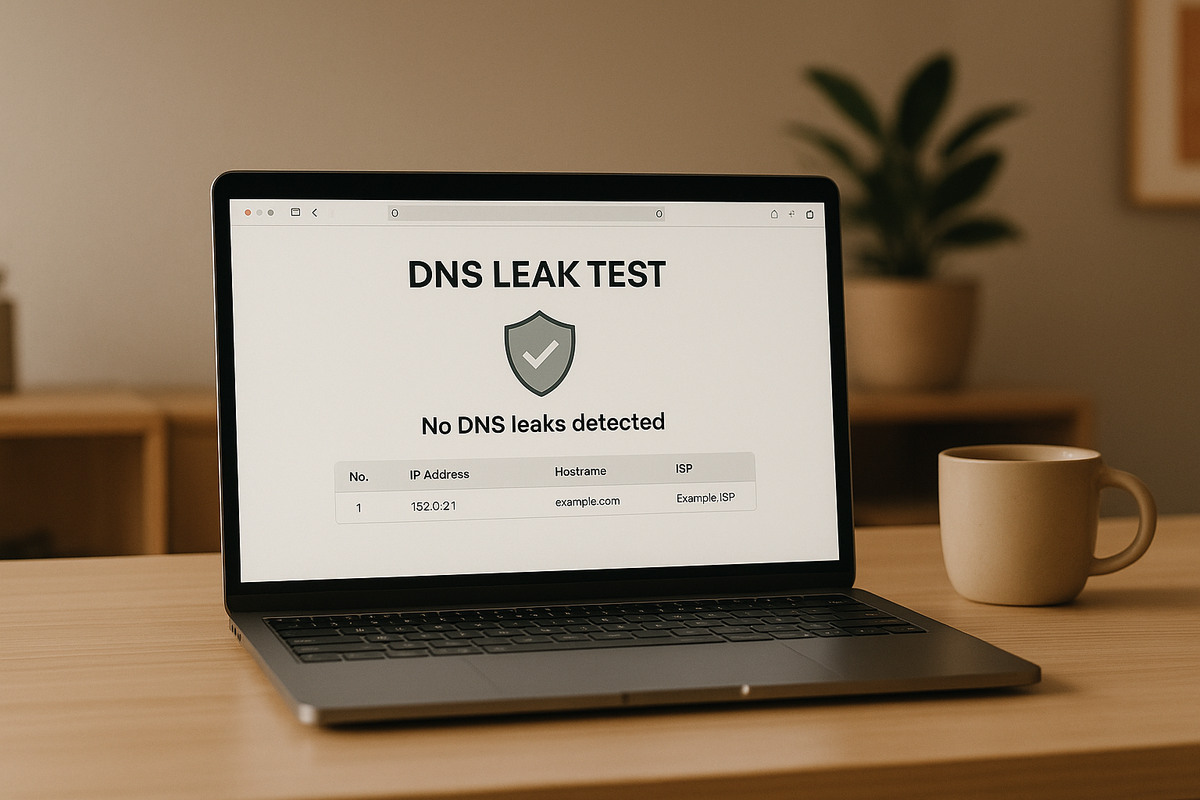
A DNS leak can expose your browsing activity, location, and even your IP address - defeating the purpose of using a VPN. Here's how to check for leaks and fix them:
Key Steps:
- Test Your VPN: Use TorGuard's DNS Leak Test tool to check if your DNS requests are leaking.
- Common Causes:
- Incorrect VPN configuration.
- IPv6 conflicts.
- ISP interference with DNS traffic.
- Fix Leaks Fast:
- Enable DNS leak protection in your VPN settings.
- Disable IPv6 on your device.
- Manually set your VPN’s DNS servers in network settings.
- Stay Secure:
- Run regular DNS leak tests.
- Keep your VPN software updated.
- Use a VPN with built-in DNS leak prevention, like TorGuard.
Quick Tip: A working VPN should show a different IP address and DNS servers from your ISP. Always double-check!
For more details on testing and fixing DNS leaks, keep reading.
Setting Up Your DNS Leak Test
If you want to safeguard your browsing privacy, running a DNS leak test is a smart move. Here's how to set it up step by step.
Check Your VPN Connection
Before diving into DNS leak testing, you need to make sure your VPN connection is working properly. Without a functional VPN, the test results won’t mean much.
"The easiest way to tell if a VPN is working is to fire up your VPN software, hop on a server in a different location -- another city, state or country -- then look up your IP address using a website such as the aptly named WhatIsMyIPAddress." - Moe Long, Senior Editor, CNET [1]
Here’s how to verify your VPN connection:
- Find your current IP address: Visit TorGuard's What Is My IPAddress page and note down the IP address displayed.
- Connect to a VPN server: Choose a server in a different city, state, or country.
- Check your IP again: Revisit the IP check page. The IP address should now match the location of the VPN server you connected to.
- Confirm your VPN status: Open your VPN client and ensure it shows "Connected."
Document Your Network Settings
Once you’ve confirmed your VPN is working, it’s time to document your network settings. This step helps you establish a baseline for your DNS leak test.
| Setting | Why It Matters |
|---|---|
| Default DNS Servers | To identify if your ISP’s servers are being used. |
| Public IP Address | To ensure your VPN is masking your real IP. |
| Network Interface | To confirm traffic is routed through the VPN tunnel. |
| Router DNS Settings | To avoid conflicts that could cause leaks. |
Essential Preparation
To get accurate test results, a little prep work is needed. Follow these steps:
- Clear your browser and DNS caches.
- Disable IPv6 if it’s enabled.
- Remove any third-party DNS services.
- Turn off DNS over HTTPS in your browser.
Configuration Tips
For the best results and to maintain your privacy, make sure:
- Your VPN is using its own DNS servers.
- Your router’s DNS settings are compatible with your VPN.
- All your internet traffic is routed through the VPN.
- Any custom DNS configurations are properly documented.
3 Methods to Check for DNS Leaks
After reviewing your VPN connection and network settings, these three methods can help you identify potential DNS leaks.
Web-Based Testing Tools
Web-based tools are an easy way to check if your DNS requests might be exposed.
Here’s how to use them:
- Initial Test (Without VPN):
Use TorGuard's DNS Leak Check and run the test. Take note of your actual IP address, location, and DNS servers. - VPN Test:
Connect to your VPN and rerun the test. Confirm that the results now display the VPN-assigned IP address and DNS servers, replacing your original details.
Network Analysis Tools
For a deeper dive, real-time network analysis tools can help uncover issues that simpler tests might miss.
| Feature | Purpose | Benefit |
|---|---|---|
| Traffic Monitoring | Tracks DNS request patterns | Detects unusual routing behavior |
| Packet Inspection | Analyzes DNS query contents | Identifies unauthorized data exposure |
| Geolocation Analysis | Maps DNS server locations | Highlights geographical inconsistencies |
What to watch for:
- DNS Response Times: Delays could signal routing problems.
- Server Locations: If the server locations don’t align with your VPN, it might indicate a leak.
- Query Patterns: Unexpected queries could point to security issues.
These methods provide a solid foundation for identifying DNS leaks and addressing them effectively.
Steps to Fix DNS Leaks
Fixing DNS leaks is essential to maintaining your online privacy. Here's how you can address them efficiently.
Quick DNS Leak Fixes
Start by adjusting your network settings to plug immediate leaks:
For Windows Users:
- Open your network adapter settings.
- Go to the IPv4 settings and manually input your VPN's DNS server addresses.
- Flush your DNS cache by opening Command Prompt and typing:
ipconfig /flushdns.
For Browser-Related Leaks:
Secure DNS settings in your browser may cause leaks. Disable them as follows:
| Browser | Setting Location | Action Required |
|---|---|---|
| Chrome | Settings > Privacy and Security | Disable "Use secure DNS" |
| Firefox | Settings > Network Settings | Uncheck "Enable DNS over HTTPS" |
| Edge | Settings > Privacy | Disable "Use secure DNS" |
| Brave | Settings > Security | Disable "Use secure DNS" |
Once these quick fixes are applied, take additional steps to prevent leaks from happening again.
DNS Leak Prevention Steps
To ensure long-term protection, follow these measures:
- Enable VPN DNS Leak Protection Check your VPN's settings and activate its DNS leak protection feature. This ensures all DNS queries are routed through the VPN's encrypted tunnel.
- Adjust System Settings Strengthen your system by making these changes:
- Disable IPv6 if your VPN doesn’t fully support it.
- Turn on the VPN kill switch to block traffic if the VPN disconnects.
- Use firewall rules to block non-VPN traffic.
- Opt for encrypted DNS protocols like DNS over HTTPS (DoH) or DNS over TLS (DoT).
"The solution is to ensure that once connected to the VPN, you are using ONLY the DNS server/s provided by the VPN service." - DNSLeakTest.com [2]
Regular DNS Security Checks
Maintaining DNS security is an ongoing process. Regular checks can help identify and address potential vulnerabilities.
Weekly Checks:
- Run DNS leak tests, especially after any network changes.
- Clear your DNS cache to remove old records.
- Confirm that your VPN kill switch is active.
- Check for and install VPN software updates.
Monthly Maintenance:
- Review and update your firewall rules.
- Ensure your system and browser settings are still configured correctly.
- Double-check your DNS server settings.
- Test all VPN protocols you use to identify any potential leaks.
For users of OpenVPN, include the block-outside-dns directive in your configuration file to prevent leaks. Wireguard users should verify that their configuration file specifies a valid DNS directive. Regular maintenance will help keep your DNS setup secure and leak-free. If you're using TorGuard's VPN client app these steps are done for you.
TorGuard's DNS Leak Protection

TorGuard takes DNS leak protection seriously, offering a system designed to shield your online activity through multiple layers of security. By routing all DNS queries through its secure VPN servers, it ensures your browsing remains private and safe.
Automatic DNS Protection
TorGuard encrypts all DNS queries using AES-256 encryption and directs them through private, no-logs servers. This process is automatic, requiring no manual setup, so your DNS traffic stays hidden from your ISP and other prying eyes right from the start. Every TorGuard VPN server run's a no-log DNS server that is used by default.
Additional Security Features
TorGuard includes extra tools to strengthen your DNS protection:
| Security Feature | Function | Benefit |
|---|---|---|
| IPv6 Leak Prevention | Disables IPv6 during VPN use | Blocks potential data exposure |
| Kill Switch | Cuts internet access if the VPN disconnects | Maintains continuous protection |
| DNS Customization | Allows users to configure custom DNS settings | Offers flexibility for advanced users |
| Port Selection | Lets users choose specific ports for connections | Enhances connection security |
These features work seamlessly with TorGuard's OpenVPN protocol, helping to prevent DNS leaks and mitigate WebRTC vulnerabilities. Together, they create a robust defense for your online activity across all devices.
Device Compatibility
TorGuard's DNS leak protection is available on a variety of platforms, ensuring secure browsing no matter what device you're using.
Desktop Systems:
- Windows with built-in DNS leak protection
- macOS with integrated security tools
- Linux with OpenVPN compatibility
Mobile Platforms:
- iOS with automatic DNS protection
- Android with customizable security settings
With access to over 3,000 servers across 50+ countries [4], TorGuard provides reliable DNS security no matter where you connect from.
To maximize your protection, double-check that both "Prevent DNS Leak" and "Prevent IPv6 Leaks" options are enabled in your TorGuard settings [3]. These features work hand-in-hand to safeguard against DNS vulnerabilities, giving you peace of mind while browsing.
Conclusion: Maintaining DNS Privacy
Protecting your DNS from leaks is a crucial step in safeguarding your online privacy. Without it, your browsing data and location could be exposed to prying eyes, undermining the very purpose of using a VPN.
Running regular DNS leak tests is a must. DNS leaks can compromise your VPN's effectiveness, expose your online activity, and reveal sensitive location details. With online threats becoming increasingly advanced, prioritizing DNS security is no longer optional. Tools like TorGuard make this process easier to manage.
TorGuard's built-in DNS leak protection encrypts all DNS queries using AES-256 encryption and routes them through private, no-log servers. This ensures your internet traffic stays secure across all your devices without requiring you to tinker with complex settings [5].
To keep your DNS settings locked down, follow these steps:
- Test Regularly: Run DNS leak checks monthly or after any changes to your network.
- Stay Updated: Always keep your VPN software up to date with the latest security patches.
- Verify Settings: Double-check that features like IPv6 leak protection and kill switches are enabled.
These practices add an extra layer of defense to your overall security setup, ensuring that your privacy remains intact.
A DNS leak can undo all the protections your VPN provides. By conducting regular tests and leveraging the security features offered by TorGuard, you can ensure your online activities remain private and secure.
FAQs
How can I check if my VPN is protecting me from DNS leaks?
Want to make sure your VPN is keeping your online activity private? A DNS leak test is a quick way to find out. There are plenty of online tools that can help you check if your DNS requests are being routed through your VPN’s secure servers or if they’re visible to your Internet Service Provider (ISP). If the test reveals DNS servers that don’t belong to your VPN, your connection might not be as secure as you think.
To resolve this, dive into your VPN settings and ensure it’s set to use only the VPN’s DNS servers. Look for options like “block outside DNS” or similar features designed to stop your device from using external DNS servers. Making this adjustment - and running regular tests - can go a long way toward keeping your online activity private.
What should I do if I find a DNS leak while using my VPN?
If you’ve noticed a DNS leak while using your VPN, don’t worry - there are several straightforward steps you can take to fix it and safeguard your privacy:
- Update Your DNS Settings: Ensure your device is configured to use the DNS servers provided by your VPN. You can adjust this in your operating system’s network settings.
- Clear the DNS Cache: Flush out any cached DNS records. On Windows, you can do this by running
ipconfig /flushdnsin the Command Prompt. For other operating systems, use the equivalent command. - Turn On DNS Leak Protection: Many VPNs offer a built-in DNS leak protection feature. Double-check your VPN settings to ensure this option is enabled.
- Retest for Leaks: Once you’ve made these changes, use a DNS leak testing tool to verify that the issue has been resolved.
Following these steps will help secure your DNS queries and keep your online activities private.
Why should I disable IPv6 and use my VPN's DNS servers to avoid DNS leaks?
Disabling IPv6 and ensuring your VPN uses its own DNS servers are important steps to safeguard your privacy and prevent DNS leaks. When IPv6 is active, there’s a chance that DNS requests might bypass the secure VPN tunnel. This could reveal your actual IP address and browsing activity to your internet service provider (ISP), putting your privacy at risk.
By setting your VPN to rely on its own DNS servers, all DNS queries are securely routed through the VPN connection. This keeps your online activities hidden from prying eyes, including your ISP or other third parties. Making these adjustments helps you maintain the privacy and security you rely on when using a VPN.