In previous posts, we’ve shown you how to use Gluetun with Docker Compose on Ubuntu, a popular method for self-hosting containerized applications using WireGuard for VPN access. But if you're new to Docker, the command-line interface (CLI) and Docker Compose may seem a bit intimidating. If you prefer a more user-friendly solution, Portainer provides a web GUI that can make managing your Docker containers easier. Today, we’ll walk you through the process of configuring any Docker container to use Gluetun WireGuard for internet access using Portainer, and we’ll show you how to do it on Windows with Docker Desktop.

Step 1: Install Docker Desktop on Windows
Docker Desktop for Windows has come a long way and is now a reliable and easy way to get started with Docker. First, you'll need to install Docker Desktop. For most users, the Windows Subsystem for Linux (WSL) backend works best. You can download Docker Desktop for Windows from the official Docker website:
Download Docker Desktop for Windows
Follow the installation instructions, and once Docker is installed, restart your system if prompted.
Step 2: Install Portainer
Next, we’ll install Portainer, a powerful management tool for Docker that gives you an easy-to-use web interface. To do so, open Windows PowerShell and enter the following commands:
docker volume create portainer_data
docker run -d -p 8000:8000 -p 9443:9443 --name portainer --restart always -v /var/run/docker.sock:/var/run/docker.sock -v portainer_data:/data portainer/portainer-ce:2.21.5
Once Portainer is installed, open a web browser and go to:
You may need to restart Docker Desktop (right-click the Docker icon in the system tray and select "Restart"). Once you're logged in, we recommend adding a third-party self-hosting template list. This template list includes over 500+ popular app templates to help you get started quickly. To do this, go to Settings → App Templates in your Portainer GUI, and paste the following URL:
https://raw.githubusercontent.com/Lissy93/portainer-templates/main/templates.json
This will refresh the list of templates in Portainer.
Step 3: Set Up Gluetun with WireGuard
Now it’s time to configure Gluetun with WireGuard. Start by creating a folder on your desktop called "gluetun." This folder will store your WireGuard config files, including the Docker Compose file for Gluetun.
- Get Your WireGuard Config File:
Access the WireGuard config generator in the TorGuard members area. Select your preferred WireGuard server location, and then download the.conffile it generates. Save this file in the "gluetun" folder you just created. For example, save the file as70.conf. - Create the Docker Compose File:
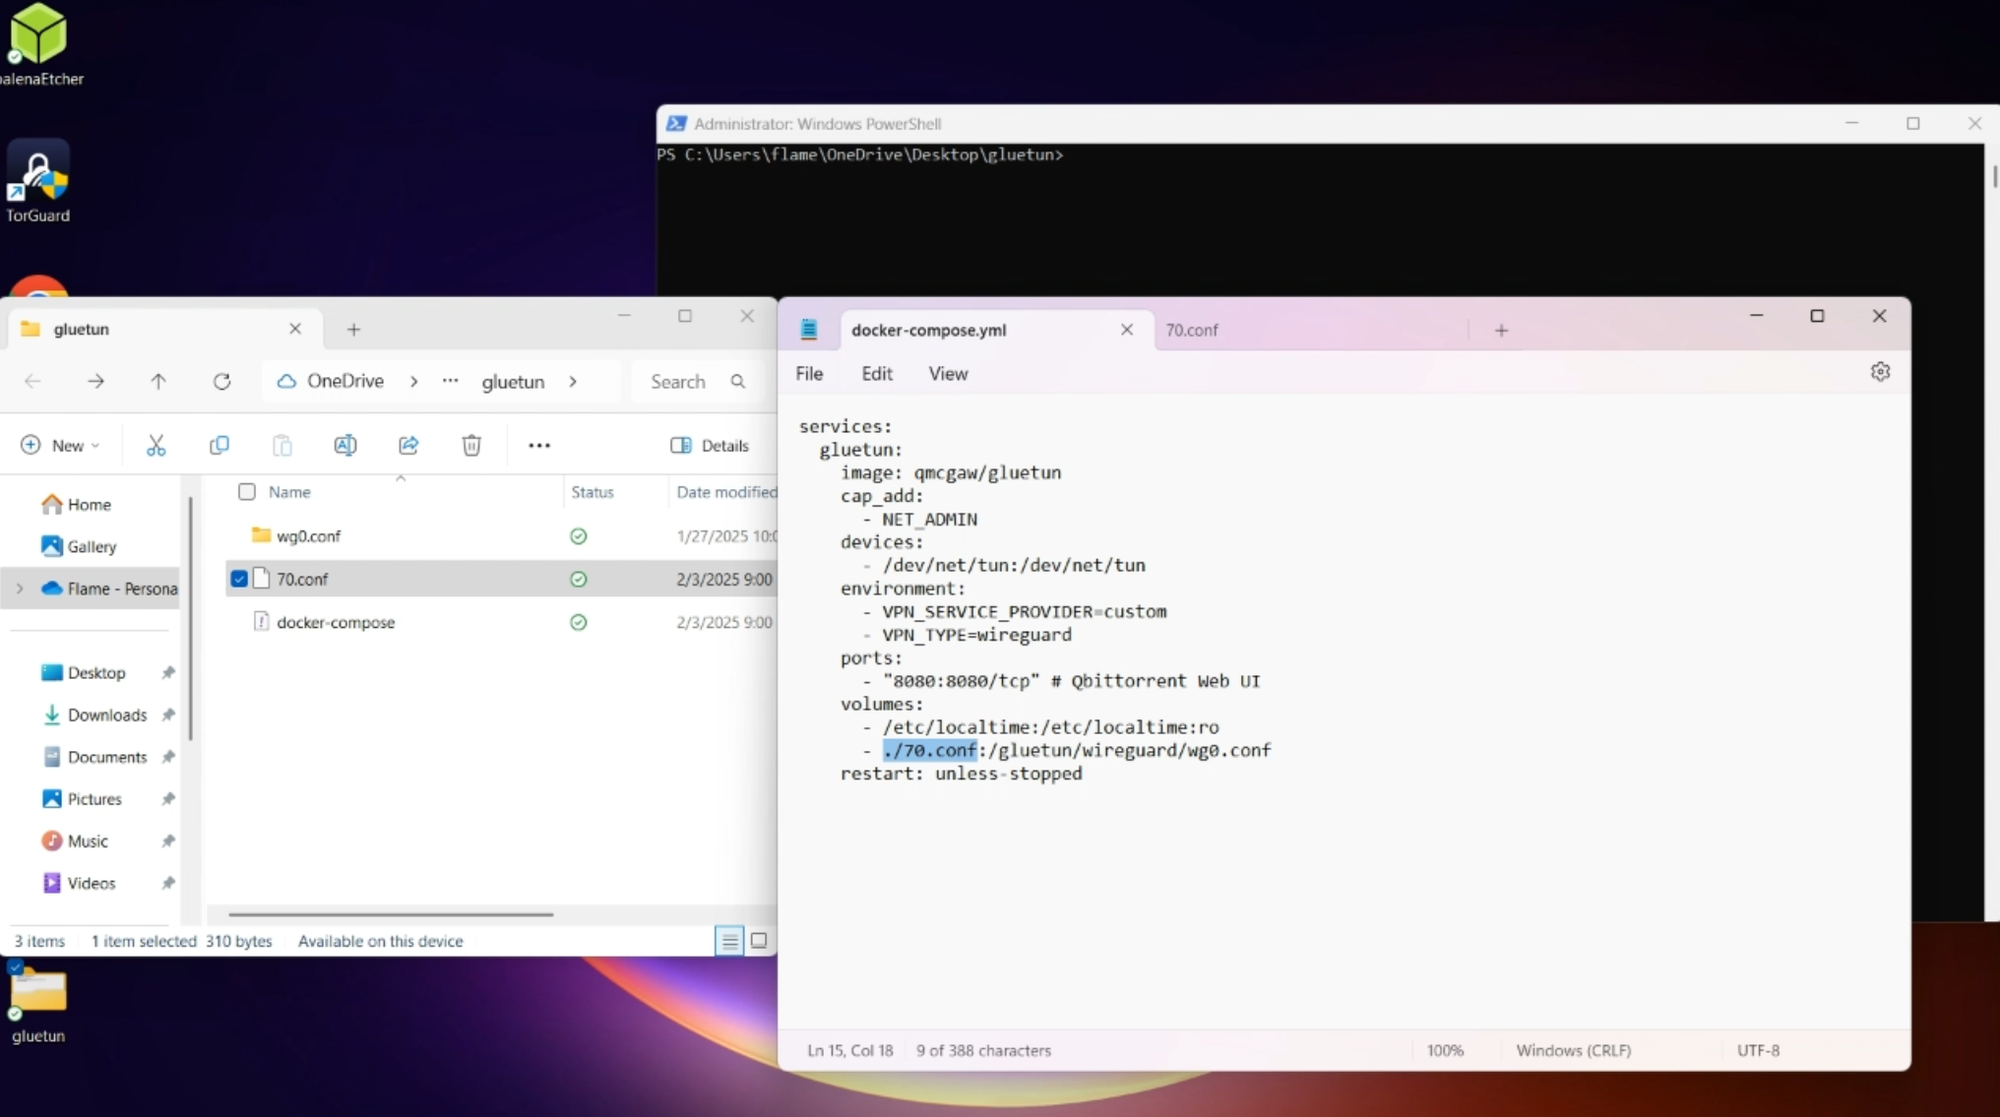
In the same "gluetun" folder, create a new file and name itdocker-compose.yml. Paste the following contents into the file:
services:
  gluetun:
    image: qmcgaw/gluetun
    cap_add:
      - NET_ADMIN
    devices:
      - /dev/net/tun:/dev/net/tun
    environment:
      - VPN_SERVICE_PROVIDER=custom
      - VPN_TYPE=wireguard
    ports:
      - "8080:8080/tcp"
    volumes:
      - ./70.conf:/gluetun/wireguard/wg0.conf
    restart: unless-stopped
Make sure to adjust the name of the WireGuard .conf file in the volumes section to match the file you downloaded (e.g., 70.conf).
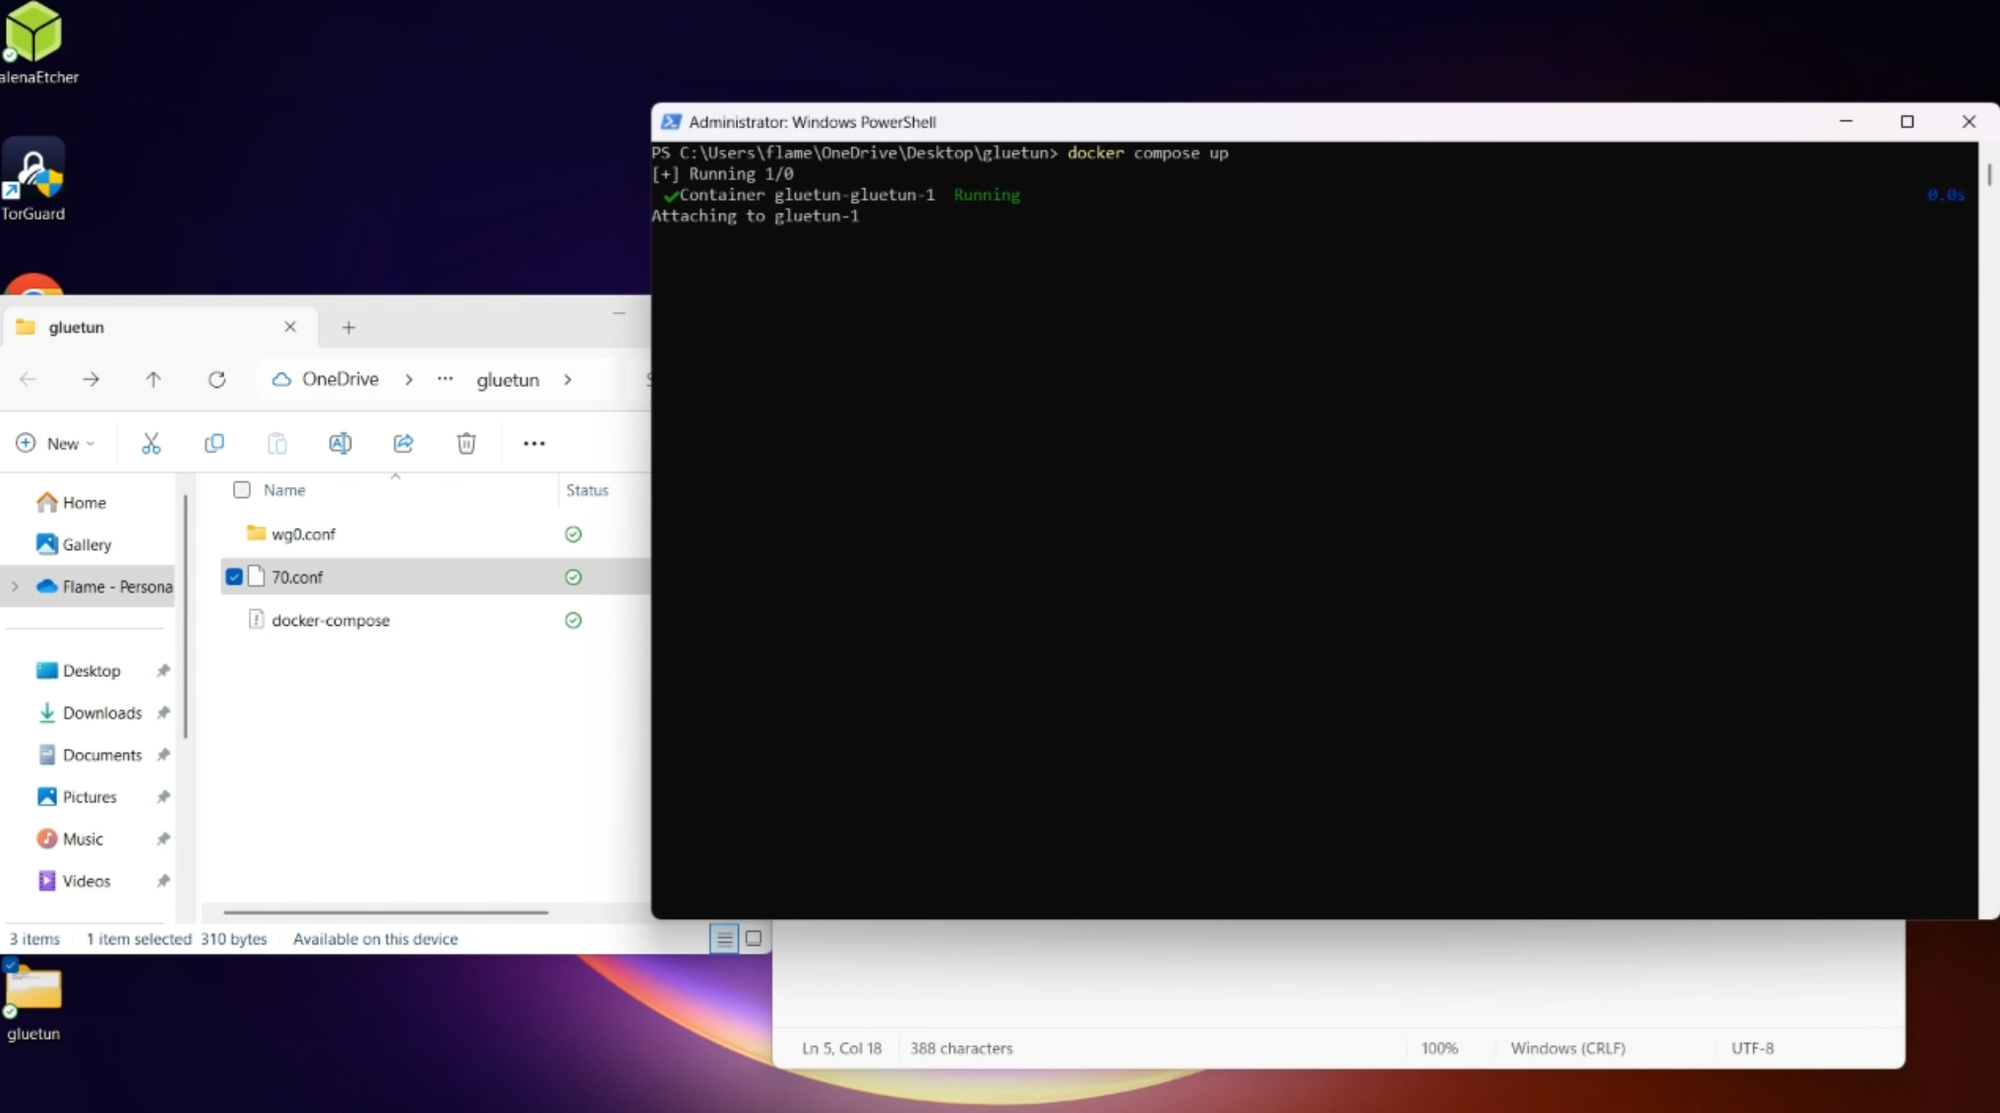
- Start Gluetun:
Open PowerShell in the "gluetun" folder and run the following command:
docker compose up -d
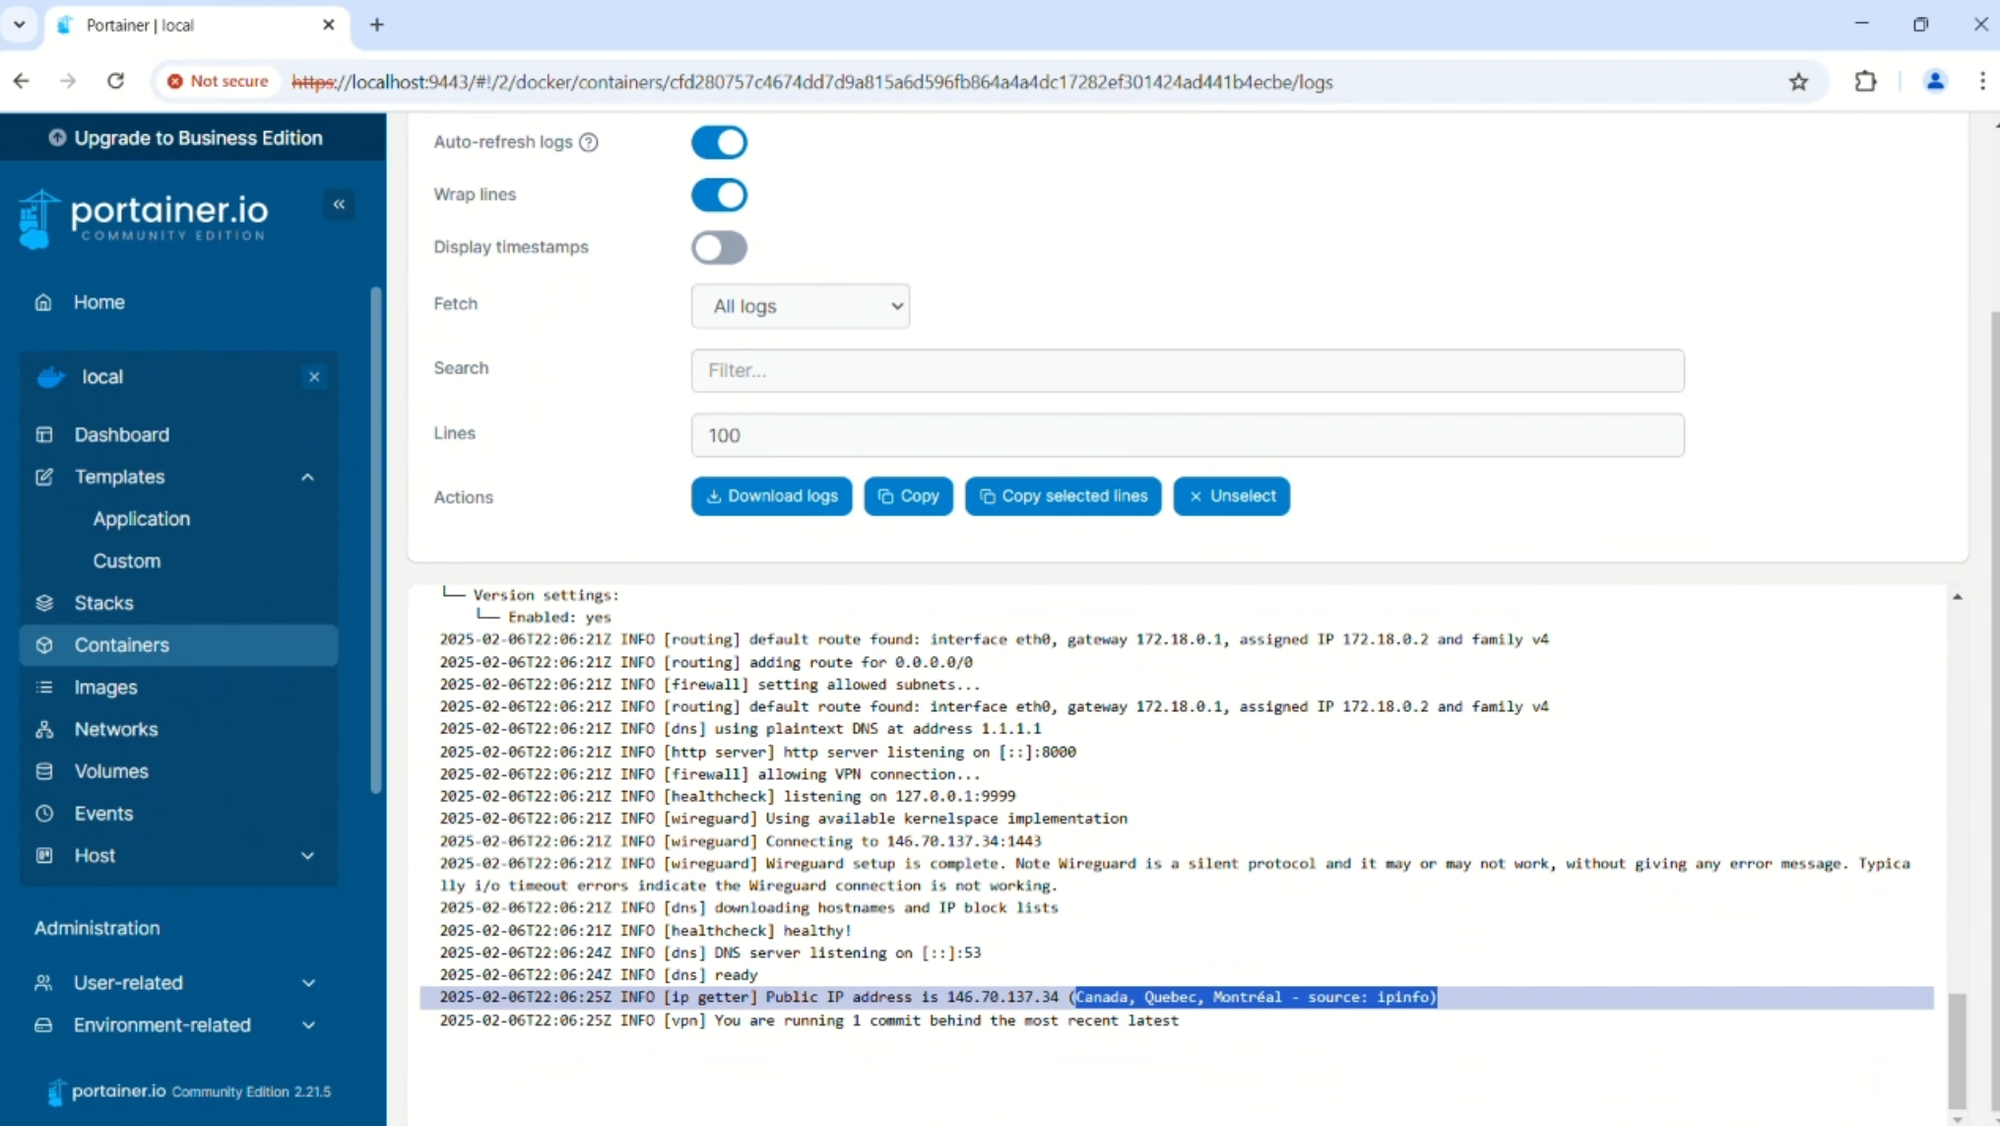
This command will start the Gluetun container and mount the WireGuard config for connection. You can check if the VPN is successfully connected by going to Portainer and viewing the Gluetun container's logs.
Step 4: Set Up qBittorrent to Tunnel Through Gluetun
Now that Gluetun is running, it’s time to configure an application to tunnel its traffic through Gluetun. We’ll start by setting up qBittorrent.
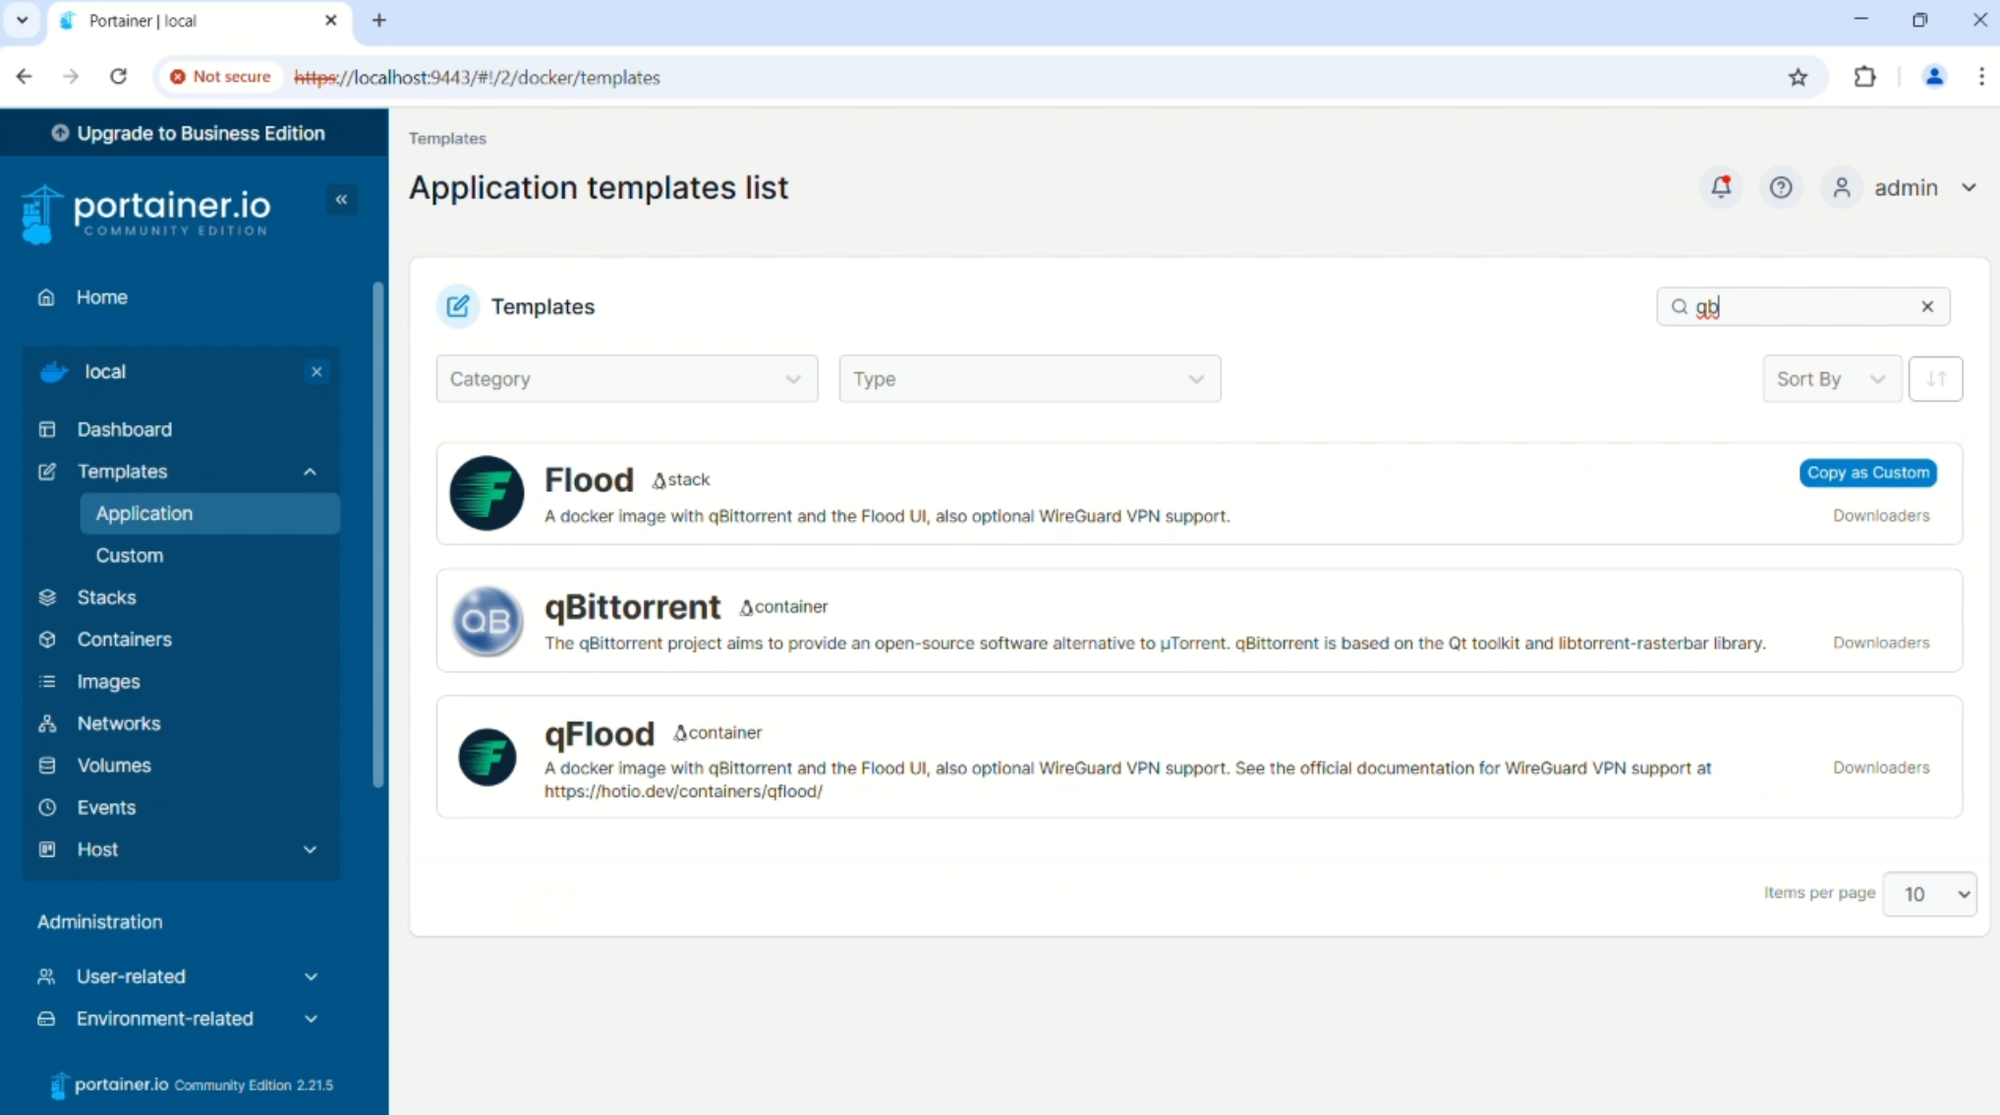
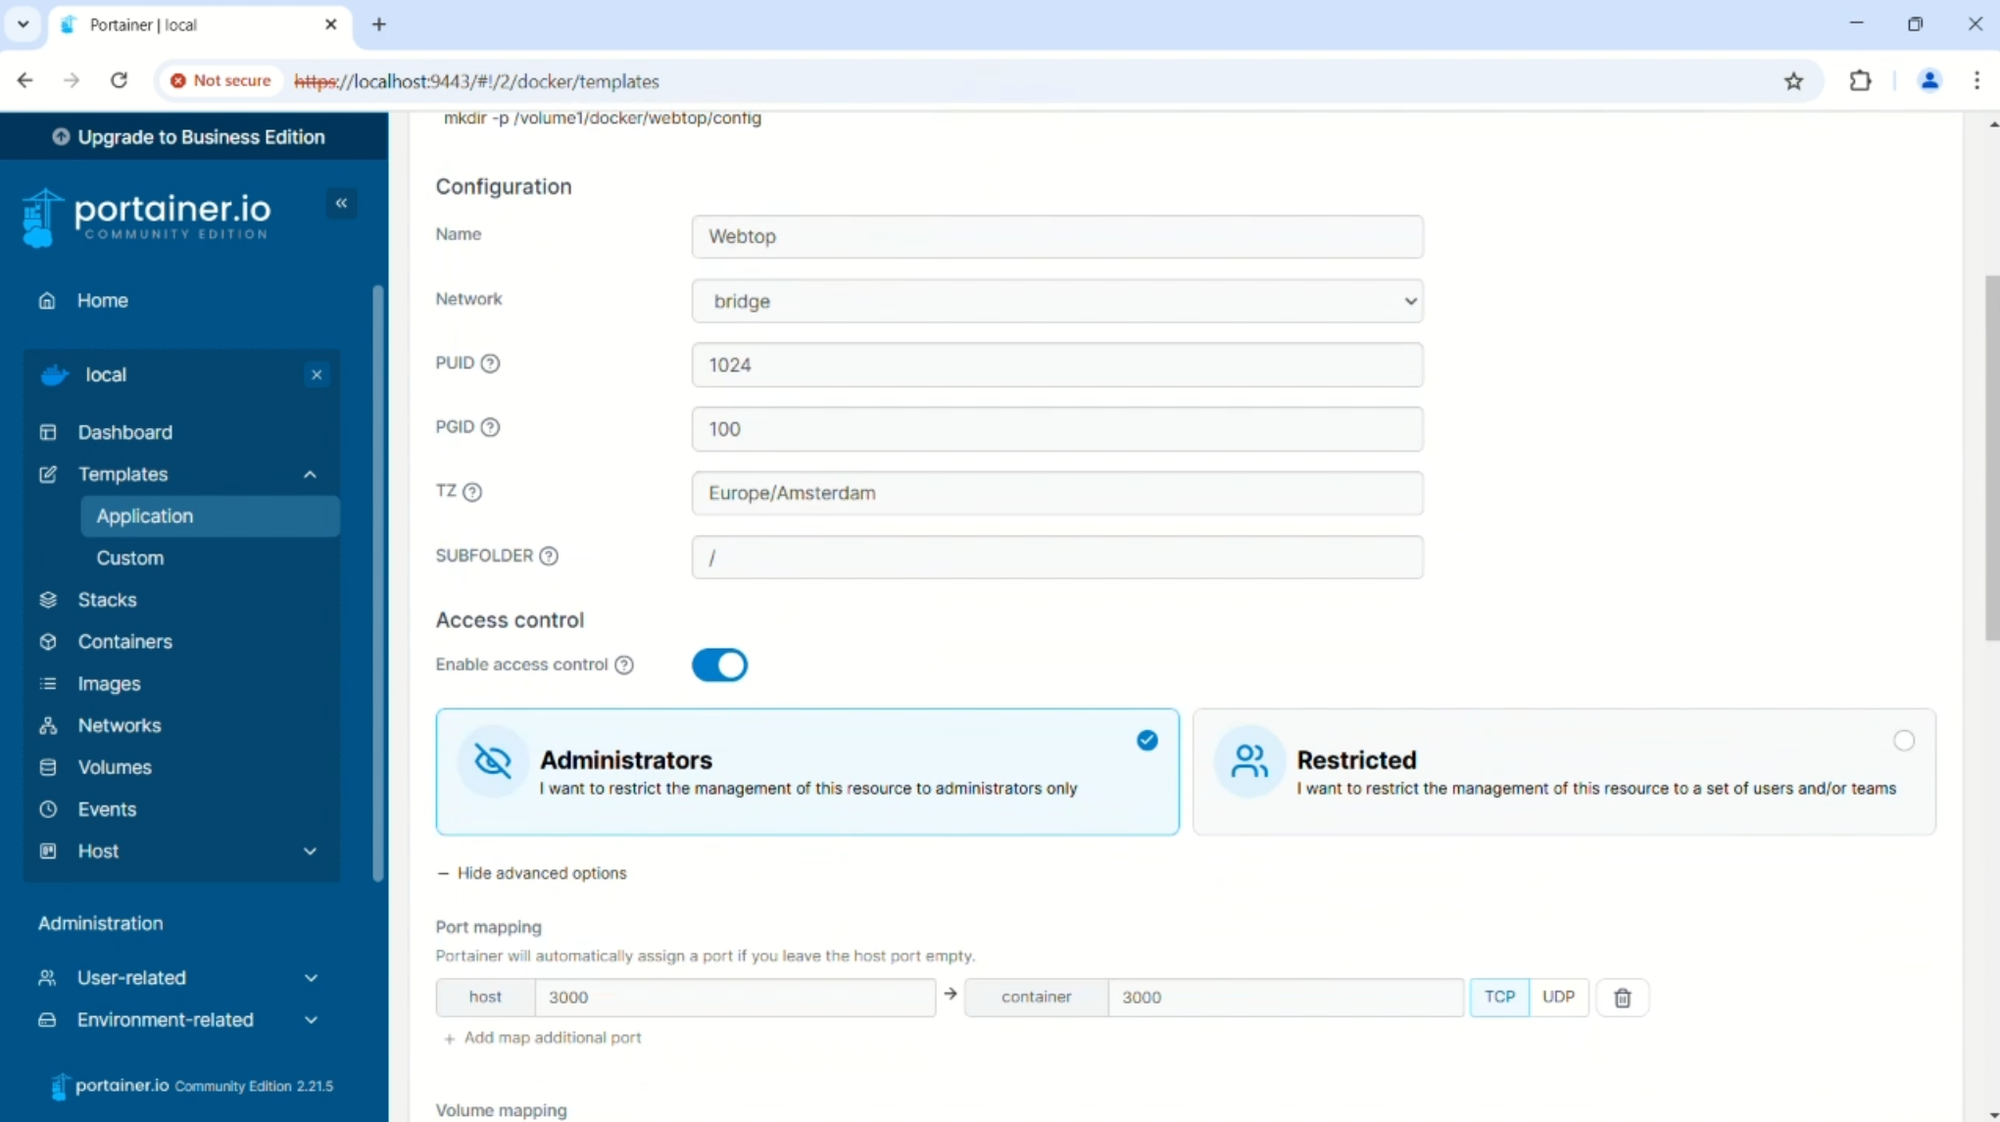
- Deploy qBittorrent:
In Portainer, go to your templates list and select the qBittorrent template. Before deploying, make sure to remove any ports on the container, as we will be tunneling them through Gluetun.
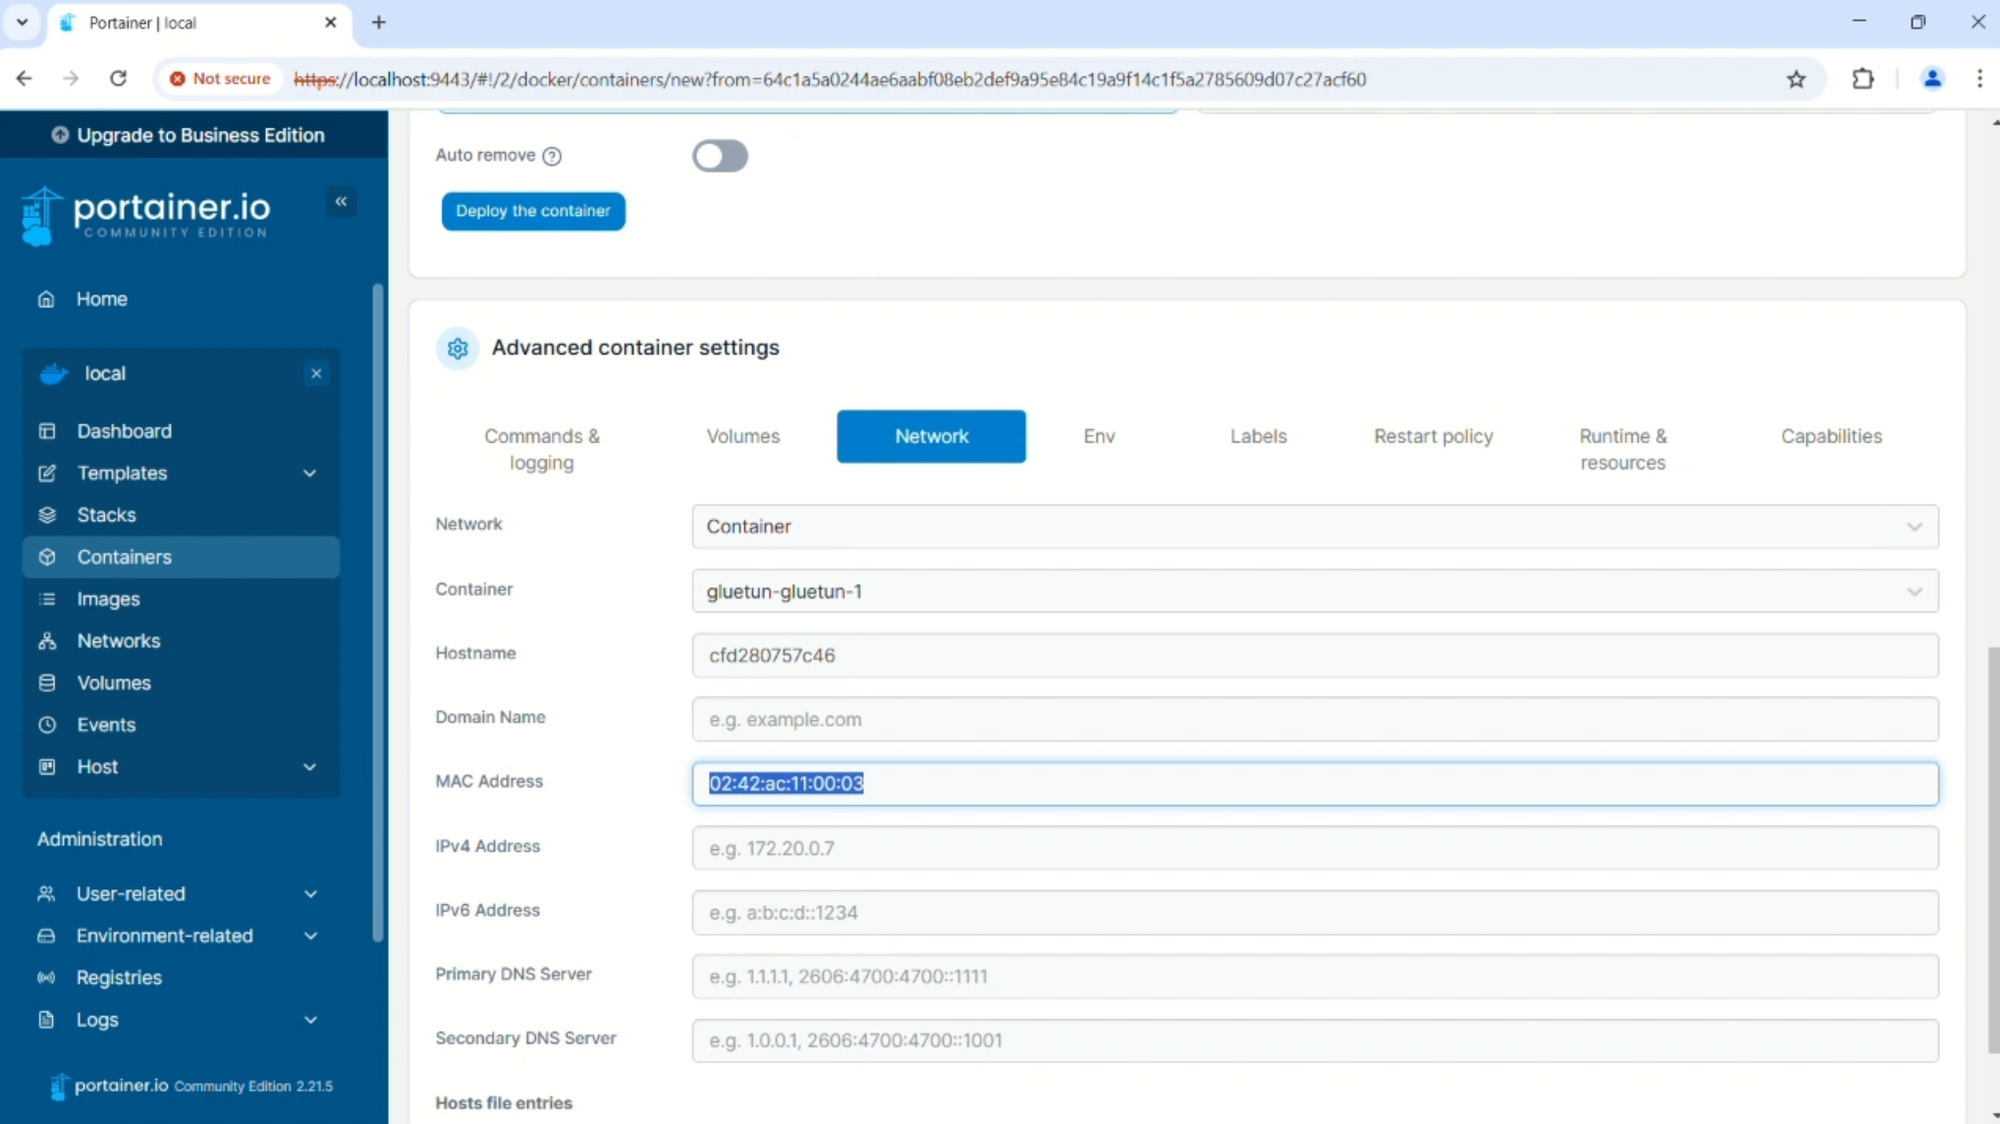
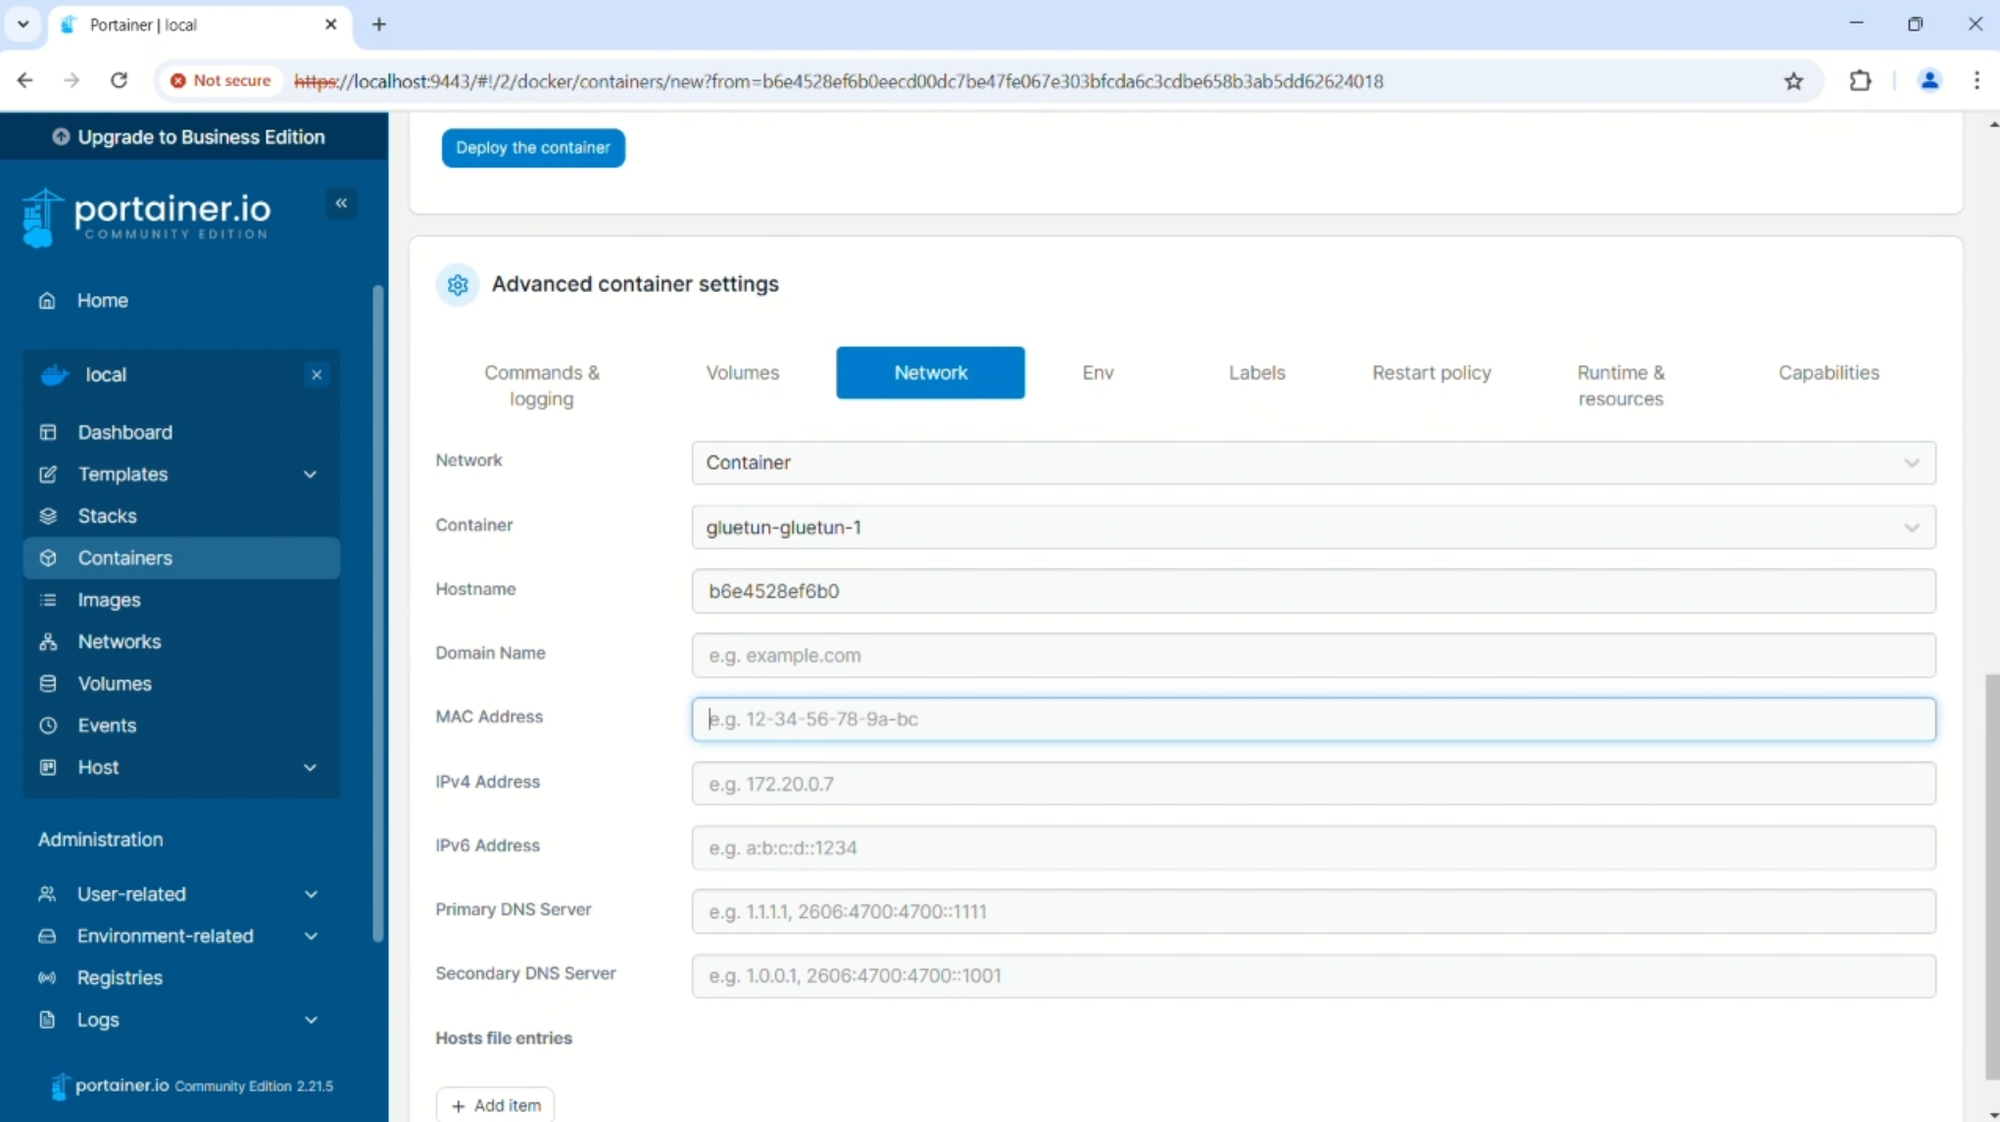
- Modify qBittorrent’s Network Settings:
After deploying, go to your container list in Portainer and click the qBittorrent container. Click the Edit button, scroll down to the Advanced container settings, and select the Network tab. Under Network, choose Container and select the gluetun container in the dropdown menu. Delete the MAC address setting, then click Deploy the container.
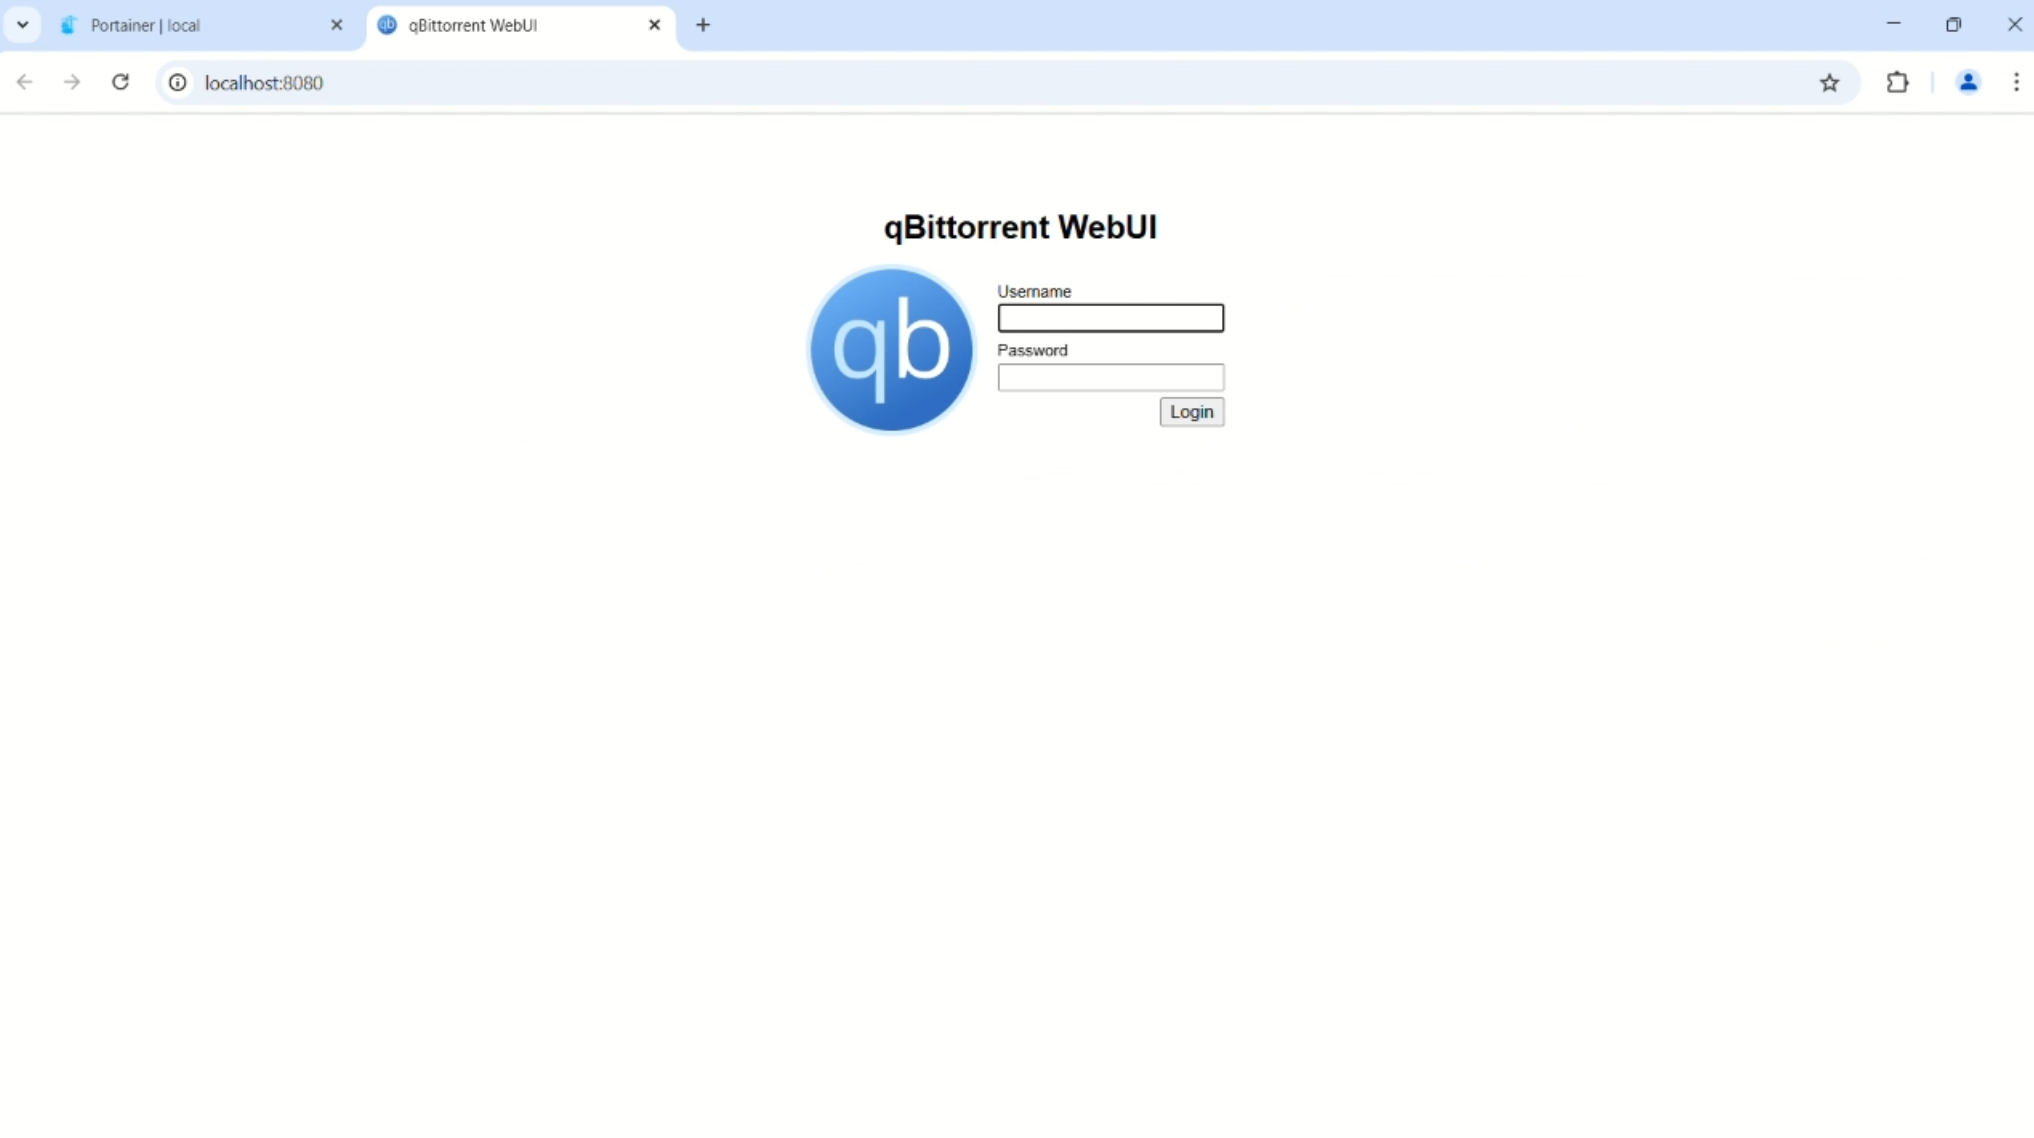
- Access qBittorrent:
You can now access qBittorrent by going to http://localhost:8080. All traffic will be routed through WireGuard via Gluetun.
Step 5: Add Additional Containers
You can repeat the same process for any other containers you want to run through Gluetun. Here’s a quick recap of the steps:

- Edit the Gluetun container to add a local port for browser access, then redeploy.
- Choose your app template and remove the ports before deploying.
- Edit the app container’s network settings to select the Gluetun container as the network and remove the MAC address.
Important Considerations
When using Gluetun in this way, any time you add new ports in the Gluetun container for new apps, you will need to go back into the app containers and re-select gluetun in the network settings. This can be a minor inconvenience when using Portainer’s web GUI, but it’s a necessary step for ensuring proper tunneling. This is a small challenge compared to the ease of using the web interface.
Conclusion
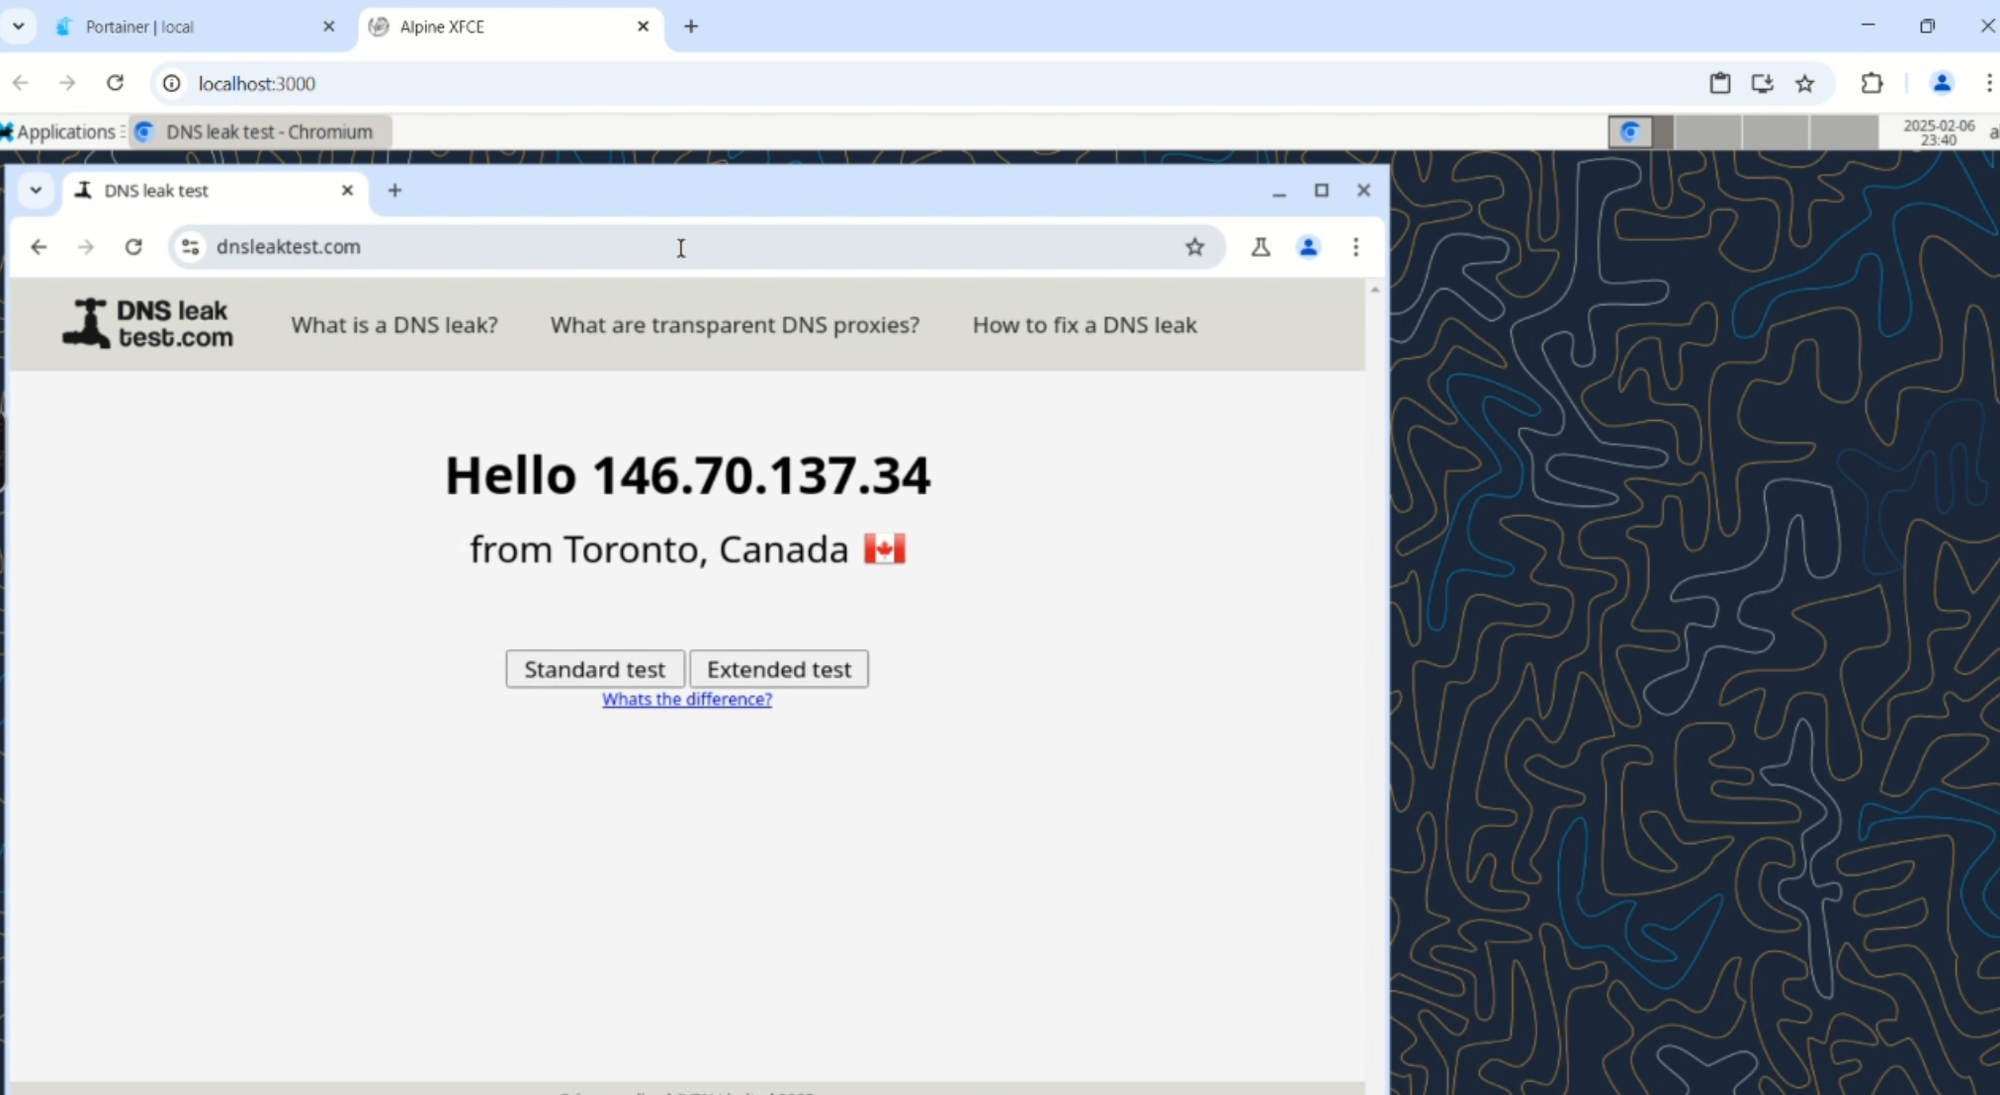
Using Gluetun in Portainer is an excellent way to modify any existing container to route its traffic through a secure WireGuard VPN connection, ensuring safe and leak-free internet access. The combination of Docker, Gluetun, and Portainer allows for easy management of self-hosted applications, especially for users who prefer a GUI over the command line.
By following this guide, you can quickly get started with using WireGuard and Gluetun for your containers on Windows, making your self-hosted apps both secure and easy to manage.