

TorGuard has just released a brand new VPN client for Windows users. This newly updated app is powered by OpenVPN and features improved performance and stability on any Windows system (XP, Win7, Win8). Additionally, the user interface has also been updated to allow for easy navigation through the VPN server selection menu. TorGuard is recommending all Windows users download and begin using this new OpenVPN app for the best possible experience.
In this tutorial we will show how simple it is to setup the new TorGuard VPN app on Windows.
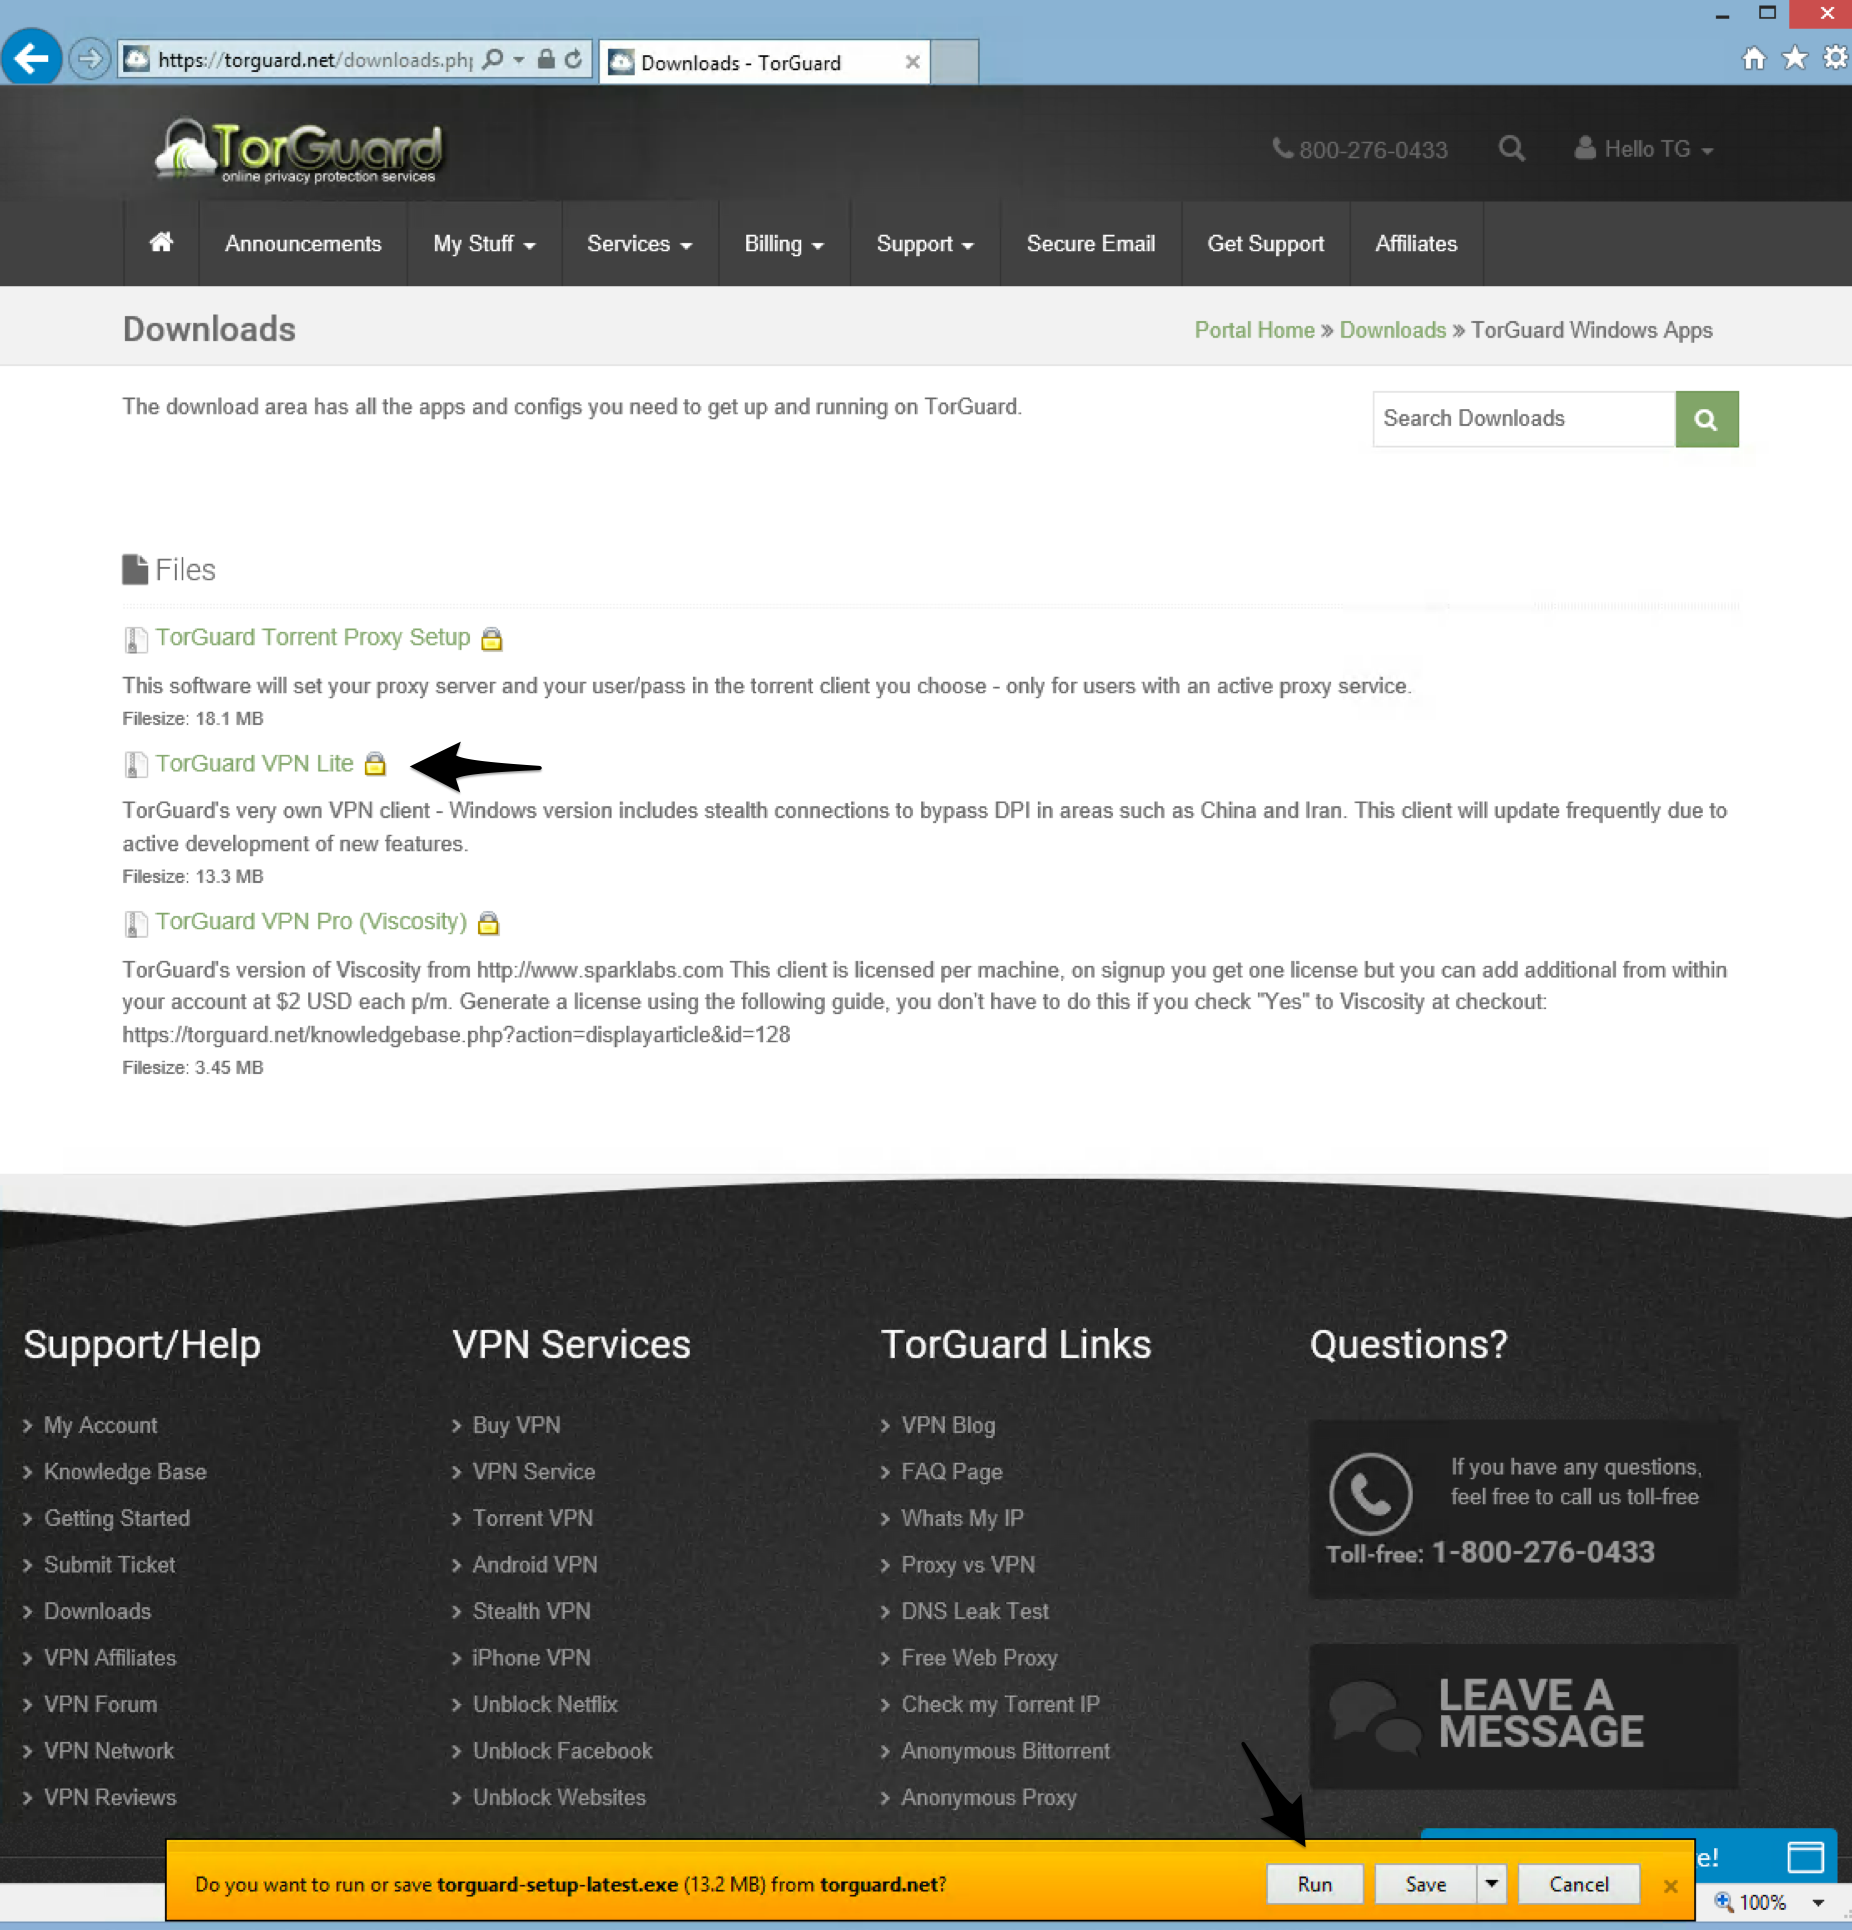
1.) First, navigate to the TorGuard downloads page and download the Windows TorGuard VPN lite installer:

2.) Save the TorGuard lite installer to your Downloads folder:
3.) Open your Downloads folder and run the TorGuard setup program. You must agree/disagree to the terms and selet next on the following screens to complete the install process:


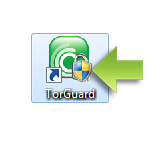
4.) Locate the TorGuard icon on your desktop and double click to launch the VPN software.
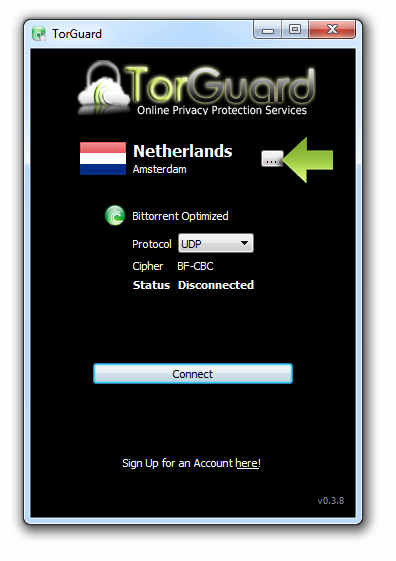
5.) Click the server menu dropdown to select the VPN country you wish to connect to.
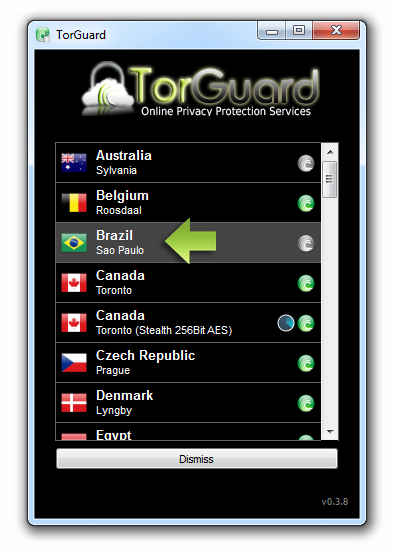
In this tutorial we will connect to the Brazil UDP VPN server. Select the server and click connect:
6.) Next, you will be asked to enter your TorGuard VPN username and password. Enter this info and click “login”.

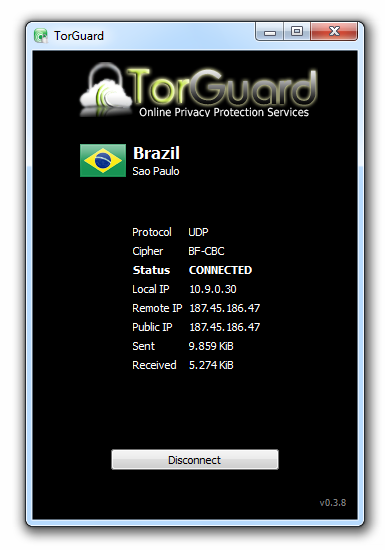
7.) You should now see a Connected status! This means your VPN is active and all traffic is tunneled through the secure server.
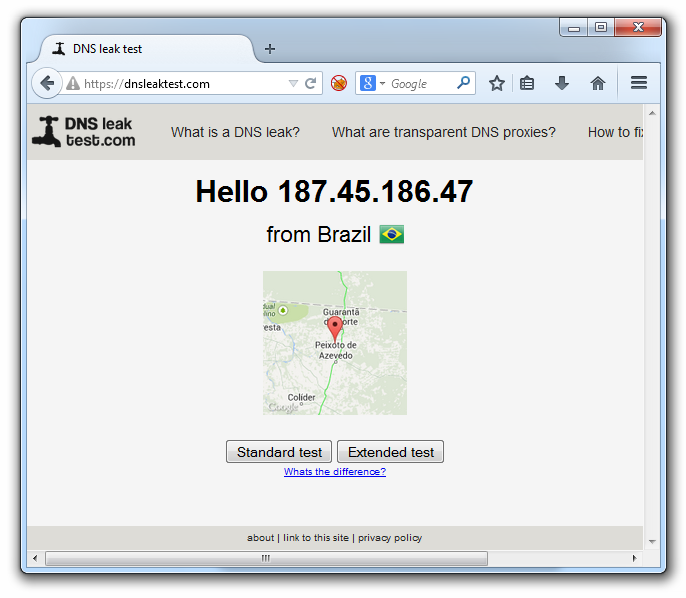
To verify the VPN connection open a web browser and navigate to dnsleaktest.com:
How to uninstall TorGuard VPN
Open the Windows control panel and select “add/remove programs”.
Click “TorGuard” and select the uninstall button at the top of the window.