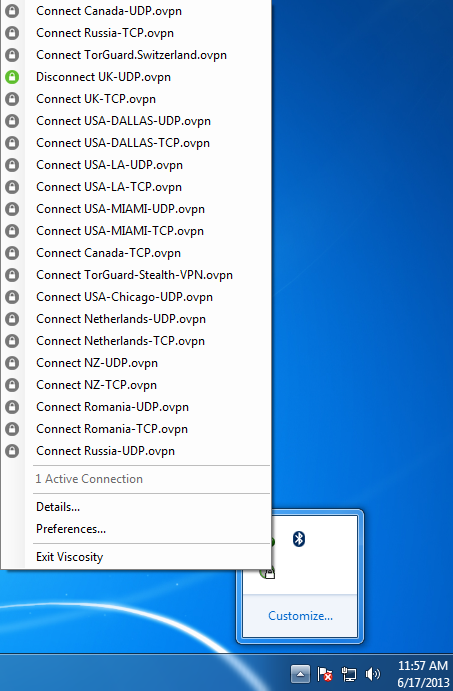

TorGuard VPN Service provides clients with plenty of options to get connected. All users now have the option of adding a free Viscosity VPN software download to their account.
Setting up TorGuard’s Pro Viscosity VPN Software is very simple. We will walk you through the download and install process step by step. (All clients also have the choice of using TorGuard lite software to connect)
Step 1:
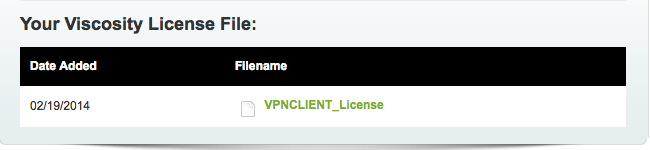
Download the “Viscosity” Software from our downloads page. You should be directed to the screen below. (If not, simply ask our support staff to activate Viscosity for you) Click the VPNCLIENT_win or VPNCLIENT_mac to download Viscosity.
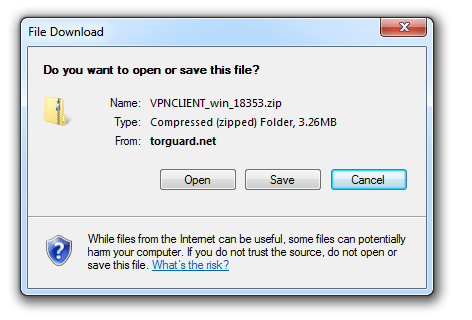
Click “Save”, and for this walk through we will save to the Desktop..
Step 2:
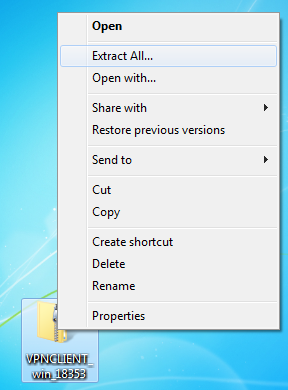
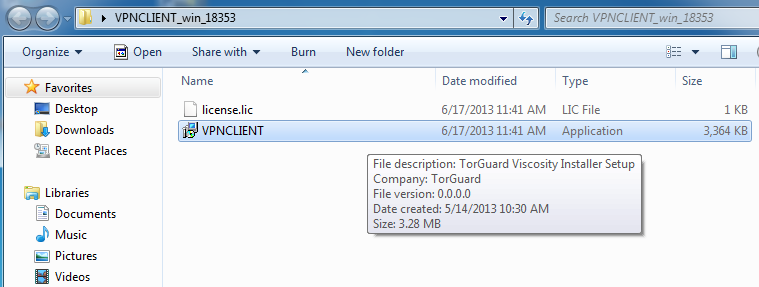
After the download is complete, locate the zip file on your desktop and extract all files as seen below:
After extracting, double click the VPNCLIENT.exe file to start the Viscosity Installer…
Step 3:
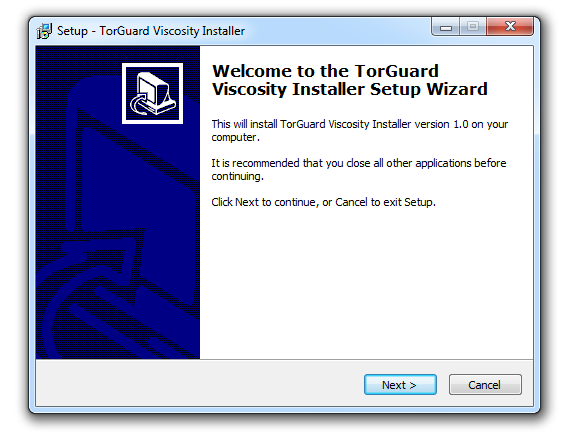
Click Next to begin the Viscosity Installer:
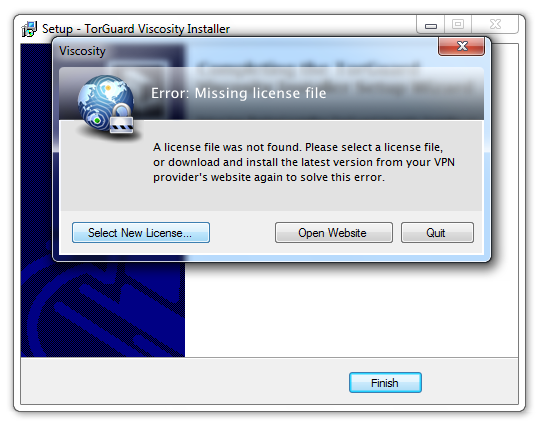
When prompted with the message below, click “Select New License” and select the liscence.lic file that was in the zip file we just downloaded.
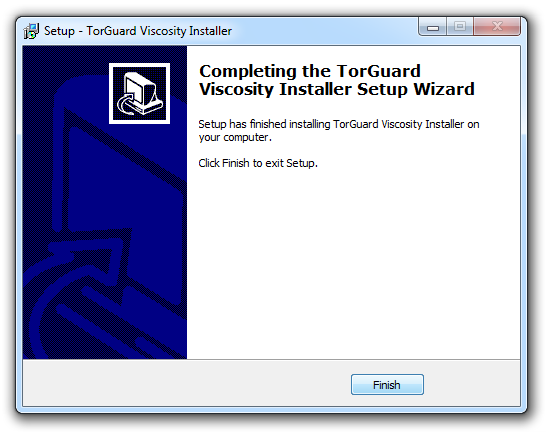
Click Finish to complete the Installer.
Step 4:
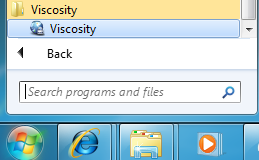
Now we can launch Viscosity from the start menu:
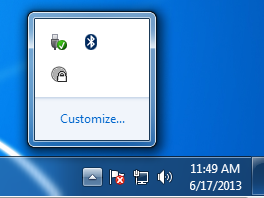
Viscosity VPN software will be in your tray as a secure globe and padlock icon:
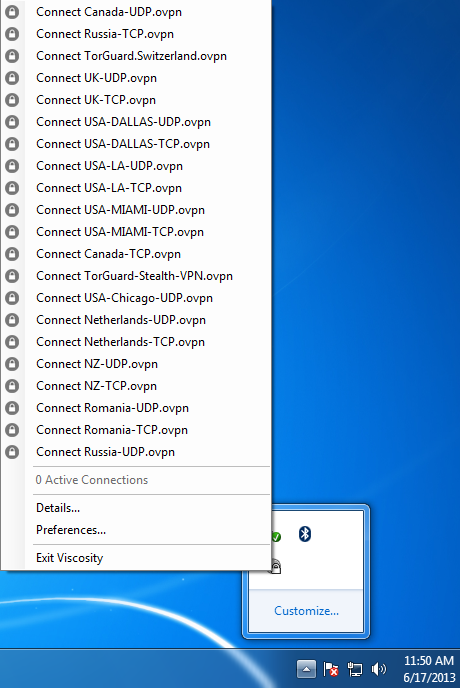
Right click this icon to select which server you wish to connect to:
Step 5:
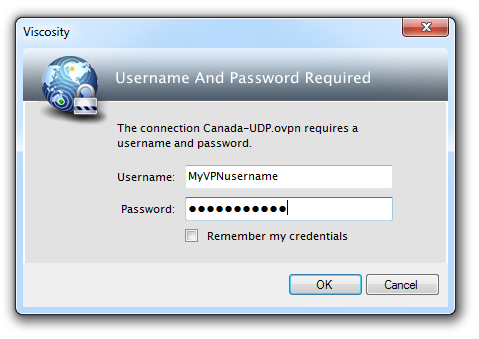
To connect, use your VPN username and password you setup during checkout. This info can also be updated in the TorGuard.net members area under “My Services”.:
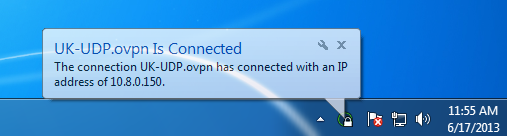
You are now connected to the VPN!
Step 6:
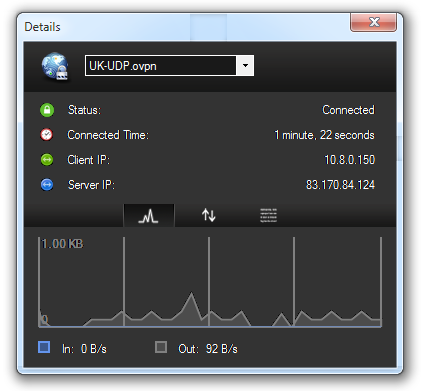
You can right click Viscosity and select “Details” for more information on your connection:
To disconnect, simply right click the Viscosity icon and select “Disconnect”..