Setting up a VPN on your Ubuntu/Debian server can seem intimidating, especially for new users, but with TorGuard's new Web-Based WireGuard Manager, it's never been easier. Whether you’re a seasoned user comfortable with the CLI or someone new to VPNs who prefers a simple web-based GUI, TorGuard has you covered. This quick and easy guide will walk you through the setup process to help you get up and running in no time.
Step 1: SSH into Your Ubuntu/Debian Server
Before anything, SSH into your Ubuntu or Debian server where you’d like to set up TorGuard’s WireGuard VPN service. If you’re running this on an RPi4 or another server, the process remains the same. Just ensure you have root or sudo privileges.
Open your terminal and run: (Or connect with PuTTY)
ssh your_username@your_server_ip
Step 2: Clone the WireGuard Manager Repository
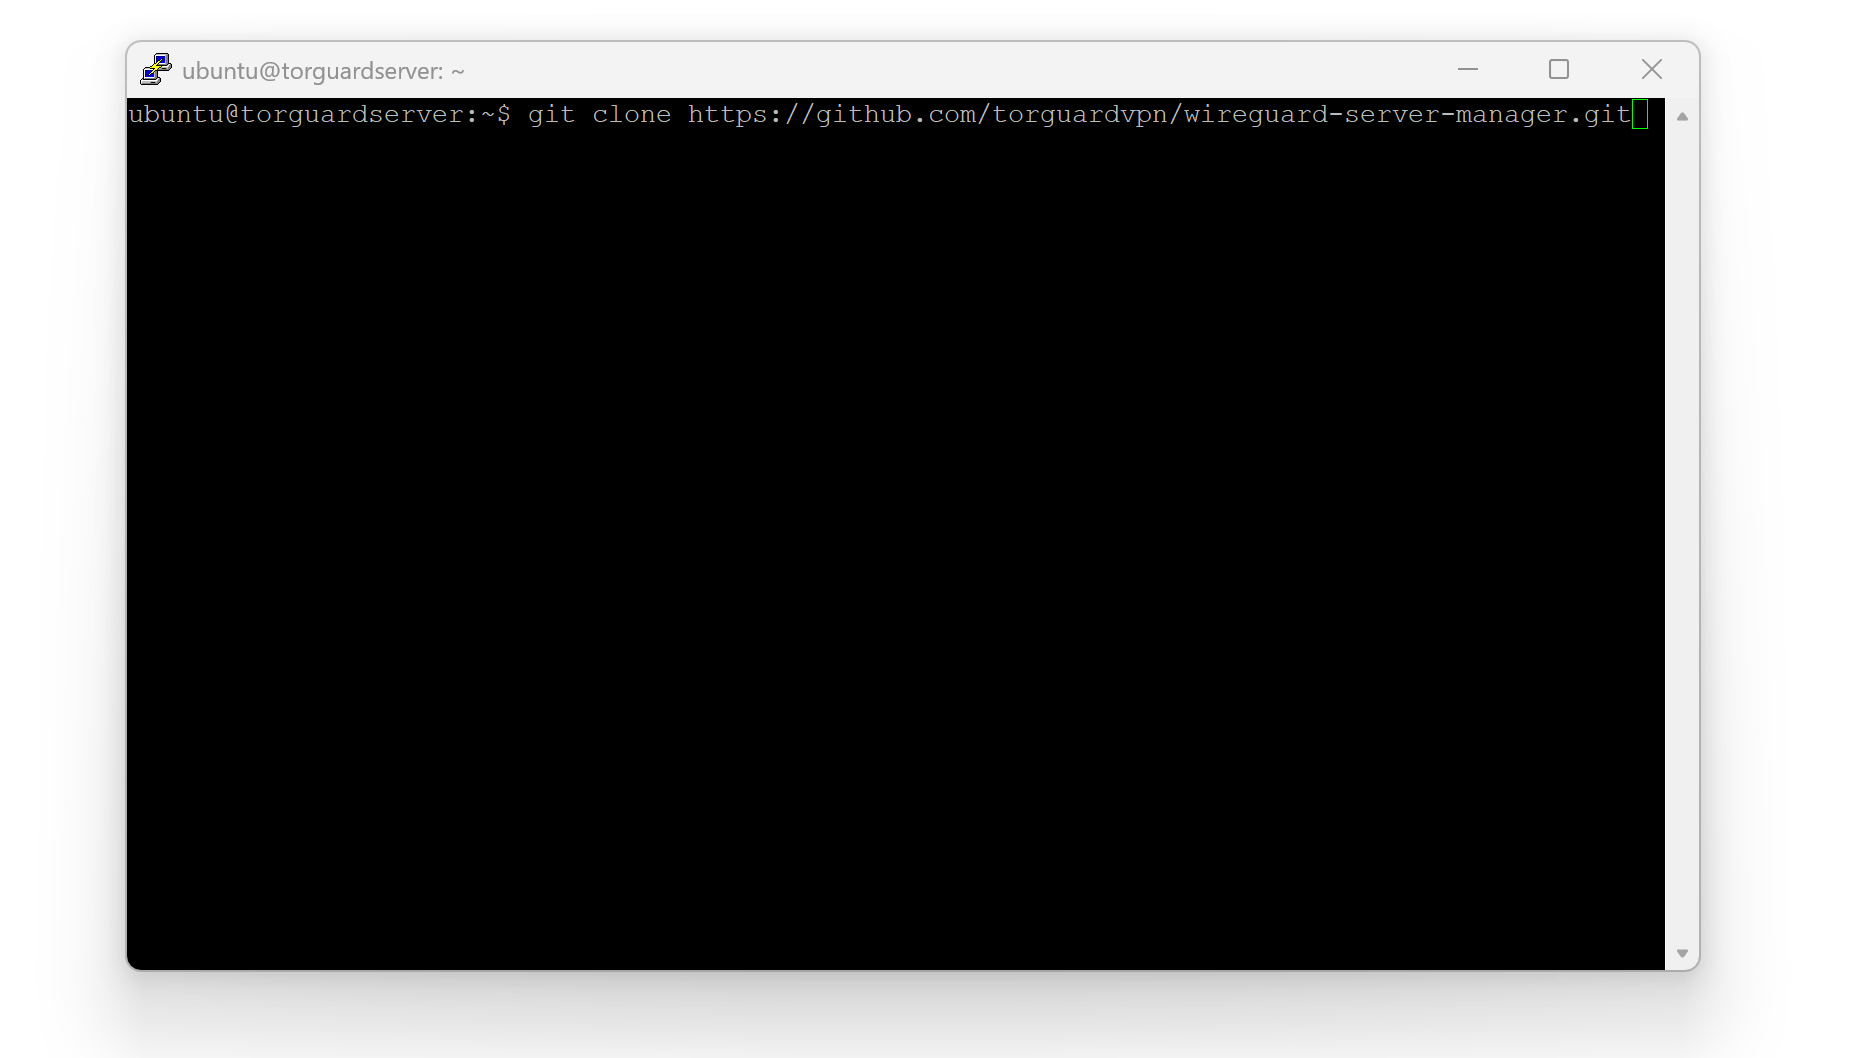
Next, you’ll need to download the latest release of the WireGuard Server Manager from TorGuard's GitHub page. Run the following command to clone the repository:
git clone https://github.com/torguardvpn/wireguard-server-manager.git
Step 3: Navigate to the Directory
Now, navigate into the wireguard-server-manager directory:
cd wireguard-server-manager
Step 4: Run the Install Script
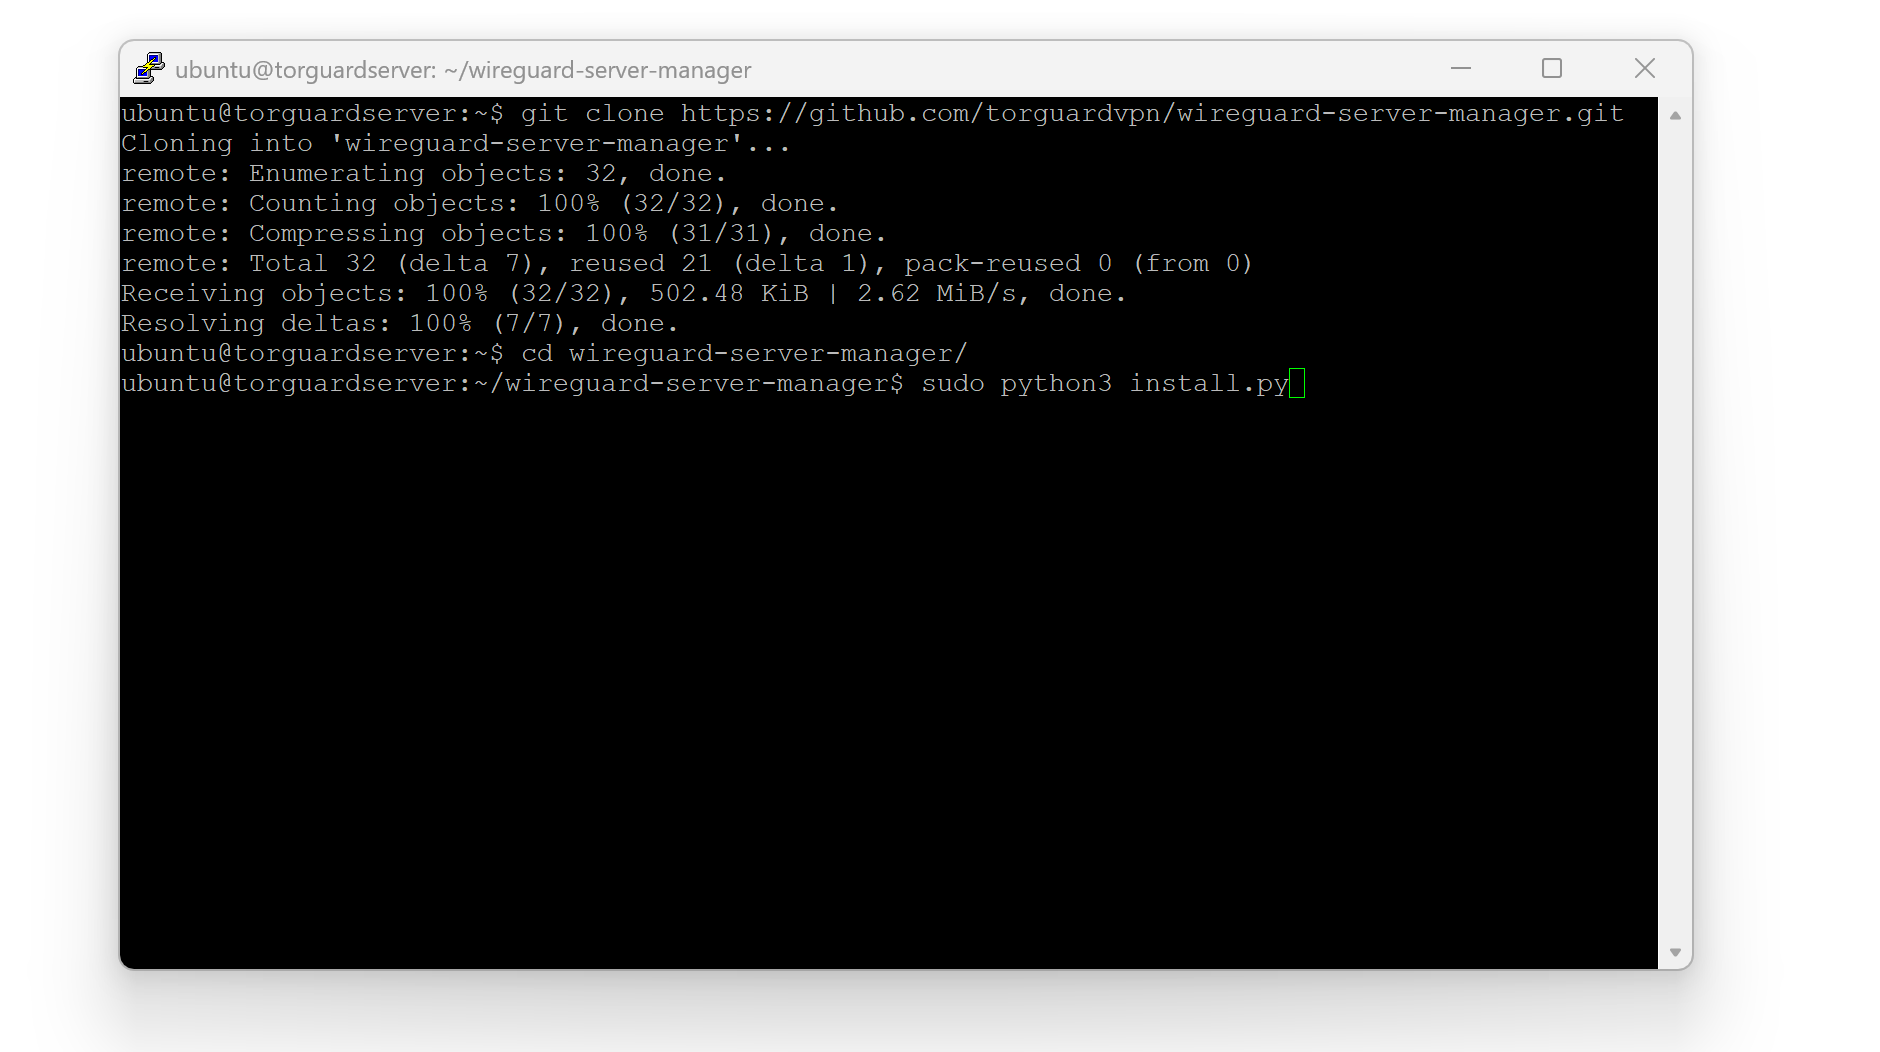
Run the install script to install WireGuard, configure your firewall rules, set up routing, and make sure WireGuard starts on boot. This will save you time as it automates most of the setup process.
sudo python3 install.py
The script will take care of installing WireGuard and setting up all necessary configurations. Once the installation completes, you're ready to move on to the next step.
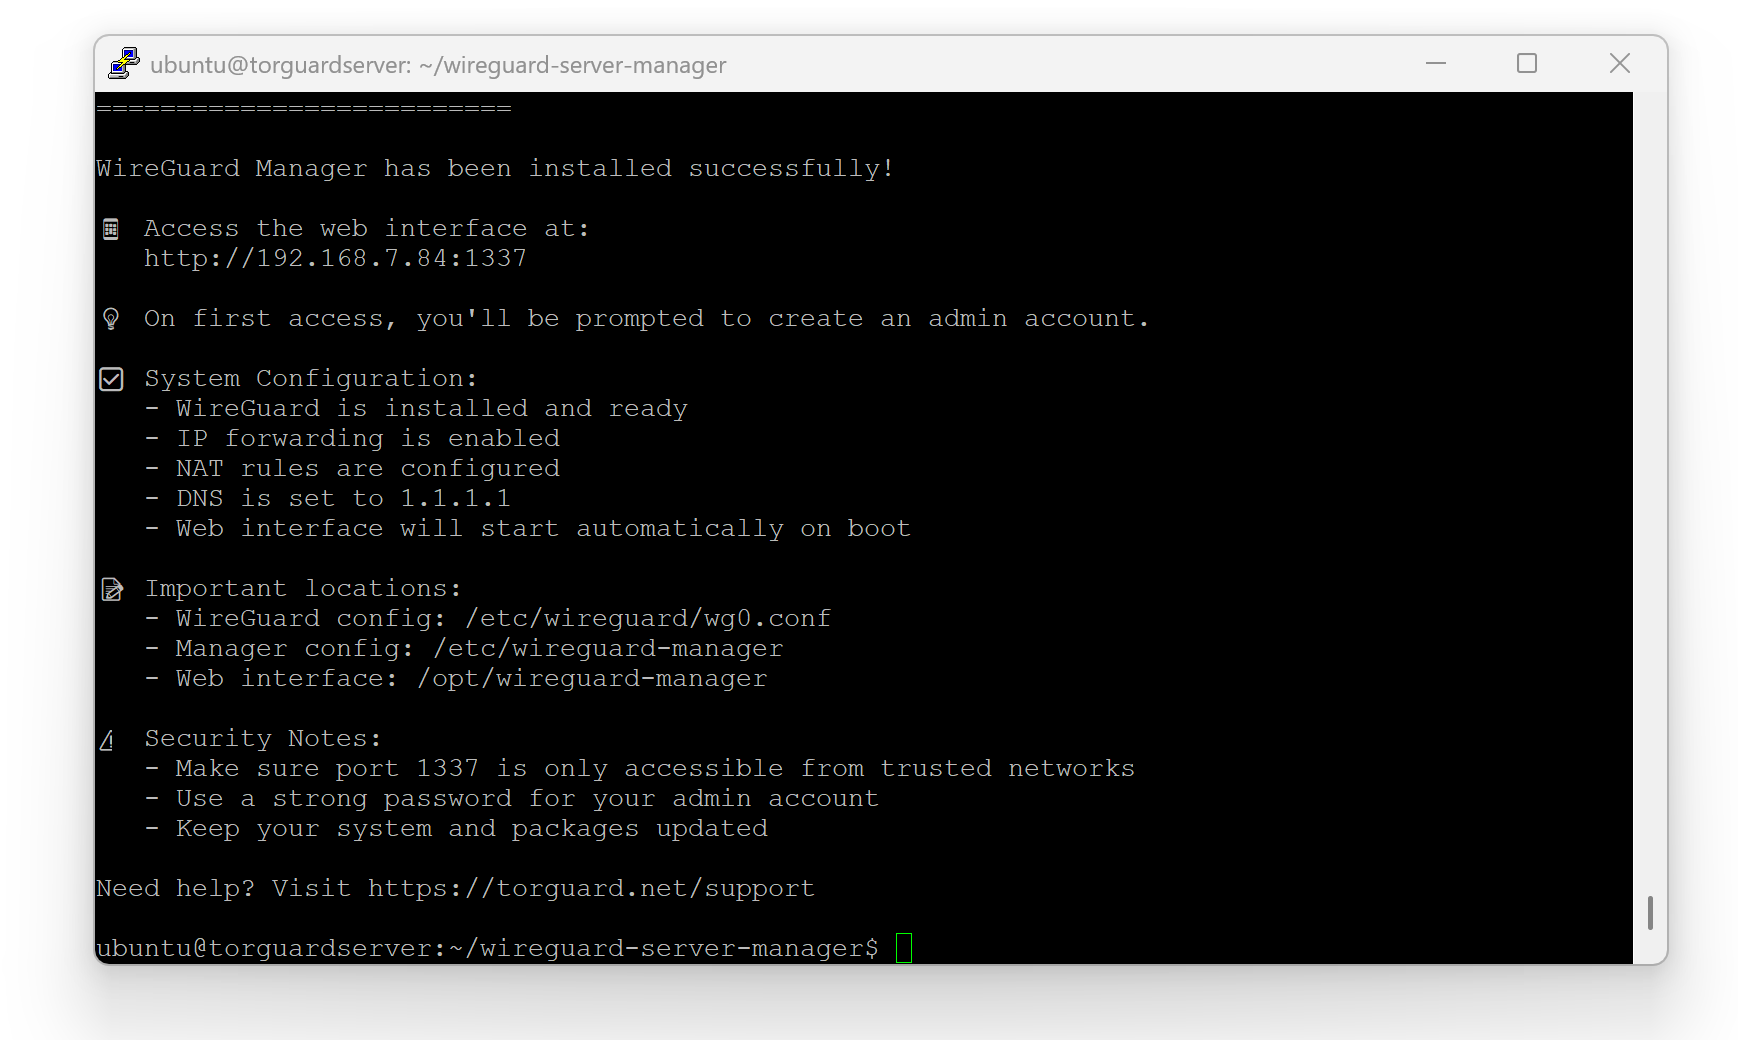
Step 5: Access the Web-Based WireGuard Manager
To access the WireGuard manager, open your web browser and navigate to the following URL:
http://your-server-ip:1337
Step 6: Register Your Web Interface
When you open the WireGuard Manager in your browser, you’ll be prompted to set a username and password. This is a one-time registration process, so make sure you choose a unique password. If you're using this tool on a public-facing server or for self-hosting, security is important, so pick a strong password.
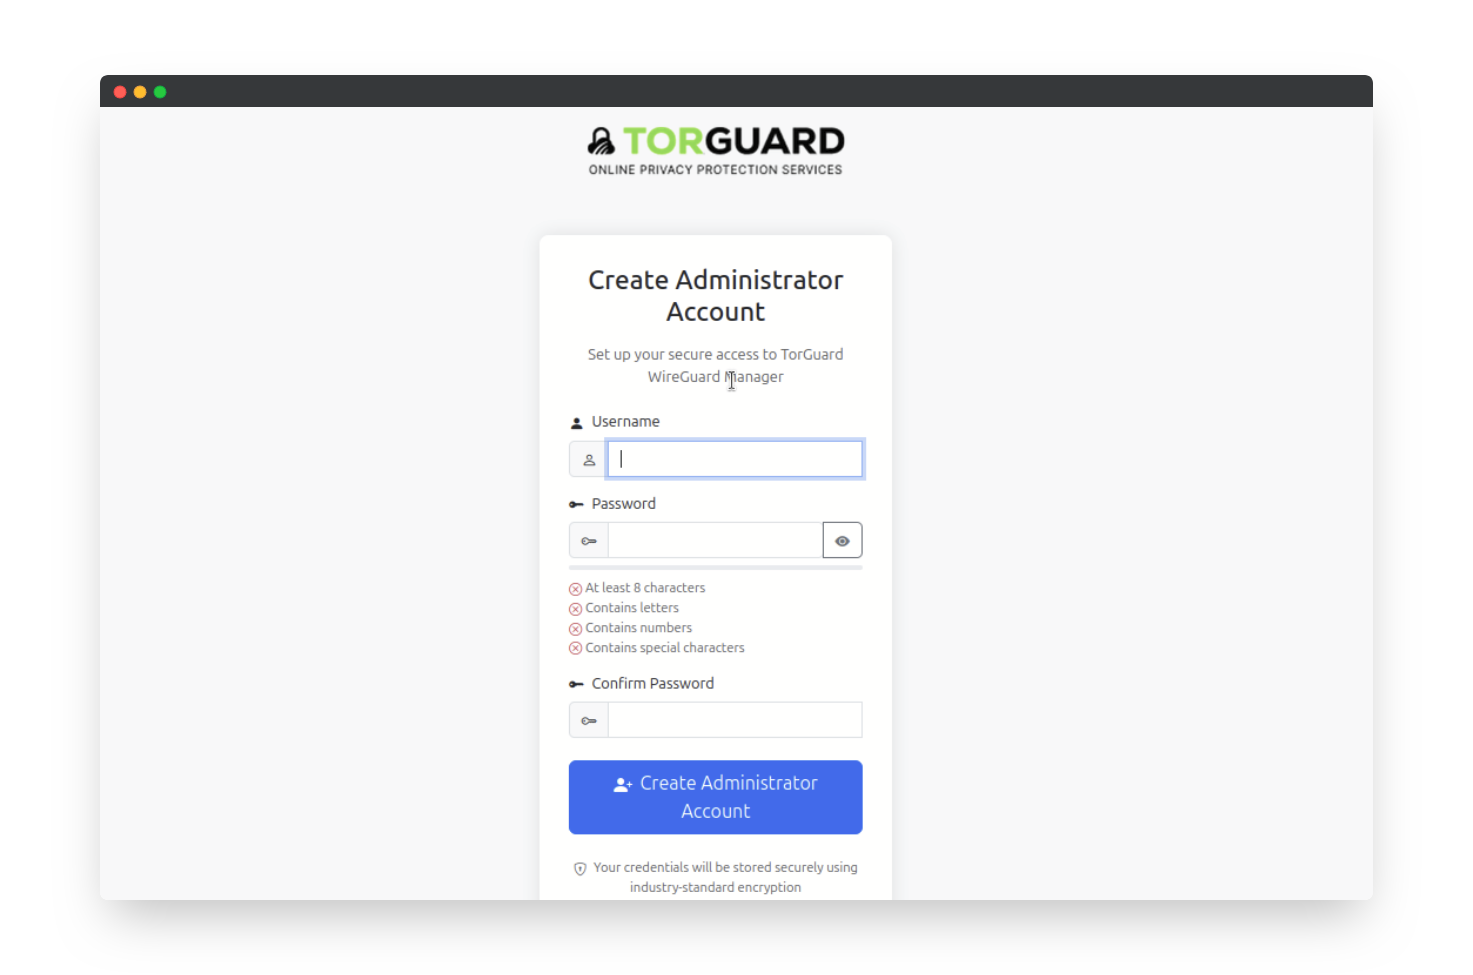
If you forget the password later, you'll need to uninstall and reinstall the script to reset it, as no password recovery is available.
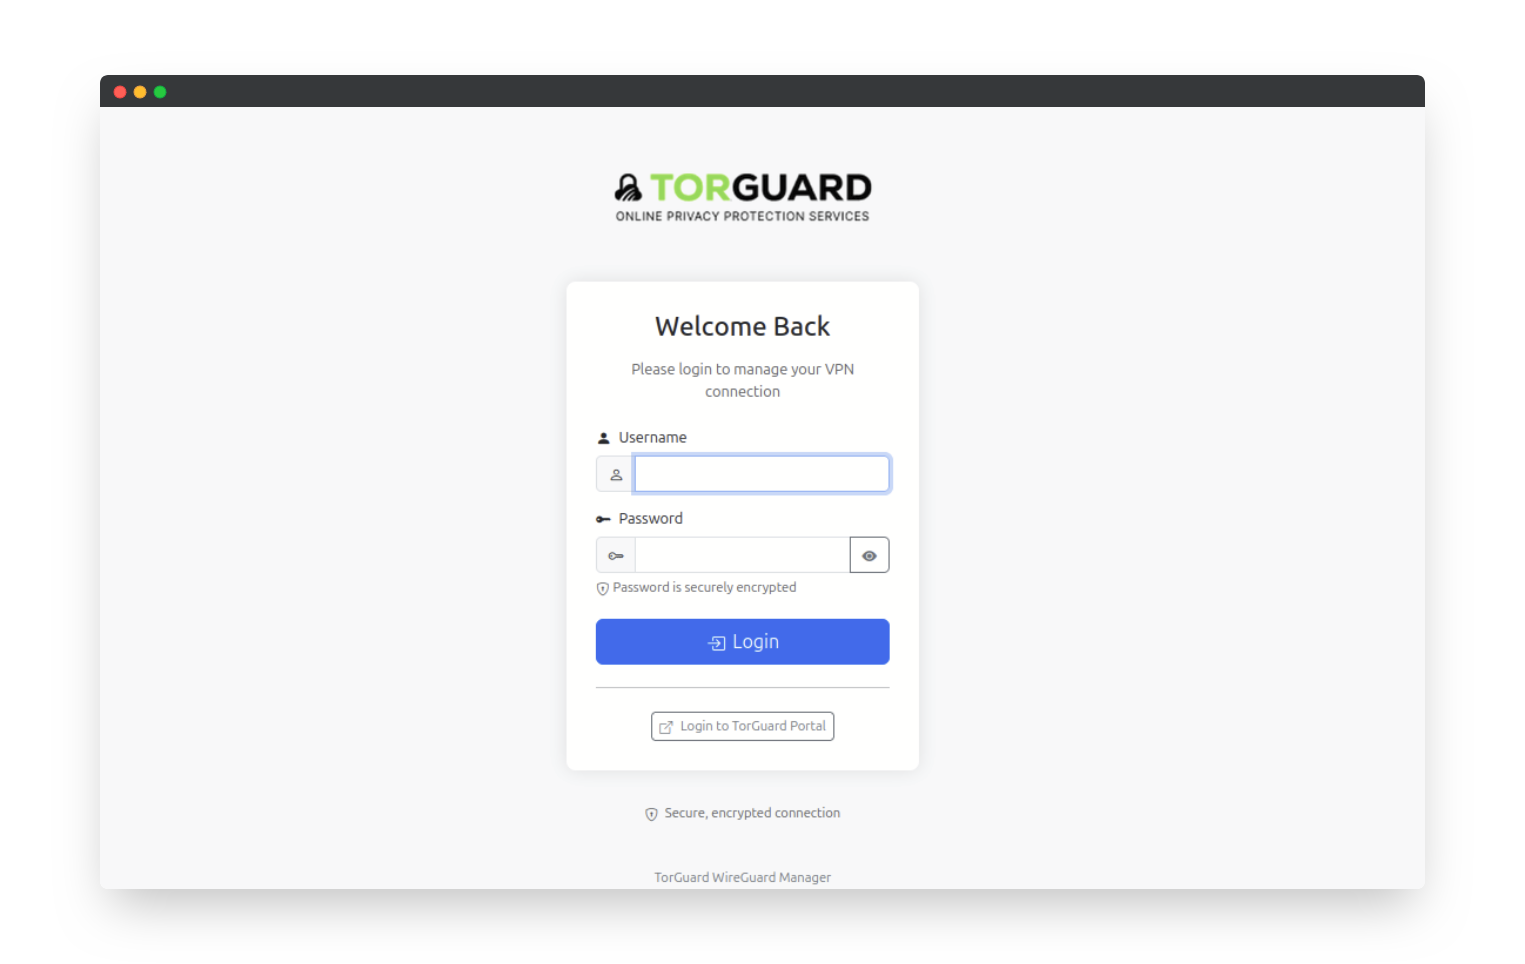
Step 7: Log In
Once you've registered your username and password, log in to the WireGuard Manager.
Step 8: Upload Your WireGuard Configuration
Inside the manager’s simple web interface, you’ll be able to upload or paste your WireGuard configuration file. Here’s how to generate and upload your config:

- Generate a WireGuard config: Head over to the TorGuard Member's Area and generate a WireGuard config for the server location you wish to connect to. You can do this by selecting your server location, downloading the configuration file, and saving it locally.
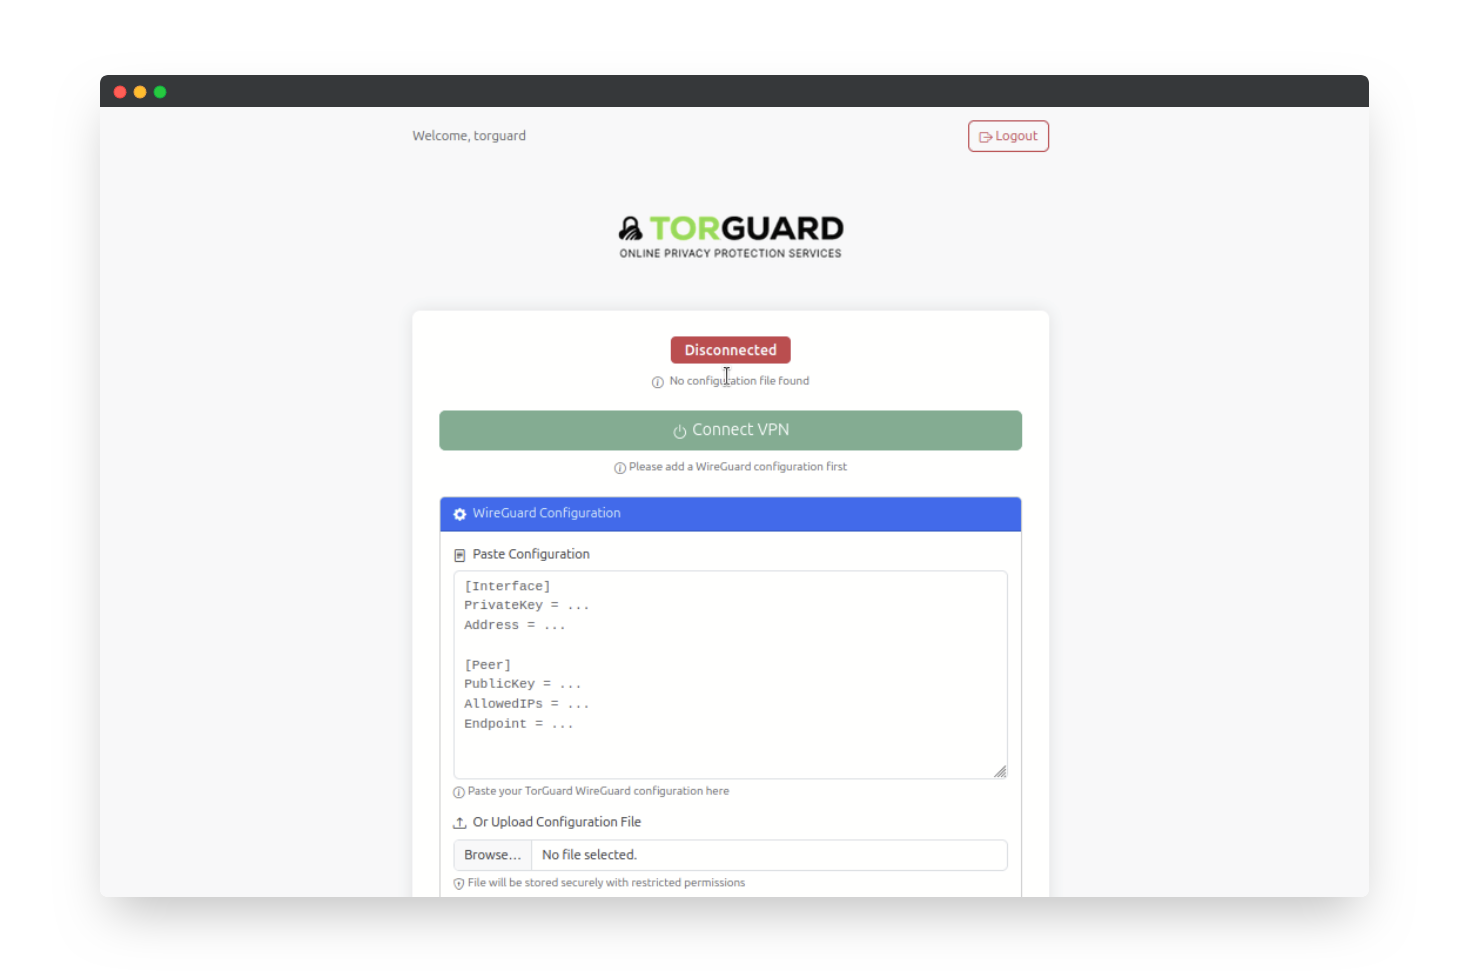
- Upload the config: Go back to the WireGuard Manager web interface and either paste the config or use the "Upload" button to load the file. Once uploaded, click Save to confirm.
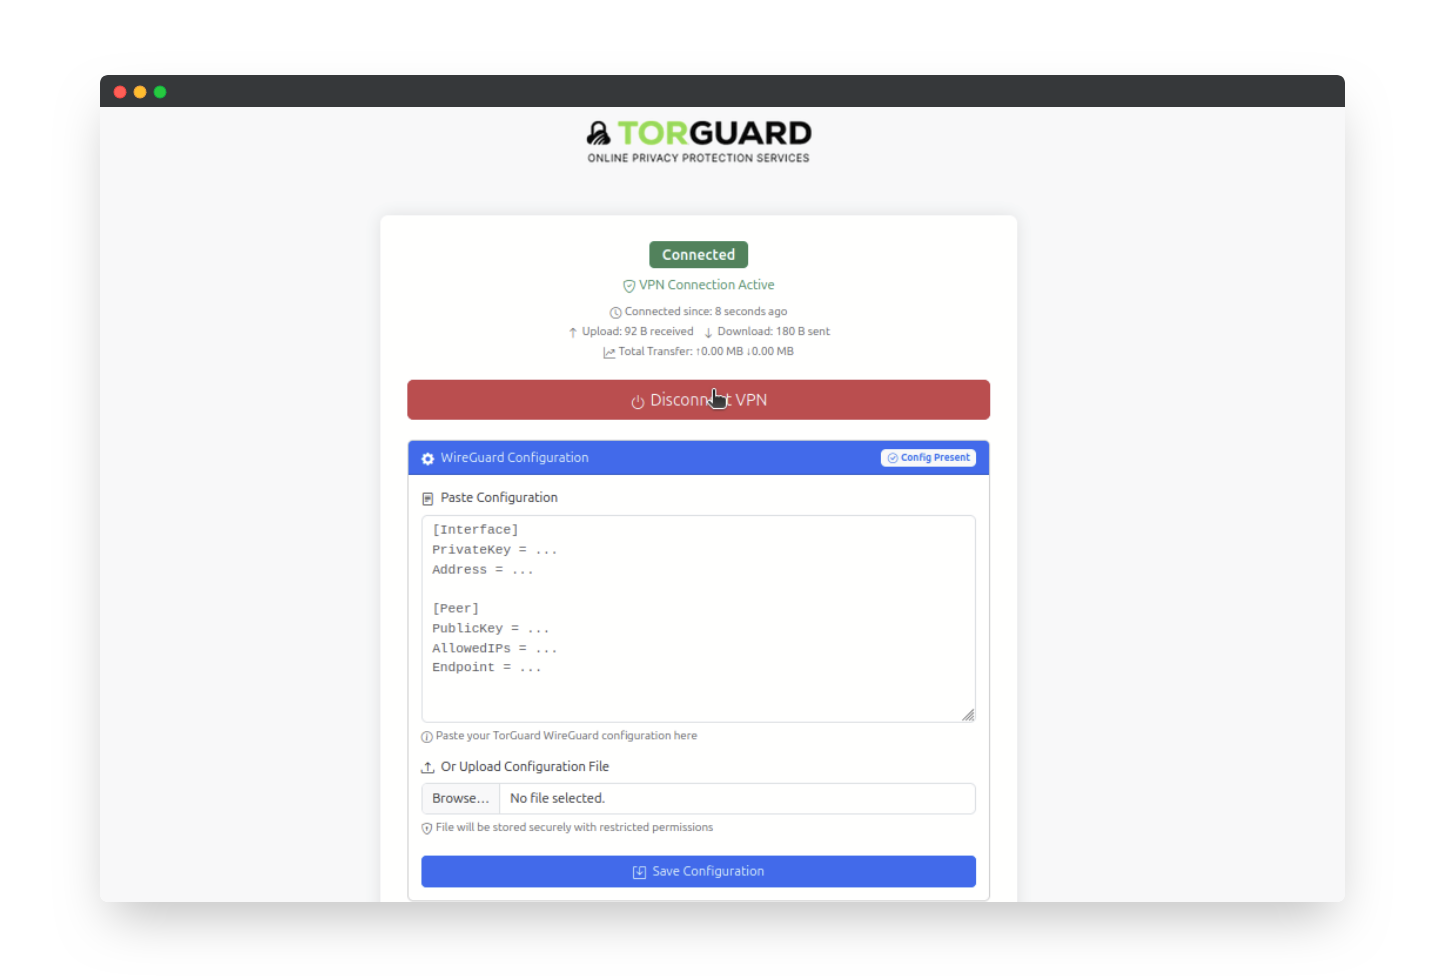
Step 9: Connect or Disconnect Your VPN
Now that your WireGuard config is saved in the manager, simply click the Connect button to activate your VPN connection. To disconnect, click Disconnect.
Step 10: Verify Your VPN IP Address
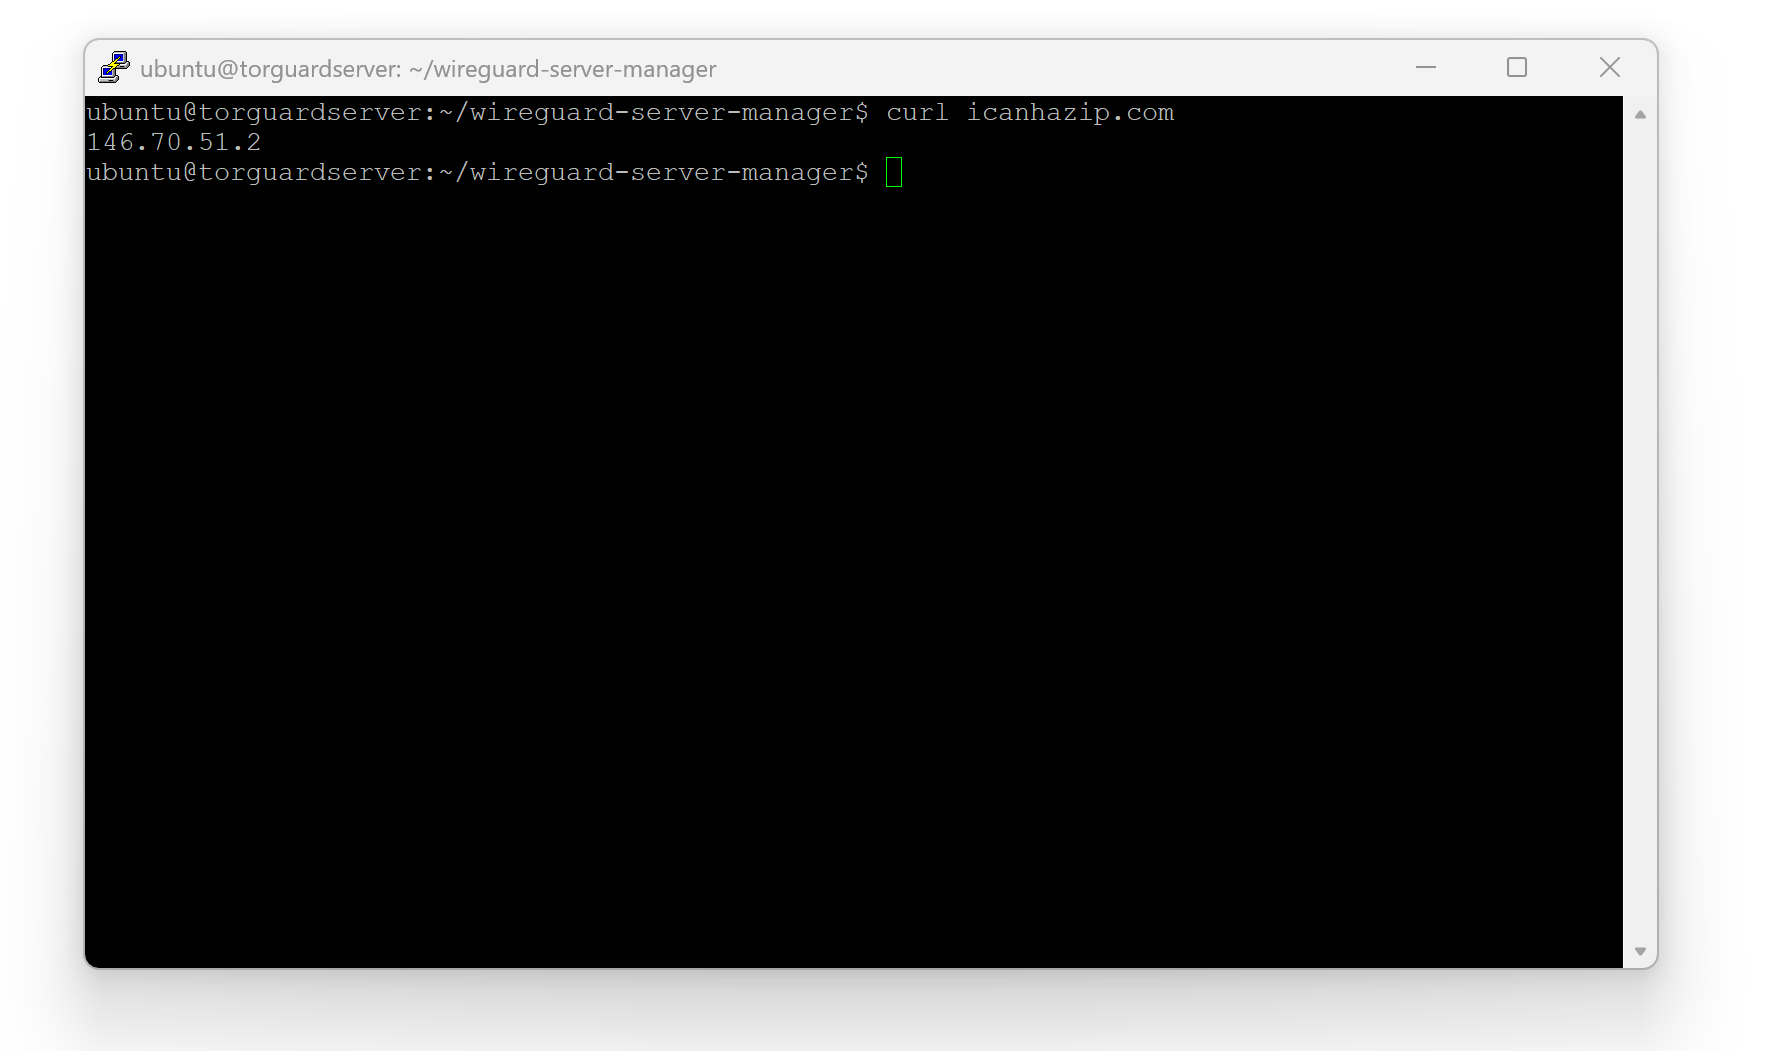
To confirm that your VPN is working correctly, run the following command on your terminal:
curl canihazip.com
This will return your public IP address. If everything is set up properly, you should see the IP address of the TorGuard VPN server, not your local IP.
Why Use TorGuard’s Web-Based WireGuard Manager?
This new, easy-to-use WireGuard Manager is perfect for anyone running an Ubuntu/Debian server, including those using Raspberry Pis or homelab servers. Here’s why it’s ideal for you:
- Easy Configuration: The web interface makes it easy to paste/upload WireGuard configurations, connect/disconnect, and manage your VPN without any hassle.
- VPN for Docker & Self-Hosting: This setup works perfectly for Dockerized applications, home server setups, and even self-hosted services behind WireGuard. It tunnels all your traffic through the VPN, making sure you're always secure.
- Reliability: WireGuard handles encryption directly on your server, which means a faster and more stable VPN connection compared to running WireGuard through a containerized solution like Gluetun. Plus, WireGuard starts automatically on boot, ensuring your traffic is always encrypted.
Setting up a VPN with TorGuard’s WireGuard Manager couldn’t be simpler. Whether you’re using this for personal privacy, self-hosting, or secure connections with Docker, it’s the best solution for your Ubuntu/Debian server needs. With everything running through the VPN, you can rest easy knowing that your online activities are secure and private.