
Ah, the sweet sound of self-hosting! It's like being the captain of your own ship in the vast ocean of the internet. And what better way to sail these digital seas than with Wireguard and Yunohost? It's like turning your Raspberry Pi or that old computer gathering dust into a powerhouse web server. Yes, you heard it right – your own little corner of the web, accessible with a fancy public domain name.
Now, let’s get real for a moment. The idea of self-hosting might send shivers down the spines of many. It’s like opening Pandora's Box but instead of evils, it’s filled with potential cyber threats. And let’s not even start with Docker – a love affair for some (yes, we’re looking at ourselves here) but a foreign language to others.
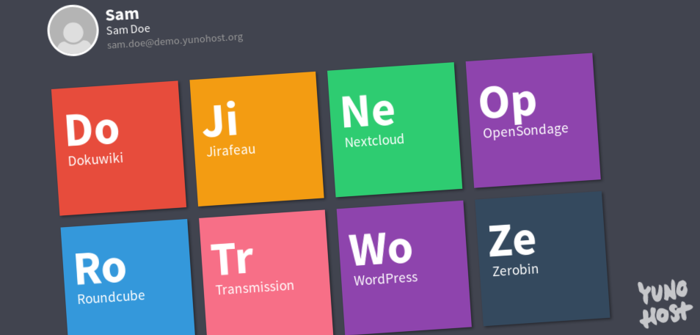
Enter Yunohost, the unsung hero of self-hosting. Forget about those fleeting “easy” self-host projects. Yunohost is the cool kid from the old block, sticking around with its Debian-powered magic, making any old tech gear a web-serving wizard. We’ve been rooting for Yunohost for ages, marveling at its ever-evolving greatness. It’s like your personal library of web apps, all neatly organized in a no-brainer Admin UI. Want to keep your digital diary private or shout your thoughts to the world? Yunohost makes it easy.
For the daring souls ready to dip their toes into self-hosting, Yunohost is your guiding star. And guess what? We're gonna walk you through setting up your very own Yunohost server behind Wireguard using TorGuard’s Private VPN Cloud service. Here’s your shopping list:
- A Raspberry Pi or any old computer that still powers on
- A sprinkle of TorGuard Private VPN Cloud
- A domain name (hostcoolstuff [dot] com sounds awesome)
- Internet access – because, duh.
Burning the Yunohost Image
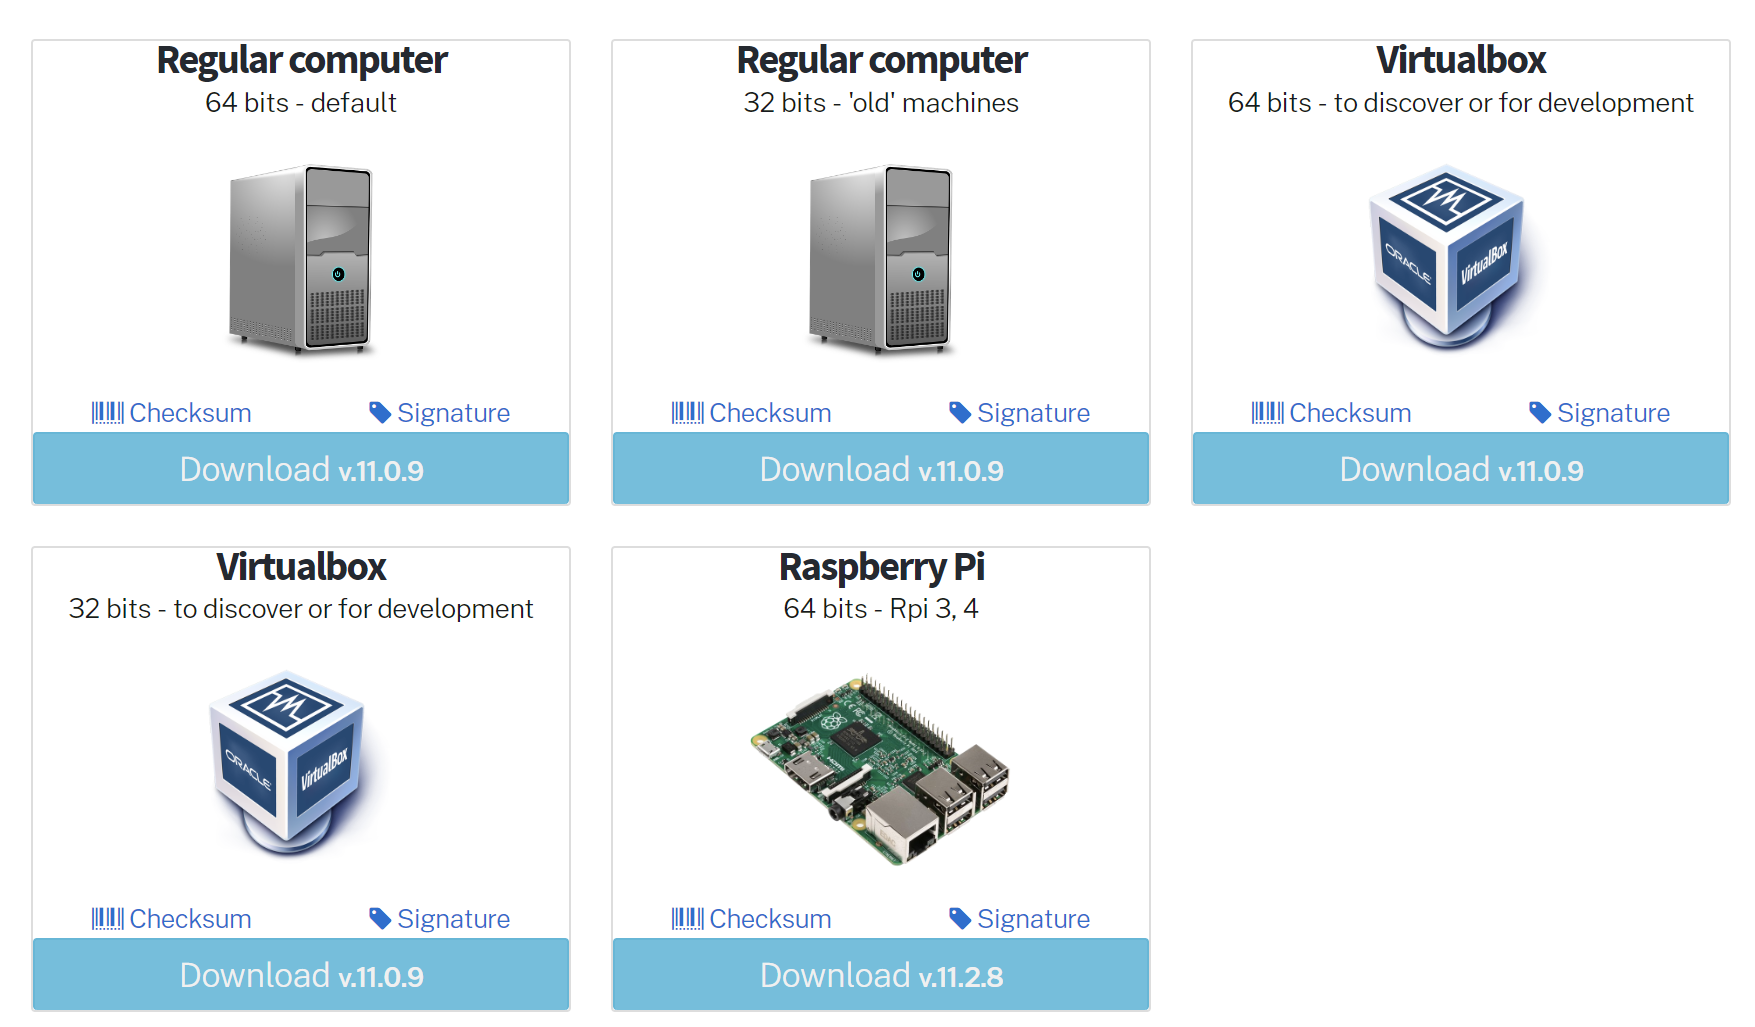
As avid enthusiasts of Raspberry Pi, we'll be using an RPI4 for this tutorial. However, the process is flexible—you can burn the Yunohost image to a USB and install it on any computer's hard drive, or even utilize their Virtual Machine image for added convenience. A comprehensive list of options is available for those interested.
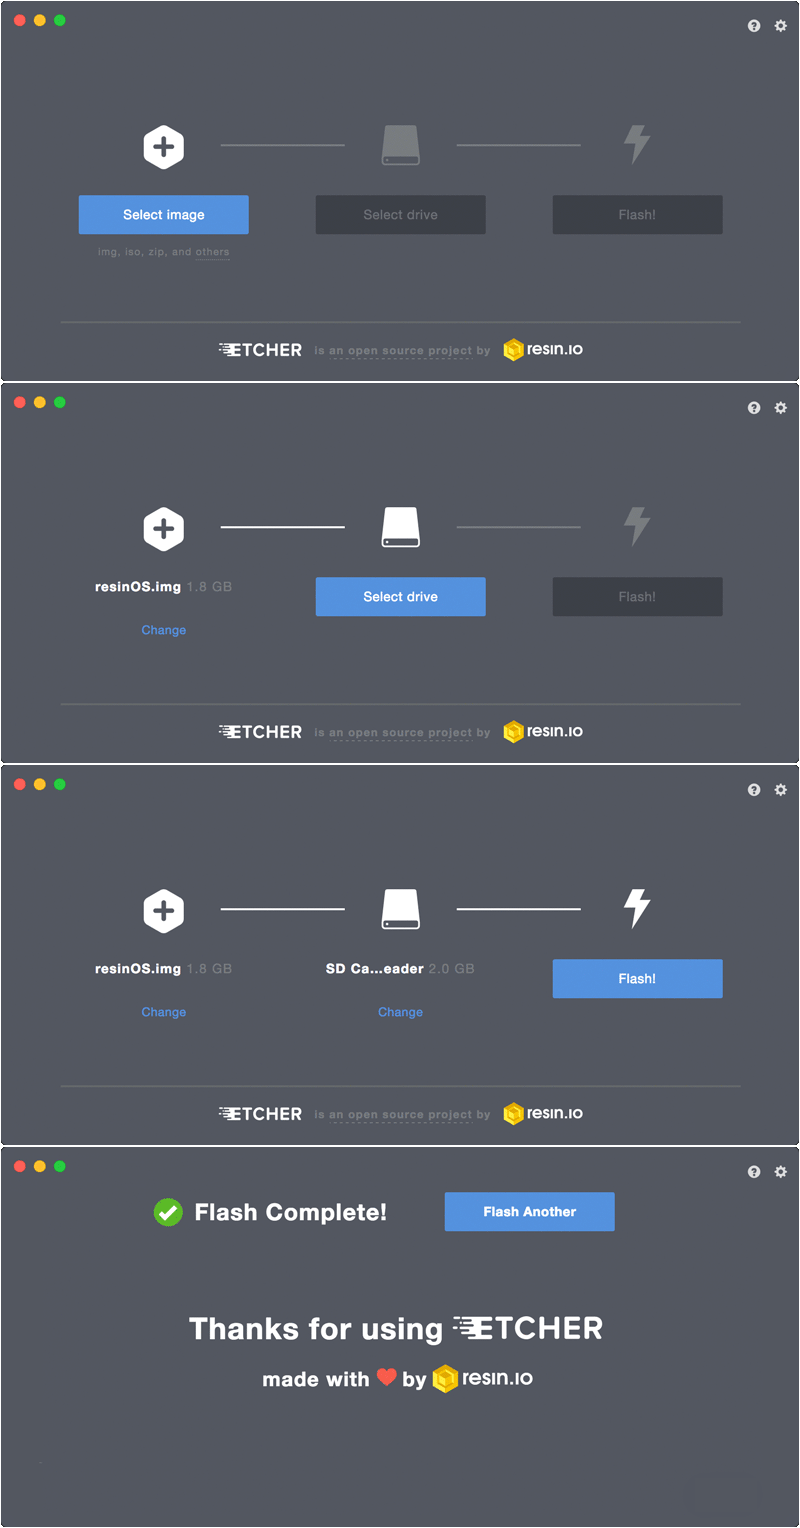
Begin by downloading balenaEtcher, the chosen software for burning the image onto a microSD card. Proceed to download the latest Yunohost image tailored for RPI4. Once downloaded, insert the microSD card into your computer, and use balenaEtcher to flash the image file to the card. After this crucial step, insert the microSD card into your RPI4. Then, connect one end of a LAN cable to the Pi and the other end into your WiFi router. The final step is to power on your Raspberry Pi.
Configuring Yunohost
Yunohost can be run locally using a local domain, which is the recommended method for initiating the setup. If you decide to operate it within your local network without using a public domain, be aware that this choice limits the number of apps you can install. However, a selection of them will still function locally.
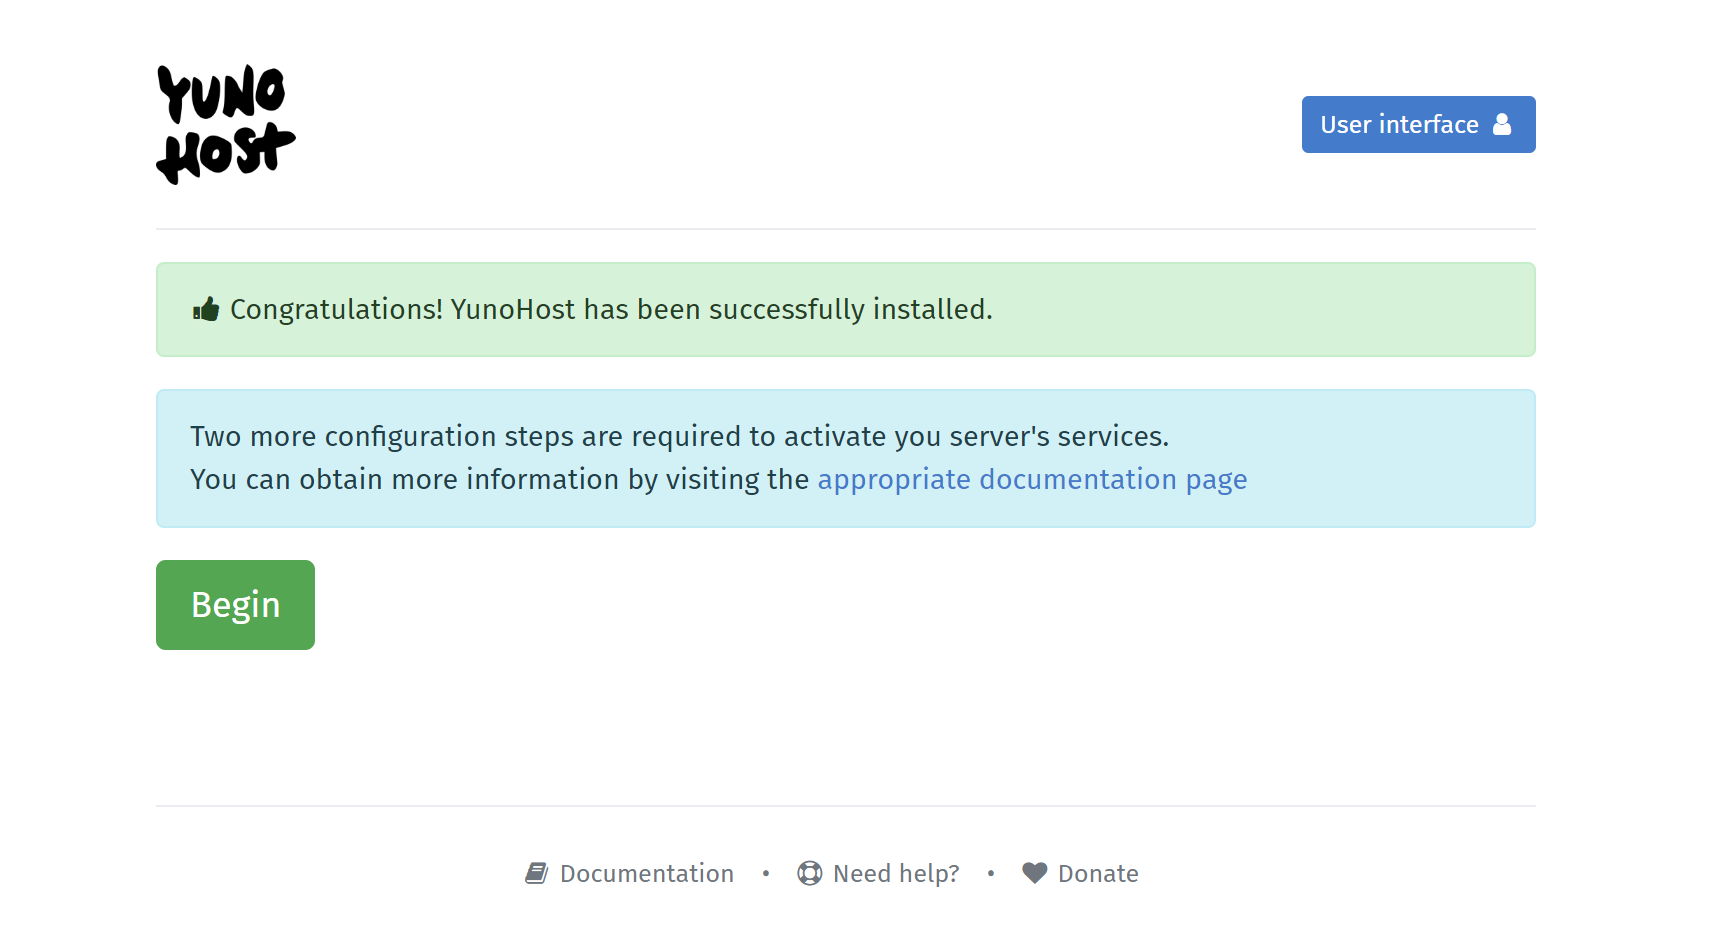
Once the Pi is powered up with the freshly burned Yunohost microSD card, connect it to your WiFi network and direct your browser to: http://yunohost.local. Here, click the "Begin" button to establish your main administrator username and password. It's crucial to choose a strong password at this stage, especially since we will be associating Yunohost with a publicly accessible domain later on. (Note: If you need to SSH into your RPI4, this same admin username and password will be required.)
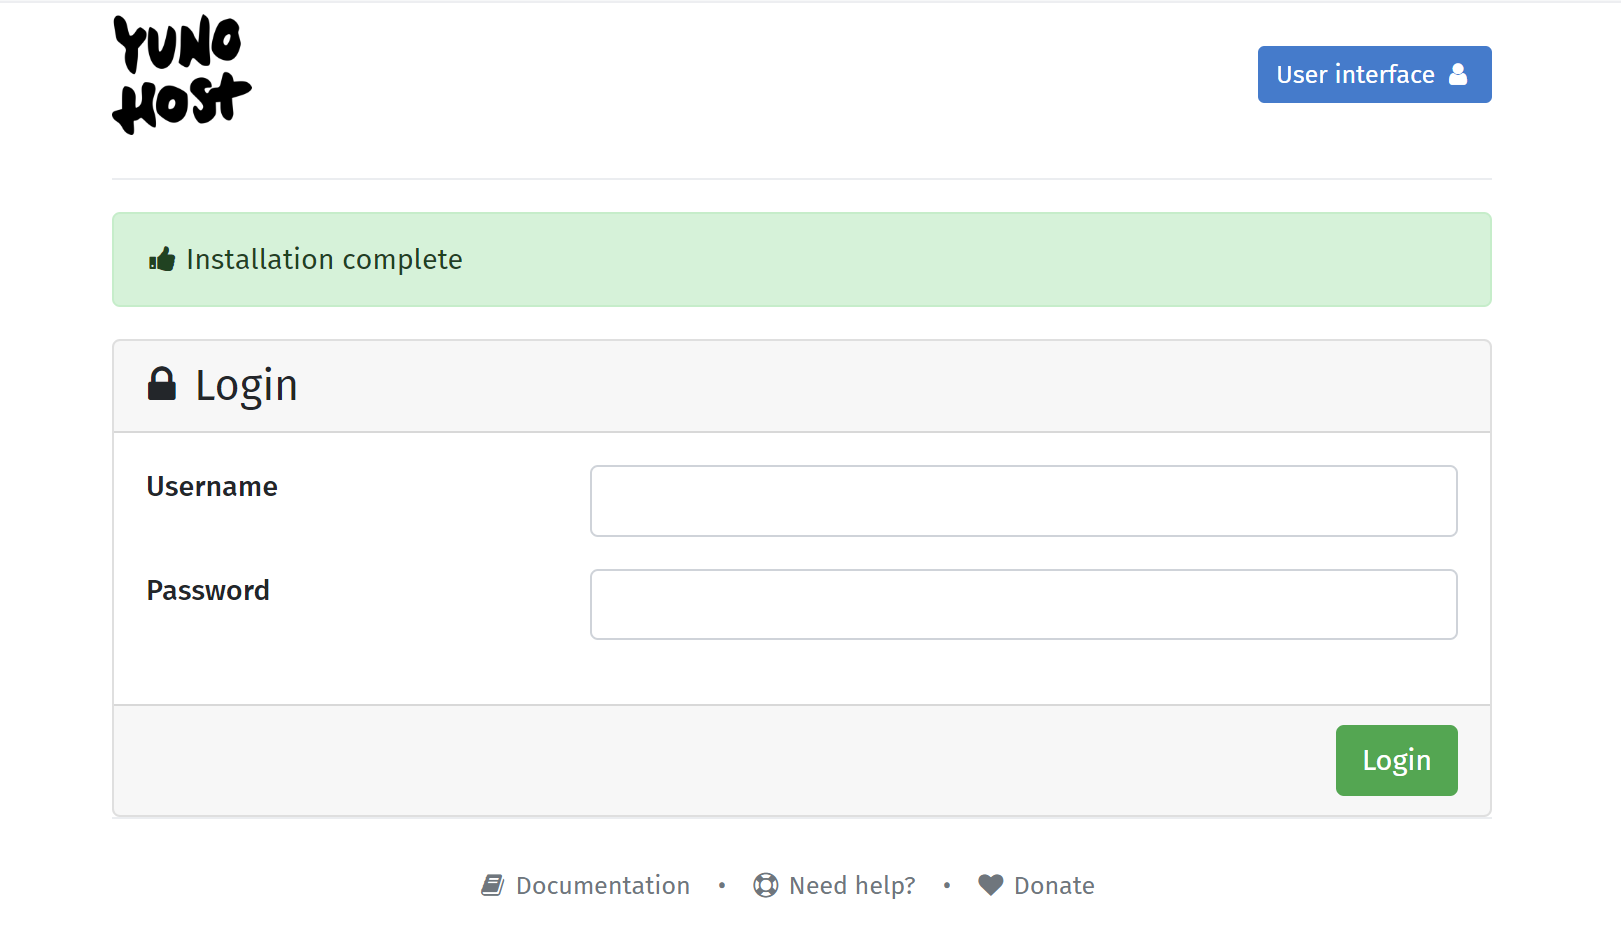
The system will take a few minutes to update packages. Afterward, you should see a login screen. If you're not prompted to log in within five minutes, simply hit the refresh button.
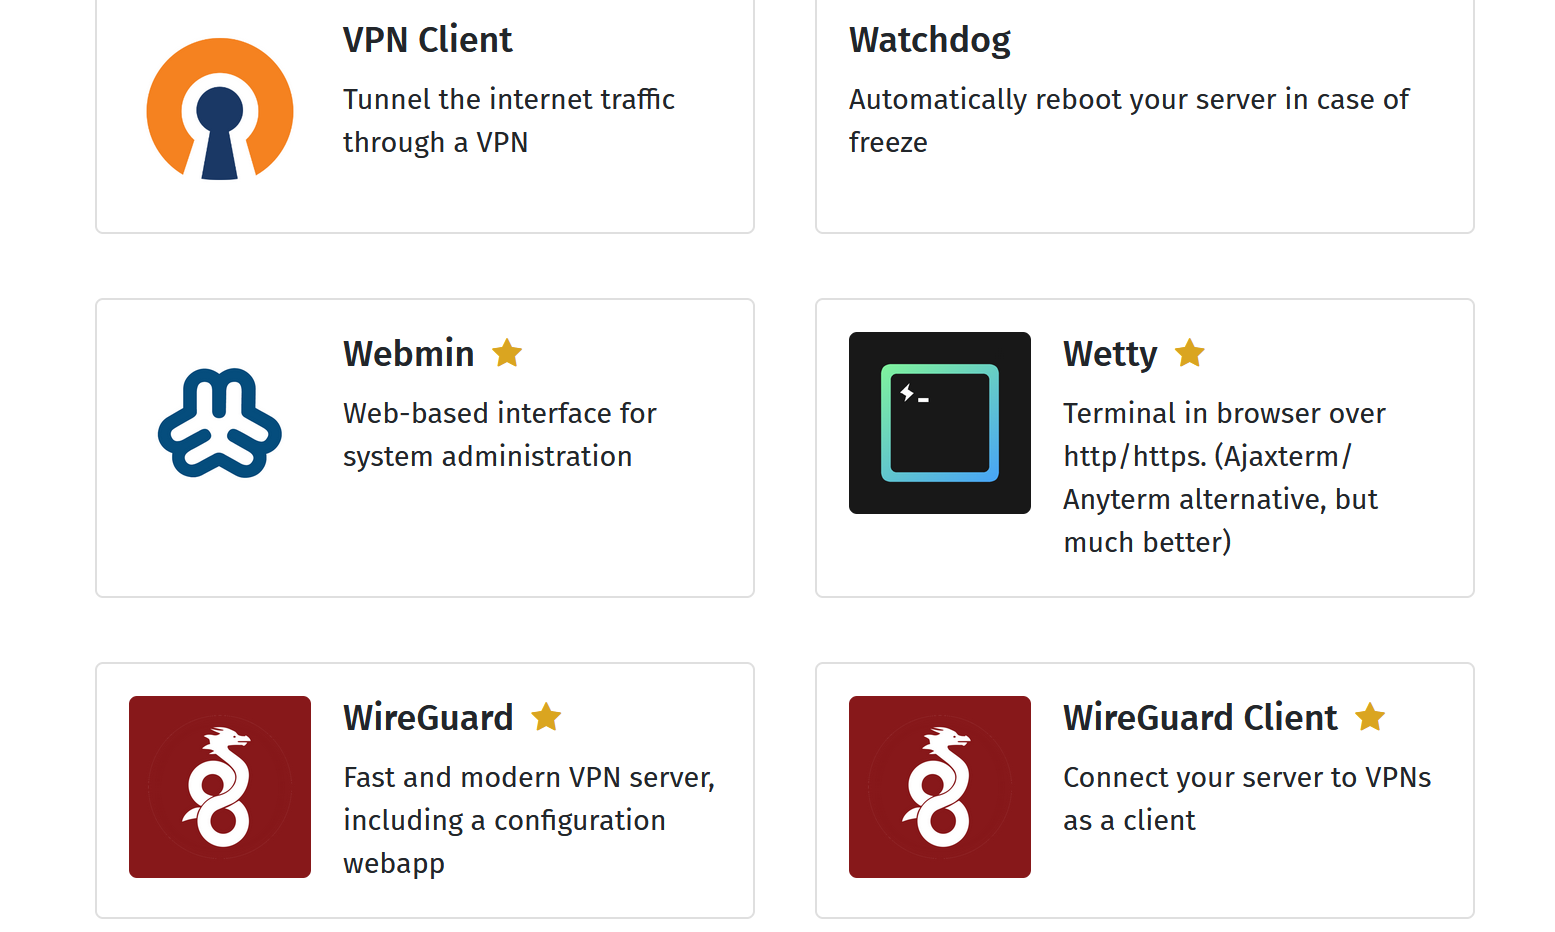
Next, head over to the applications menu, select the install button, and look for the "System Tools" category. Here, you should opt for the "WireGuard Client" app and begin the installation process. It's important to note that we are installing the WireGuard Client app, not the WireGuard Server app. This is because TorGuard's Private VPN Cloud service is already running the WireGuard server, and our Yunohost setup will connect to it. With WireGuard now installed on Yunohost, the next step is to generate the WireGuard configuration in the TorGuard members' area.
Configuring WireGuard
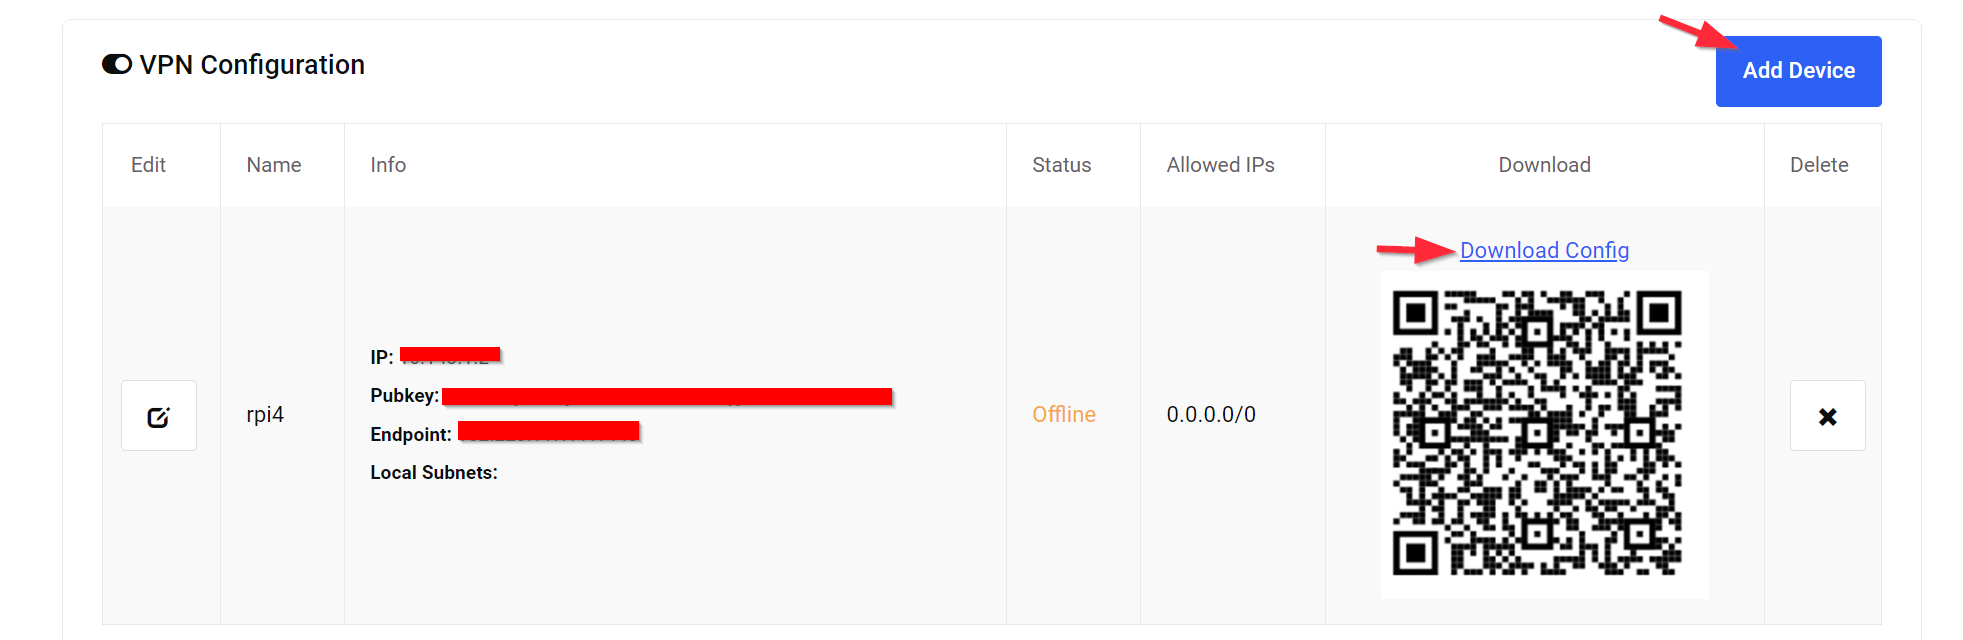
Since you're reading the TorGuard blog, we'll guide you through using TorGuard's Private VPN Cloud service, powered by WireGuard. Start by logging into the TorGuard members' area and heading to your services menu. Click the "manage" button adjacent to your Private VPN Cloud service. The first step is to generate a new WireGuard configuration for Yunohost, so click the "Add Device" button and name it either Rpi4 or Yunohost. Under Gateway, select Default Gateway and click Add. Then, select the "Download config" option and save the WireGuard configuration file for the next step. (Remember to note your VPN endpoint IP address.)
Next, we need to set up firewall rules to match the ports open on your Yunohost installation so the various apps and services you install will work via the public domain. Yunohost has certain TCP and UDP ports open by default, so we'll add these same ports to your TorGuard WireGuard instance.
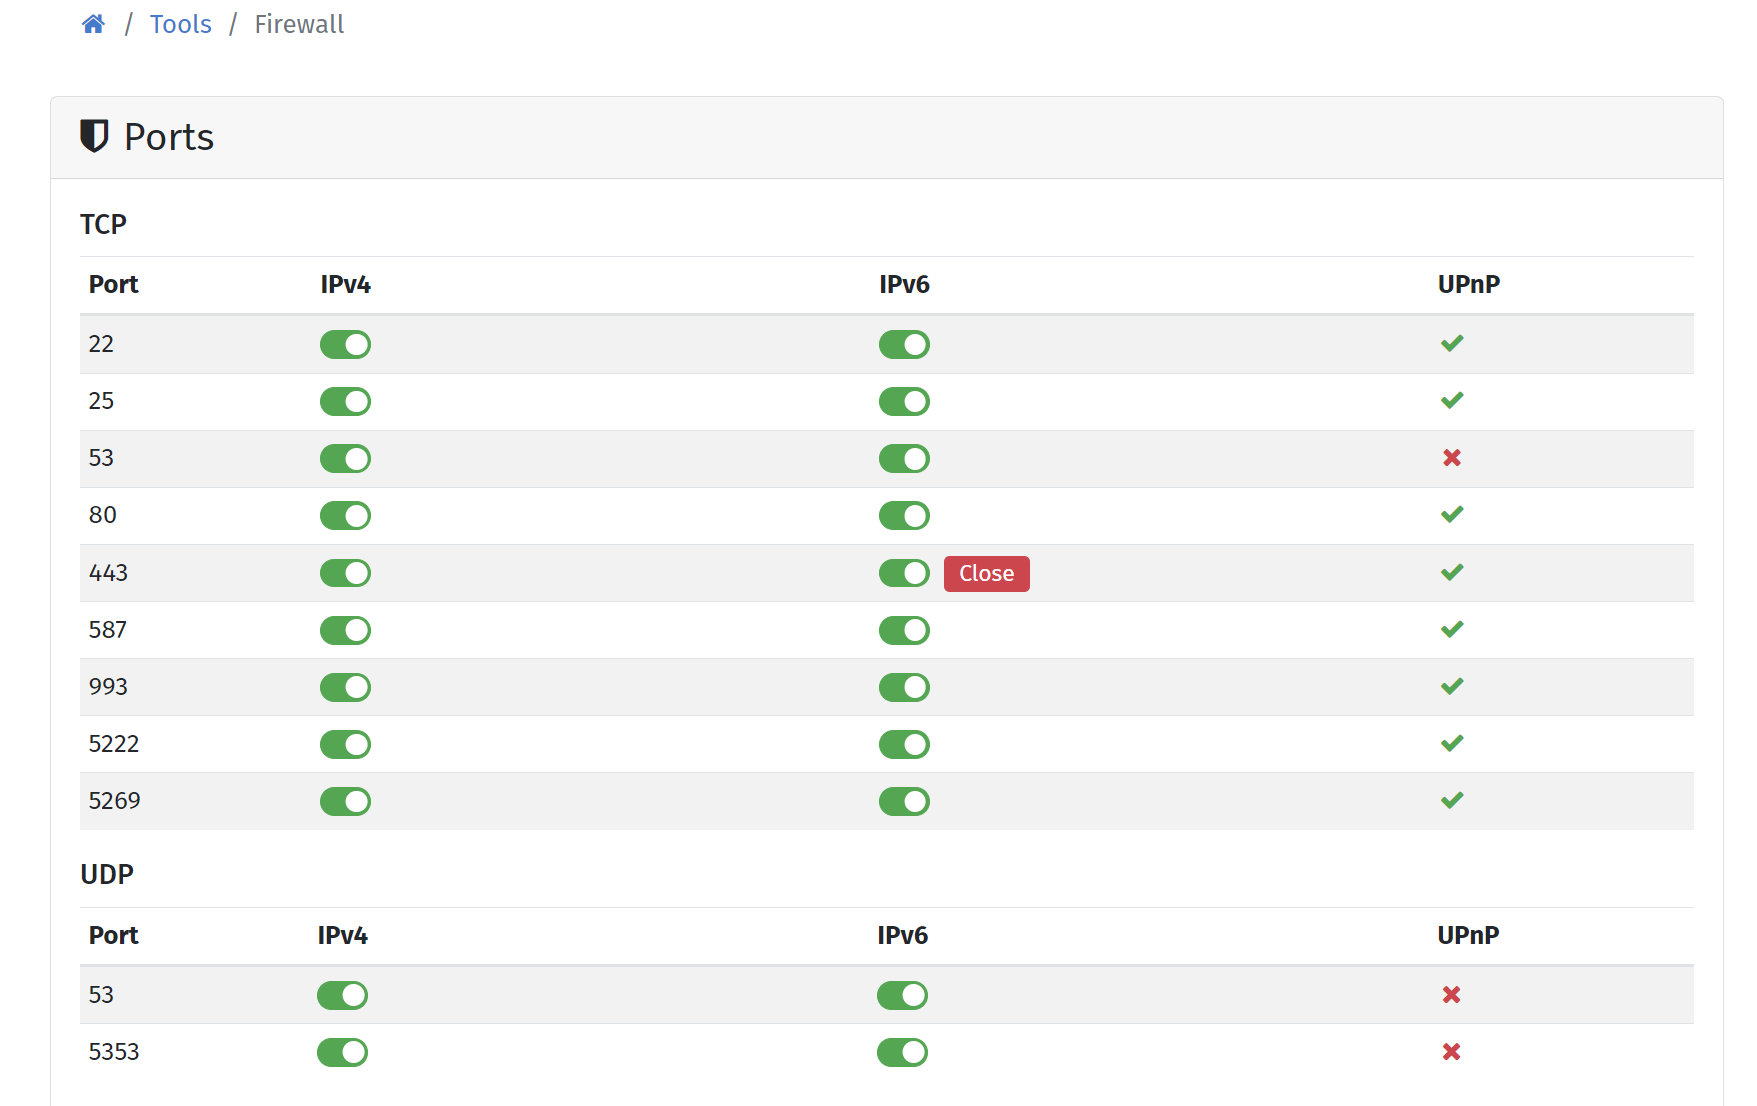
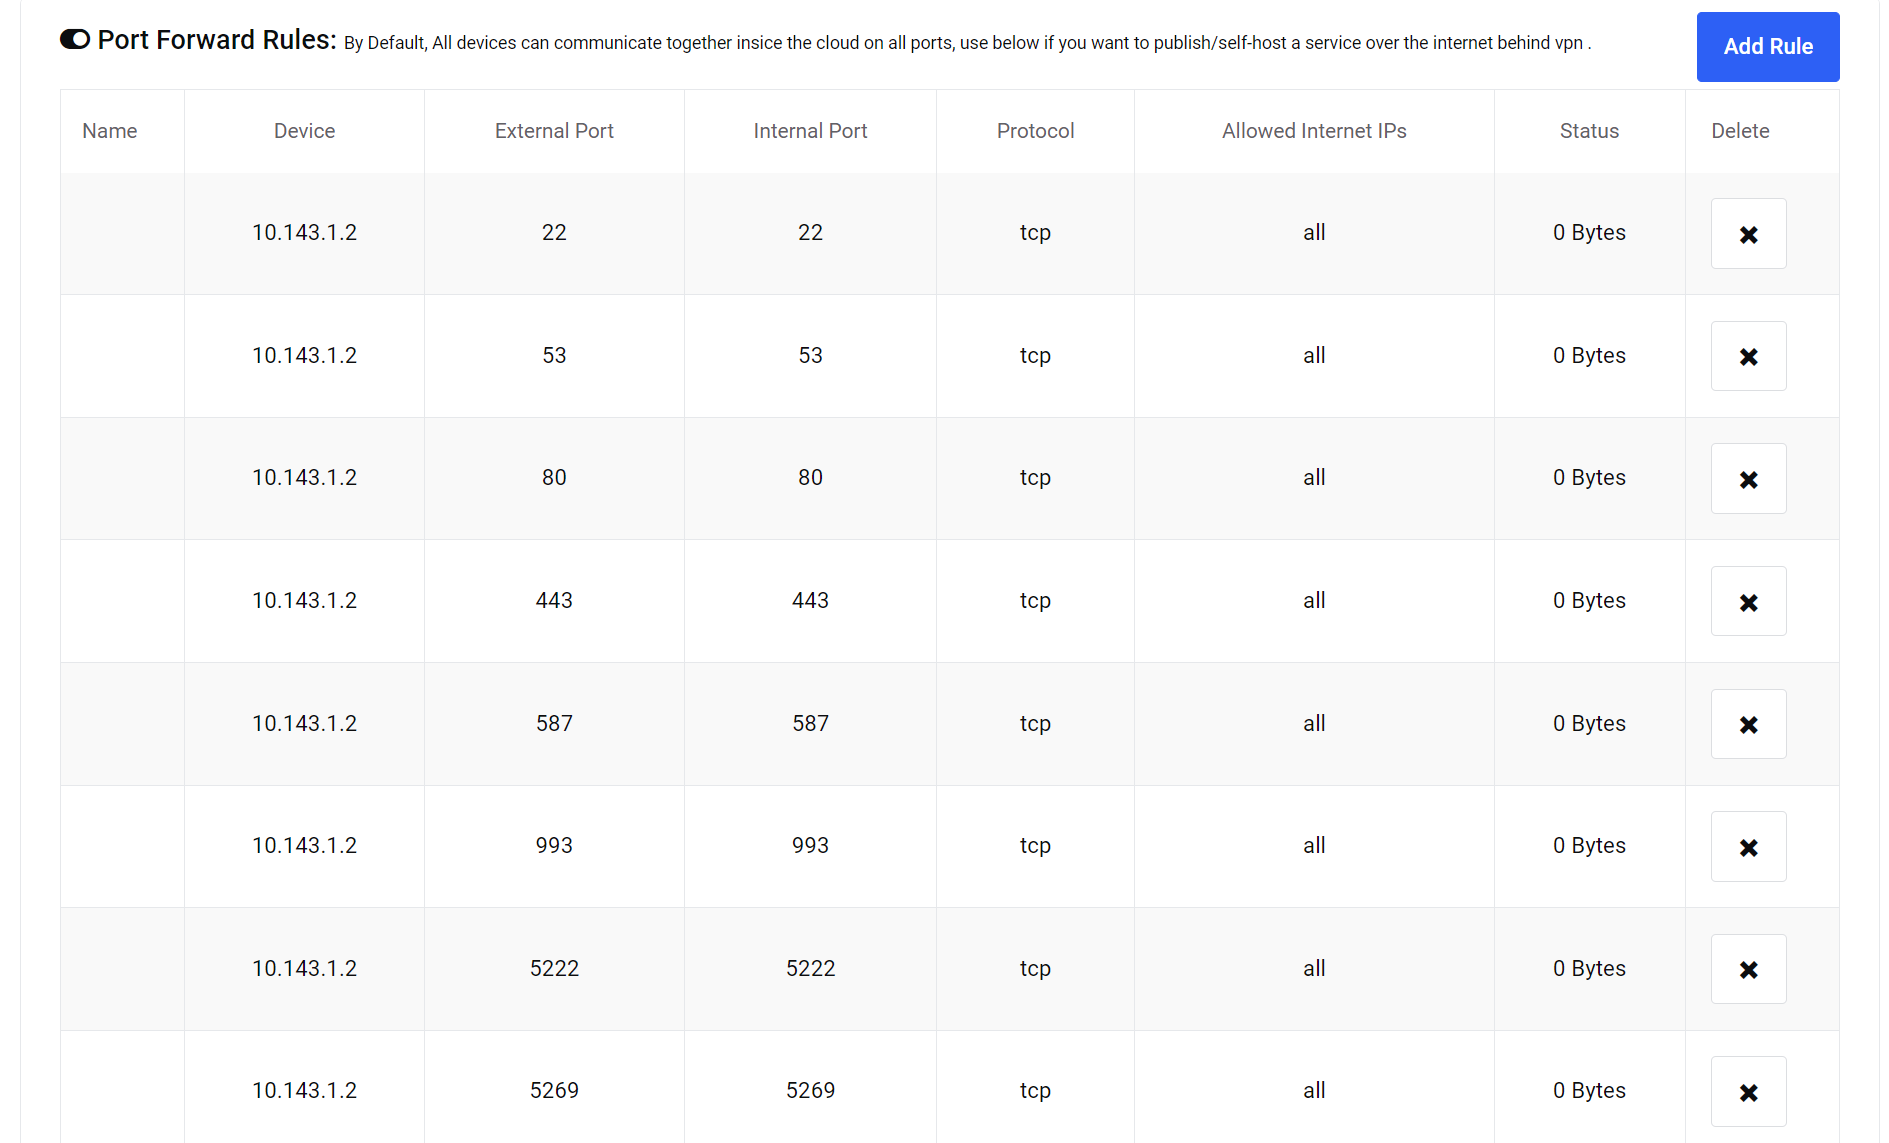
In the "Port Forward Rules" section of the TorGuard Member's Area, click the "Add Rule" button and repeat this process for each rule, ensuring the internal and external ports match. For example, enter internal port 80 and external port 80 for TCP, then click "save." This step ensures that your WireGuard server forwards external traffic to port 80 internally to your Yunohost box. Once completed, your port rules should resemble the provided image below.
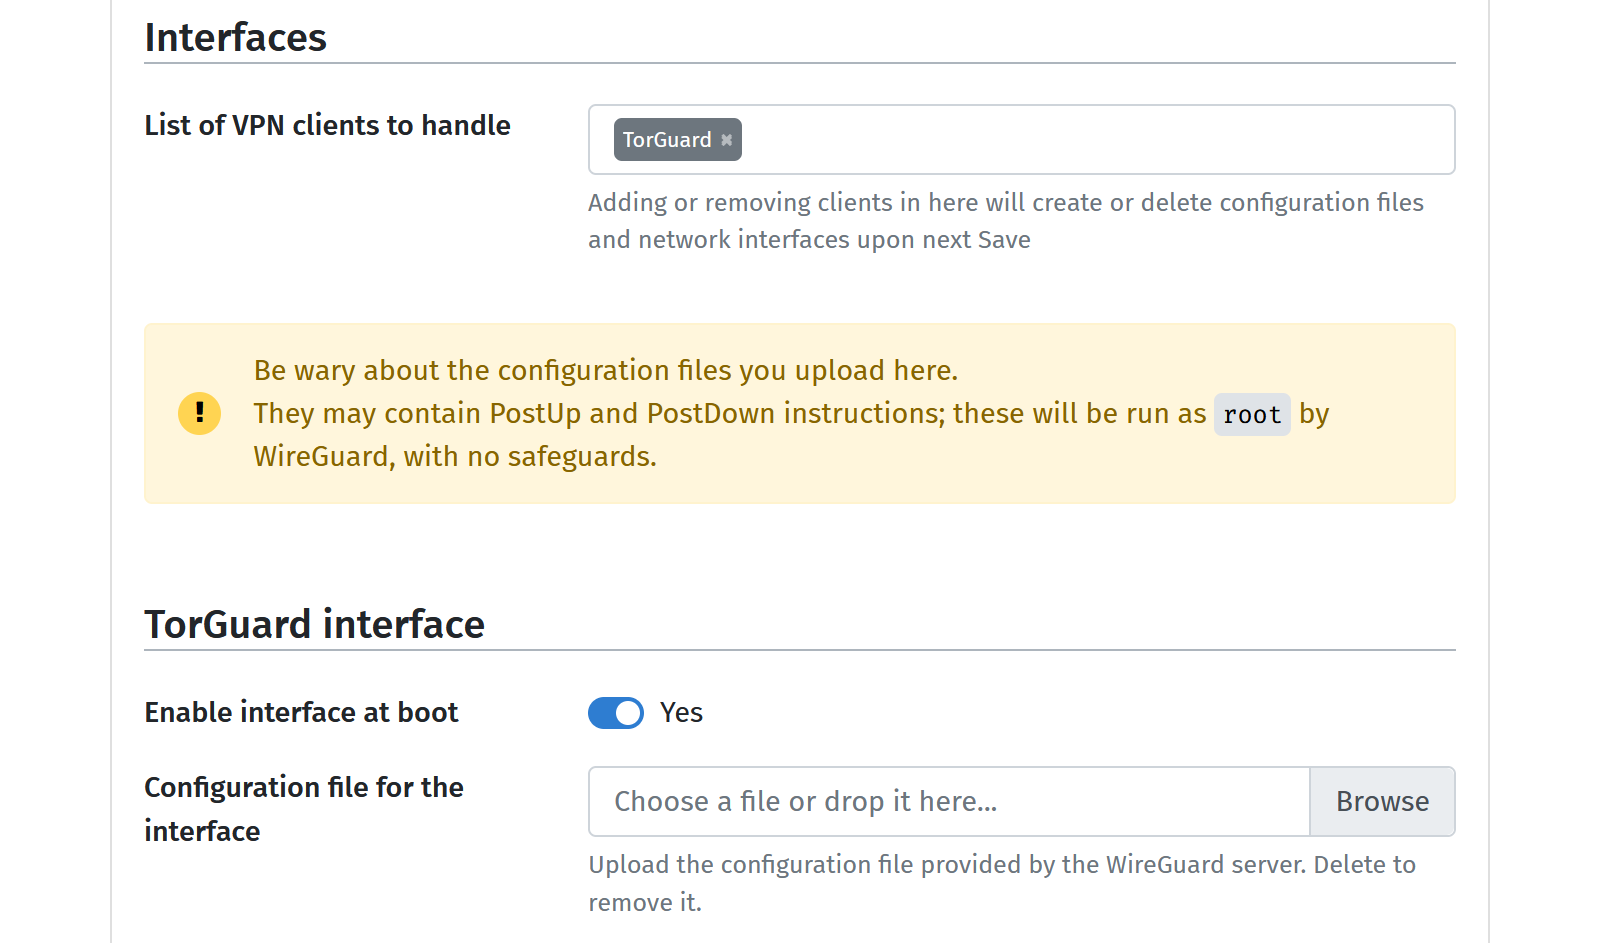
Now, it's time to enable WireGuard directly on the RPI4 running Yunohost. Navigate to the applications menu, click on the WireGuard Client app installed in the previous step, and go to the "Interfaces" section. Where it says "List of VPN Clients to handle," type TorGuard and hit "save." You'll now see a new TorGuard Interface section. Click the "browse" button and select the WireGuard config file downloaded from the TorGuard member's area. Ensure the "Enable interface at boot" option is set to YES and click "save." Your next move is to point your domain to your WireGuard IP address!
Optional Wireguard CLI Setup Method:
For those who prefer setting up WireGuard via the command line, SSH into your Yunohost box and execute the commands below. This method achieves the same results as above. However, should you encounter any issues with the built-in Yunohost WireGuard client setup, these commands will serve as a reliable alternative:
sudo apt install wireguard
sudo nano /etc/wireguard/wg0.conf
(Paste your WireGuard config file contents, CTRL + O to save)
sudo systemctl enable [email protected]
sudo systemctl daemon-reload
sudo systemctl start wg-quick@wg0
sudo systemctl status wg-quick@wg0
Pointing Your Domain Name
With WireGuard now operational on Yunohost, the next step involves directing your domain name to the public IP address of your TorGuard WireGuard server. This configuration enables access to your Yunohost box via the public domain from any location.
Recall the "VPN endpoint IP address" we noted earlier? This address needs to be registered with your domain registrar. This action is feasible with any domain registrar, such as GoDaddy, Namecheap, 101domain, or others. In this tutorial, we're using Cloudflare for our domain's DNS, so we'll demonstrate how to add an A record with Cloudflare.
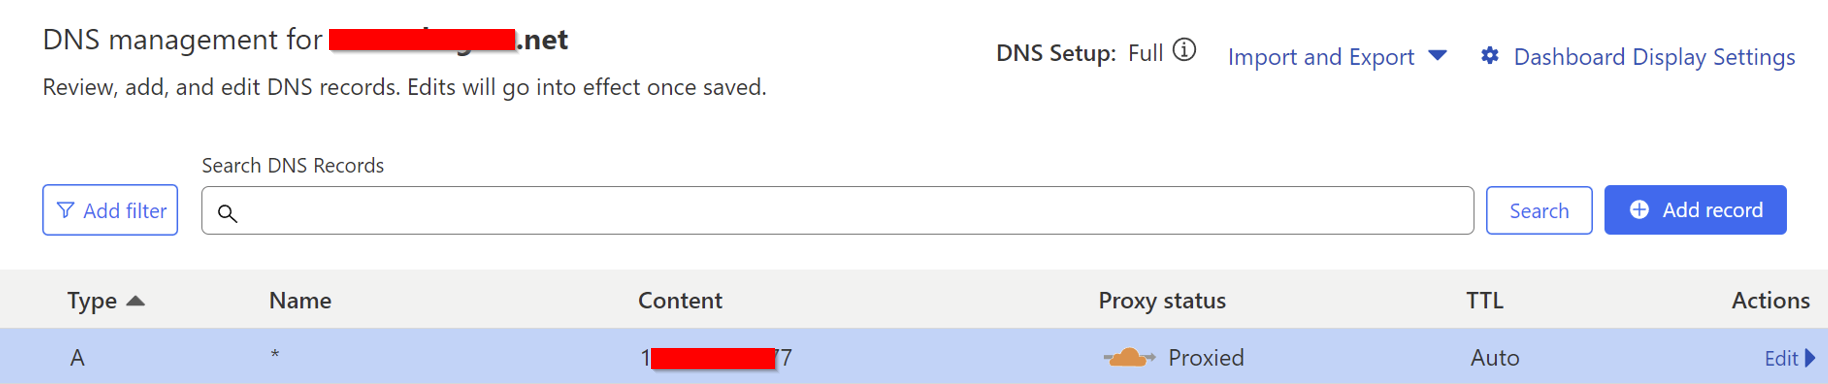
Proceed to the domain name you intend to use for Yunohost and click the "Add Record" button. For "Type," choose "A" record. For the name, input an asterisk, representing a "Wildcard A record." This setup allows the addition of unlimited subdomains to Yunohost, a feature beneficial for web apps that necessitate unique domain names. In the "Content" field, enter the public VPN address of your TorGuard WireGuard server and then click "Save."
Adding the Domain to Yunohost
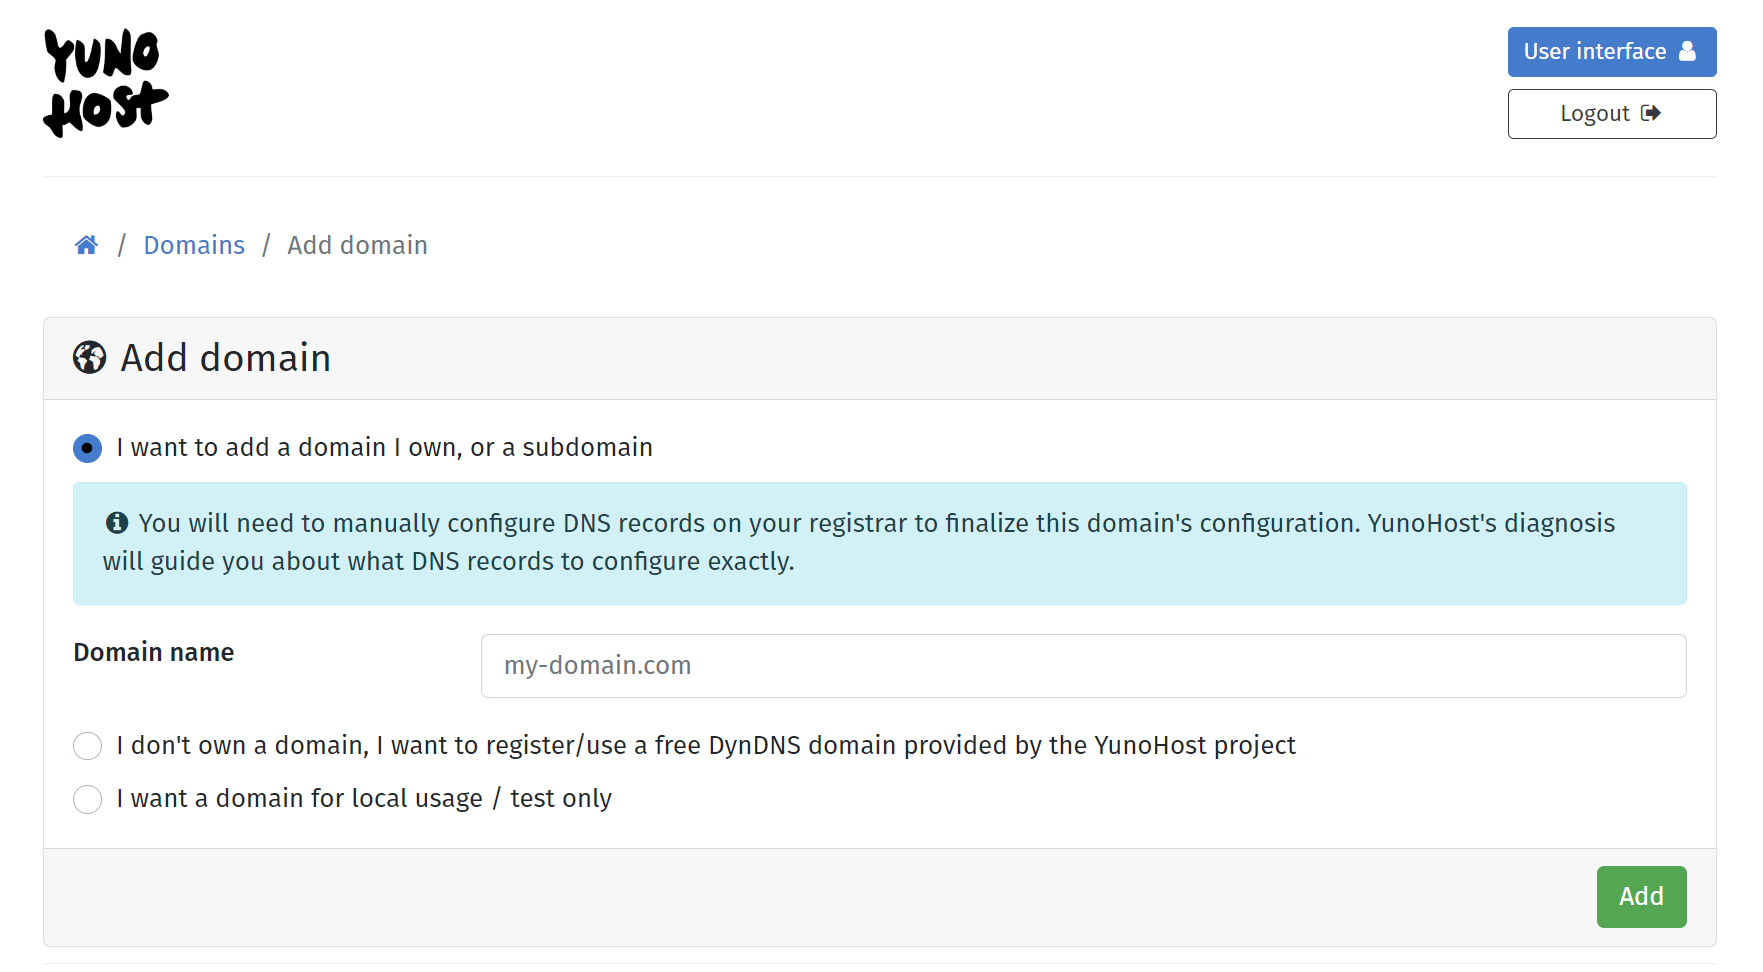
Once you're back in the Yunohost menu, click on the "Domains" menu and select "Add New Domain." Choose the option that says "I want to add a Domain I own, or a subdomain." Enter your domain name and click the "Add" button.
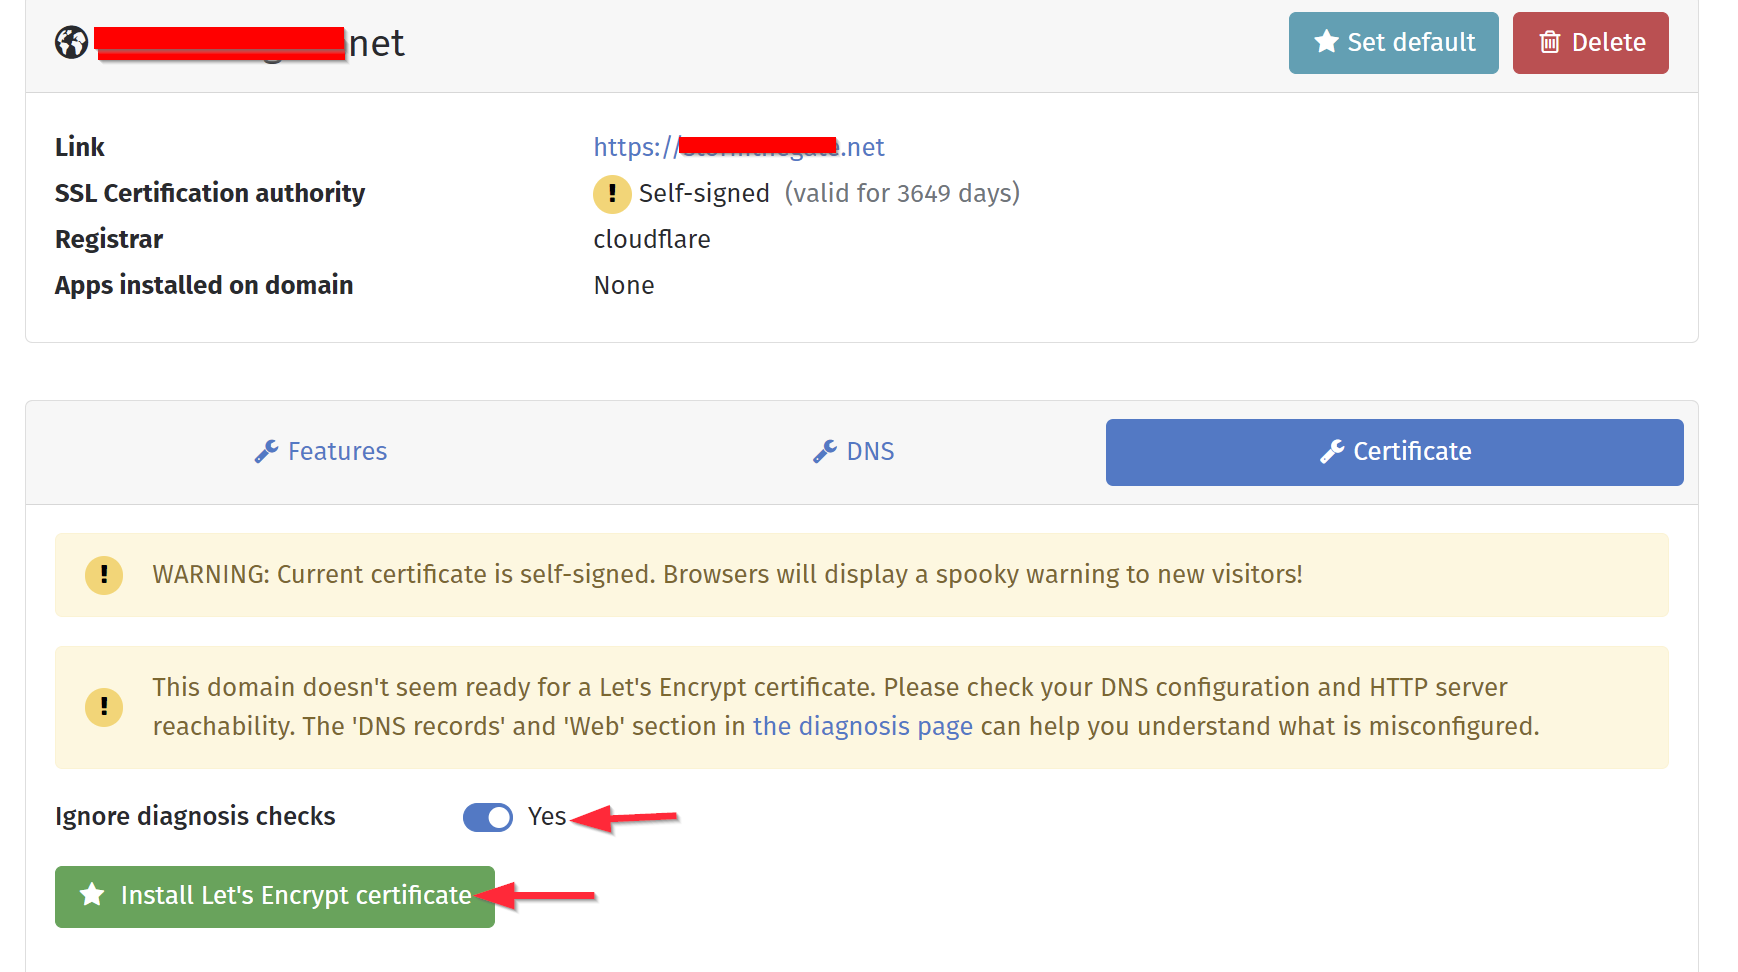
After a brief wait, your domain name will be set up with Yunohost. However, by default, Yunohost installs only a self-signed SSL certificate. To ensure the security of your site, it's crucial to configure a Let's Encrypt SSL certificate. Navigate to your "Domains" menu, select the newly added domain, and click on the "Certificate" tab. Switch the "Ignore diagnosis checks" option to YES, then hit the green "Install Let's Encrypt certificate" button. This action ensures that your domain name and SSL certificate are correctly configured to work with Yunohost.
Should you choose to utilize a Wildcard A record as previously demonstrated, you have the opportunity to replicate this process and introduce multiple subdomains, such as chat.yourdomain.com or blog.yourdomain.com. You can then assign each subdomain to a different web app on Yunohost, enhancing your site's functionality and user engagement.
Congrats, You’re Now a Web Hosting Wizard!
Well, look at you, all tech-savvy and hosting your own web domain! If you've managed to follow through to this point without turning your Raspberry Pi into a fancy paperweight, color us impressed. Venturing into the realm of self-hosting isn't just a bold move; it's a full-on declaration of your independence in the digital world. With Yunohost by your side you've just streamlined the heck out of server management, updates, and security, like some kind of server-whisperer.
Through this tutorial, we've seen firsthand how well these tools play together, making the daunting seem doable and turning complex setups into a walk in the digital park. And, let's not forget the array of apps you can now host, making your self hosted domain not just a fortress but a bustling metropolis of web services.
So, hats off to you, intrepid explorer of the self hosting frontier. May your domains always resolve, your SSL certificates never expire, and your curiosity to learn new things remain insatiable. After all, in the ever-evolving landscape of technology, staying curious is not just recommended; it's essential. Here's to many more adventures in self-hosting and beyond!